The adventures of Rusa in Toontown (the seventeenth instalment)
Write that down.
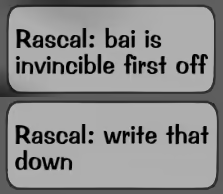
Bái is invincible, first off. Write that down.― Rascal
When I made Báimiàn Húli, I had basically already decided on a 34-base-maxlaff build. As far as neoclassical Übers[1] go, this is as “tanky” as you can get; yet, at the same time, 34 base maxlaff is still firmly in Über territory — it’s not much maxlaff at all!
I had in mind the Steel Factory, knowing that post-UNM TTR now has a “hard mode” version of traditionally Über content (read: SBHQ content) that would have no mercy for the meagre of laff — even those not so meagre as to be full-blown Übers. Of course, if your only goal is the traditional goal of Übers — a level 50 SBHQ disguise — then the Steel Factory is fully optional. The Scrap provides suit parts & Merits just as it always has, & it’s not materially more difficult for Übers than þͤ olde Factory was.
But why stop there?
Bái is, in at least some ways, a fairly powerful Toon: she wields maxed Toon-Up, Throw, & org Drop, which is a lot of firepower; she has more maxlaff than many Übers do; & her ability to V.P. allows her to farm SOSes reasonably efficiently. Yet still, she maintains a certain quirkiness: she’s an Über, has made the rather exotic choice of being Squirtless, & of course, she’s just as Soundless as Rusa is!
So maybe Bái’s fate is, if not invincibility, then at least insuppressibility. In this entry, & in the “Noöne tells Bái what she can or cannot do” section of the previous, we’ll see Bái take on challenges formerly unknown to Überkind, & learn more about those challenges — & about Bái — in the process. In the future, with any luck, we’ll see Bái take on yet more daring challenges, in the spirit of both adventure, & proving that a lot can be done with only a little.
Gentle beginnings
We begin here with a V.P. that was missing three Toons. Unfortunately for me, the most difficult phase (viz. phase II) sided me with just one other Toon: Mozart. So we were duoing these Skelecogs!
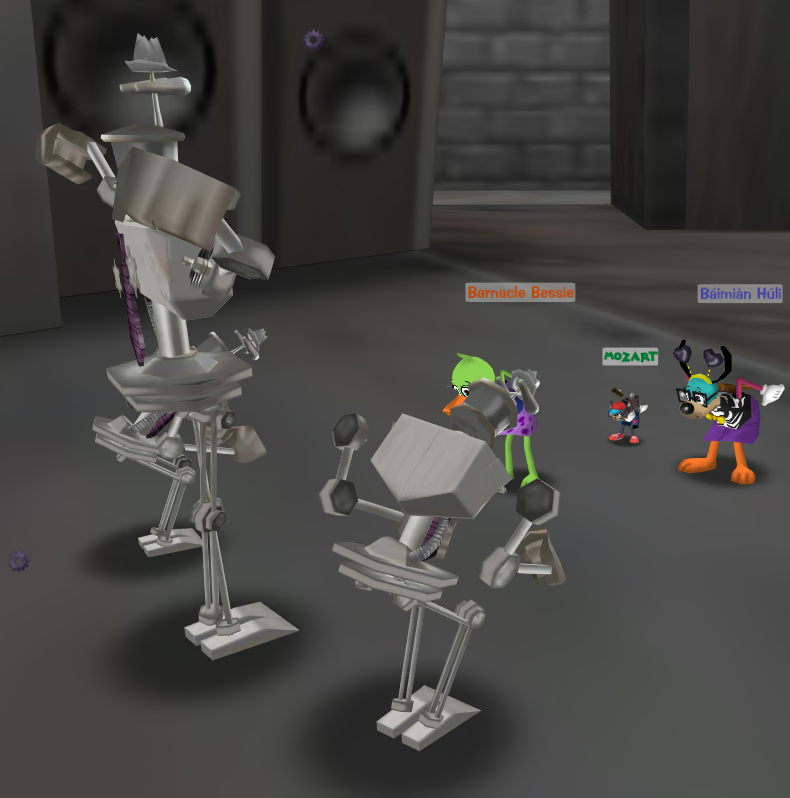
Although I was playing it cautiously, Mozart was kind enough to just start bustin’ out the SOSes for me! Like this Bessie…:
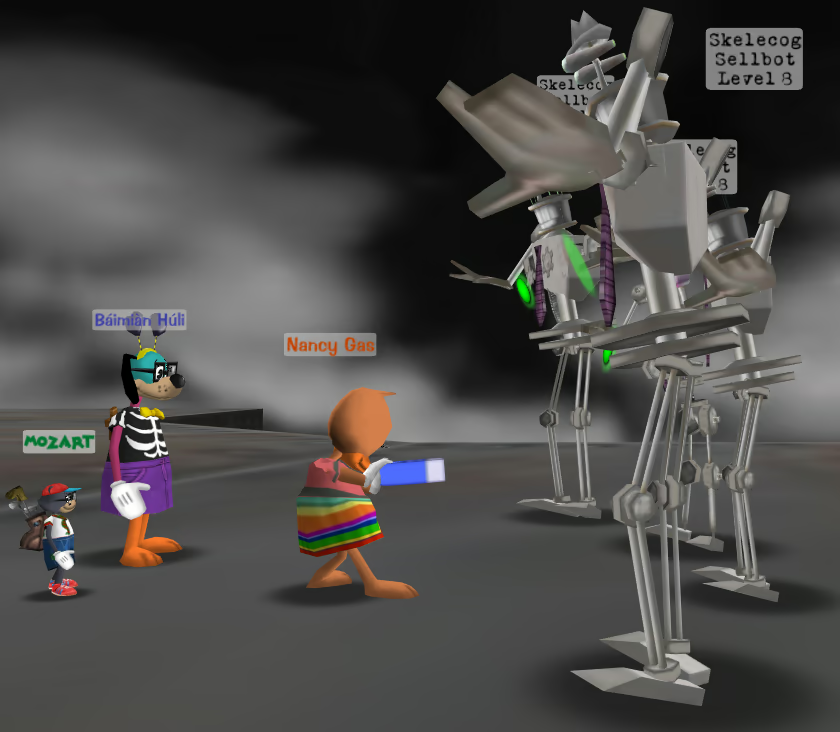
…And this Gas:
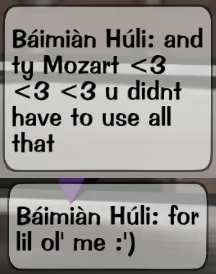
Naturally, we made it jus fine. I felt I needed to thank Mozart once we were at the victory dance:
Whilst getting my Merits back by Scrapping, I noticed an SOS shopping group go up… And how can I resist?? In an incredible display of greed, I did the V.P. on Rusa & the Scrap on Bái at the same time! Naturally, it just so happened to be perfectly timed so that I ended up at the boss fight of both runs simultaneously…:
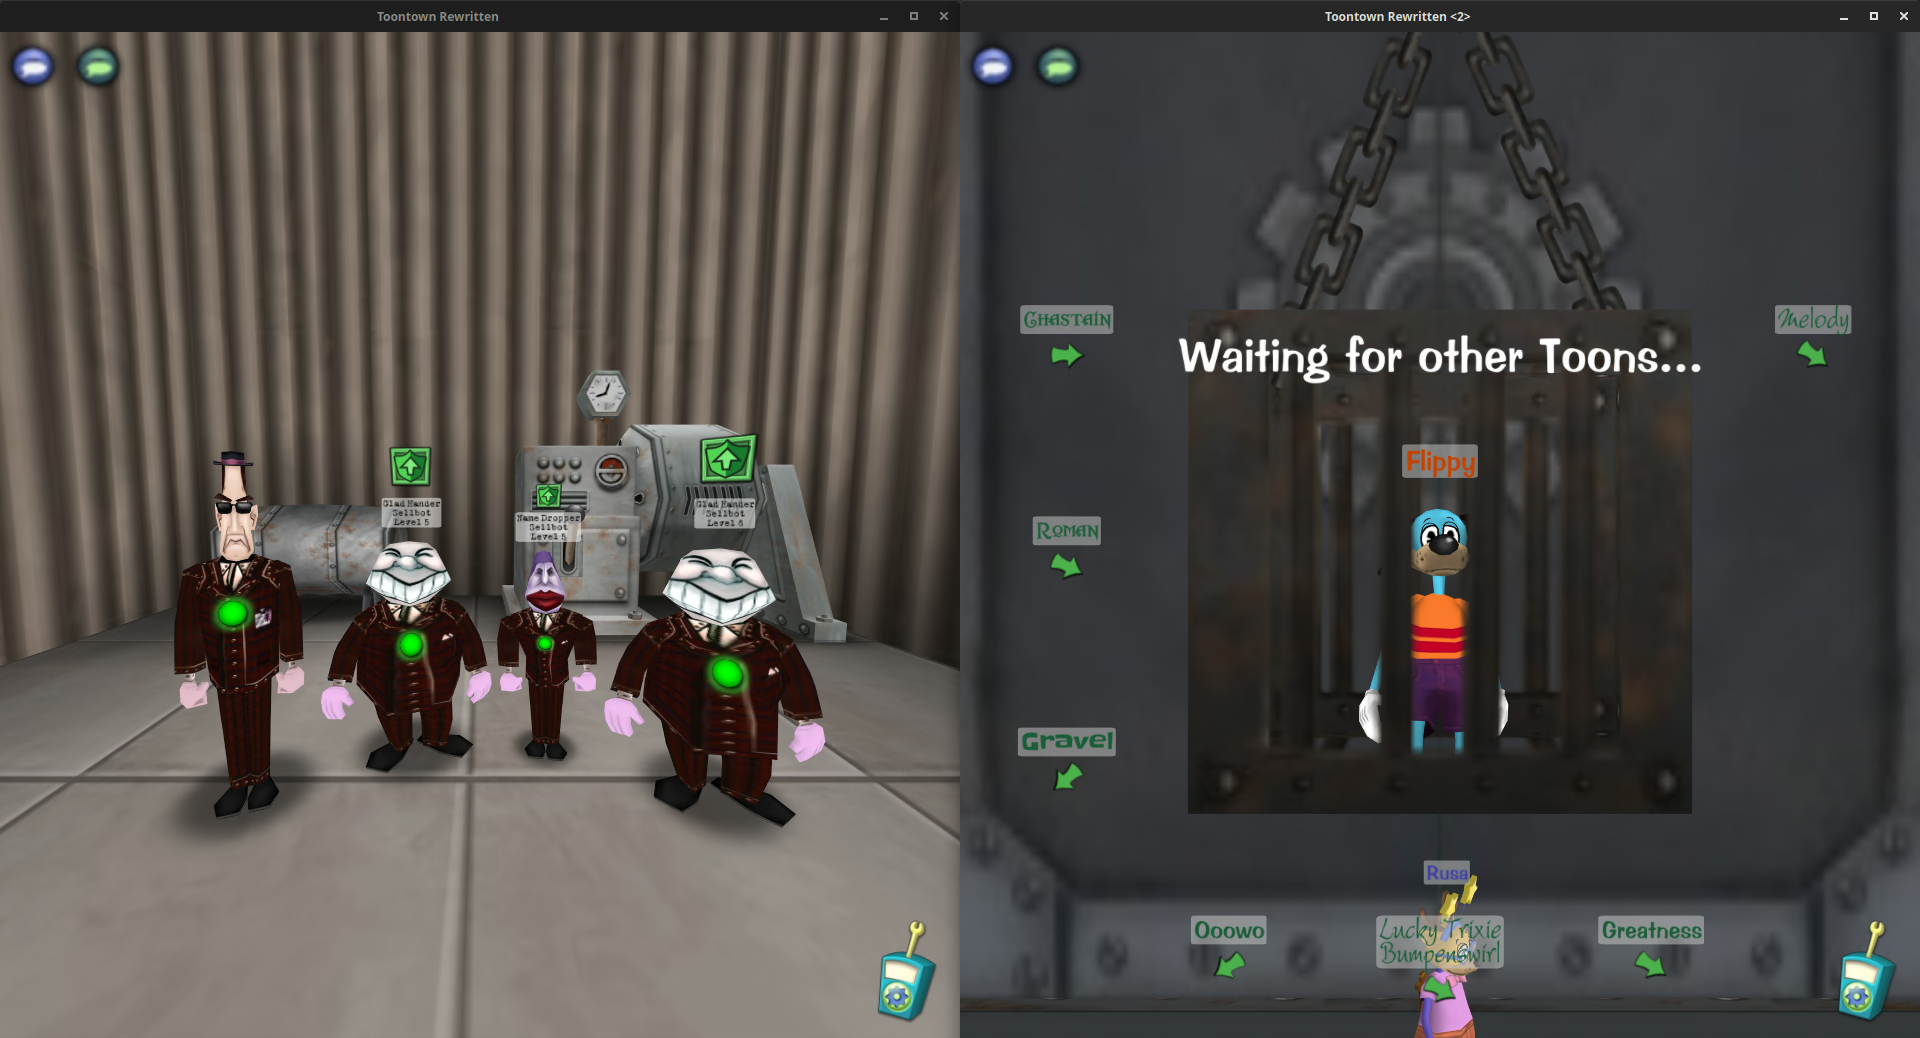
😅 Don’t worry! It was… okay!! I jus had to try really hard. >.<
Coiners coining
But now it’s time for some real shiet. Last time, I just ran one littol Coin run with some randoms, & I got lucky! Am I prepared to push my lucc…?
Alongside Harley, I did some Coining to help her with her ToonTasx & such. Or was it my ToonTasx…?:
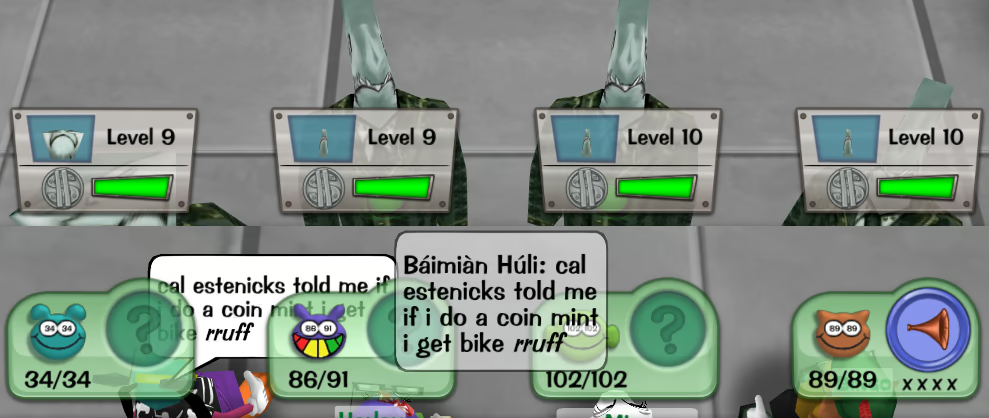
And I do mean some Coining! Like quite a bit!!
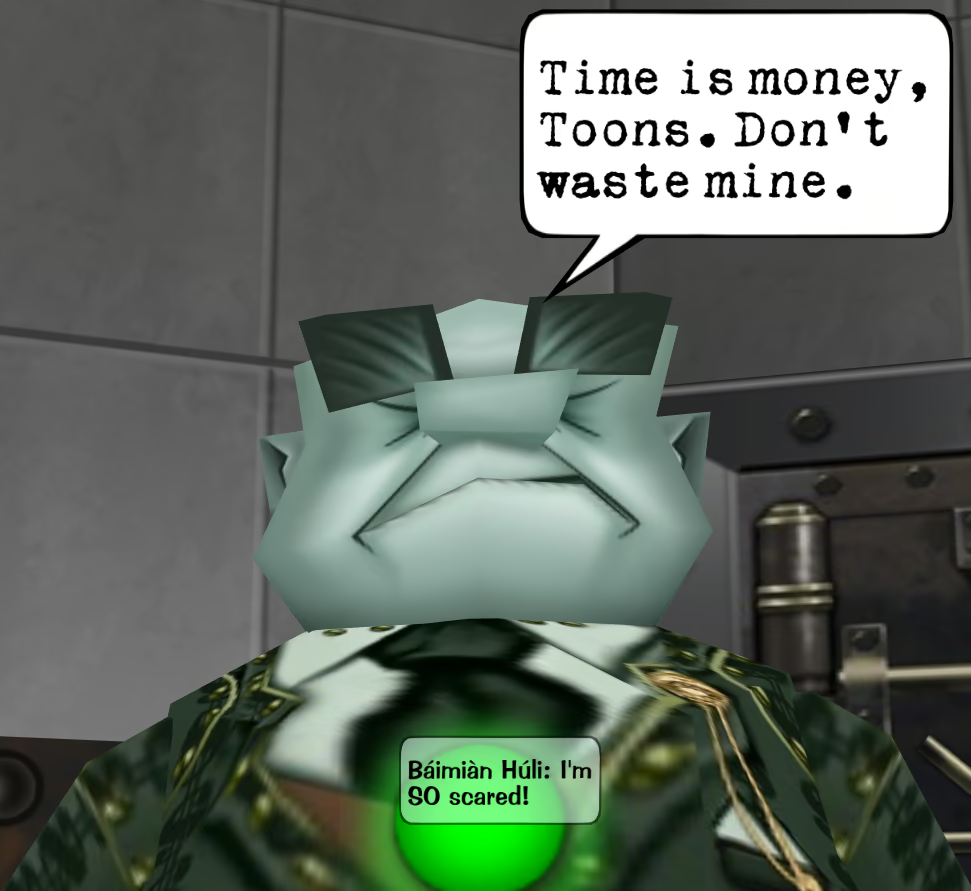
Transcription of the chatbubbles in the above image
The Mint Auditor: Time is money, Toons. Don’t waste mine.
Báimiàn Húli [SpeedChat]: I’m SO scared!
Somehow, I never dyed, although I got very close…:
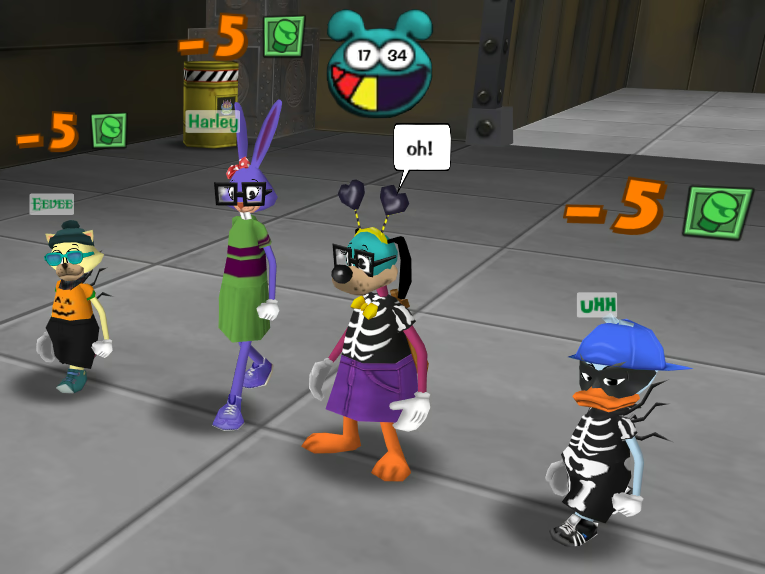
You can tell from the above image that this attack would’ve murkt me if it had hit me: even conservatively assuming that the 1.25× multiplier from Bull Market is ceiling’d, the 5 bonus damage still requires a base damage of at least 17, for a total damage of at least 17 + 5 = 22, which is definitely greater than or equal to my 17 laff. 😅
1-laff-having
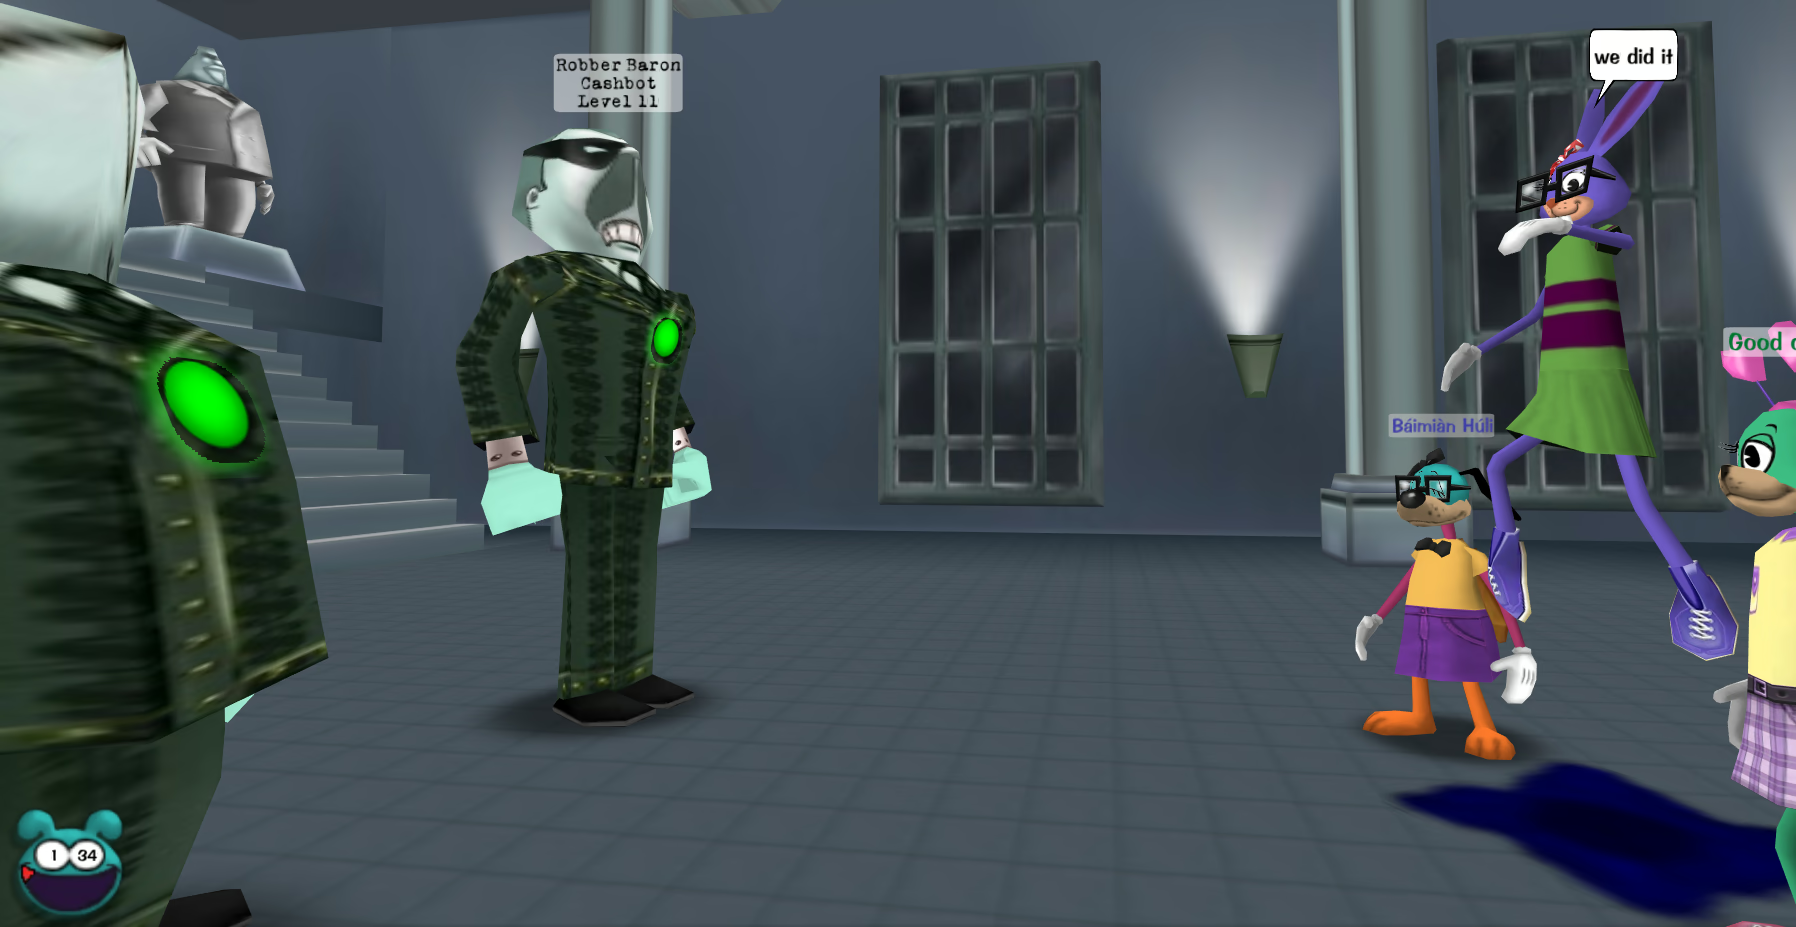
And, speaking of Bái being a hair’s breadth from the grave, I did a Cog Building or two with Harley…:
Strategies for Coinery
ℹ️ Not interested in strategy? Skip ahead to the next section below.
Now that I’ve done quite a few Coins on Bái — mostly alongside Harley, but also with our parties generally being ≈50% randoms — I have some ideas about strategy for the Auditor fight.
ℹ️ This discussion assumes no usage of rewards & no usage of level 7 gags.
Upgrading received wisdom
Having randoms importantly implies that our starting point is received wisdom:
- One or two Toons group-lure, whilst two others Cake the level 9 Cog. If one Toon still hasn’t picked, then they hit the Auditor (ideally with TNT, but it could be something else).
- Attack the sup (the Auditor) until it dies.
- Only the two level 10s (possibly Promoted) remain, & are dealt with appropriately.
We can already improve upon this strategy immediately, without materially changing it: target the least desirable Cog in (A1.), rather than always targeting the level 9; alternatively, if both Cakes are org, then the level 9 may — conservatively — be targeted.
The level 9 has 110 + 150 = 260 HP, whereas a Cake + org Cake combo deals only (110 + 100) ⋅ 1.2 = 252 damage to an unlured Cog. Only if both Cakes are org does it make sense to target specifically the level 9, because in such a case, the level 9 can still die even if Lure misses[2] — such a strategy is conservative insofar as it mitigates the loss incurred by the worst-case scenario. (Nonetheless, the fight starts in Bear Market, so the conservative strategy is almost(!) always overly conservative.)
(N.B. Using Cakes is not always necessary: 2 Clouds kills the lured level 9, or a level 10 if at least one Cloud is org.)
In this context, picking which nonsup Cog to target in round[7] 1 is mostly a matter of two factors: expected aggregate damage (EAD) dealt by that Cog per round that it’s unlured, & how much HP the Cog has. EAD measures how “threatening” the Cog is; on the other hand, even if the level 9 is fairly threatening (say, because it’s the only Cog wielding one or more multi-target attacks), targeting a level 10 still has the appeal of dealing a larger effective damage to the Cogs: overkill damage is wasted damage!
Nonetheless, the exact details are not typically relevant, so picking a Cog to target can be as easy as “hit a level 10 — preferably one that can multi-target attack”. A fuller, but still straightforwardly-applicable, strategy is given by Algorithm B.
- If there’s a level 10 Money Bags, then pick it.
- Else if there’s a level 10 capable of multi-target attacking, then pick it.
- Else if there’s a nonsup Cog capable of multi-target attacking, then pick it.
- Else if there’s a level 10 Loan Shark, then pick it.
- Else, pick a level 10 arbitrarily.
Round 2
When a switch from Bear Market to Bull (or vice versā) occurs, it’s always the absolute final thing to happen in the round. This implies that, if Algorithm A goes as planned (regardless of whether or not Algorithm B is applied), then the damage that you’re forced to sustain in round 1 is two attacks in Bear. One attack is from the sup, & the other is from whichever nonsup Cog the sup chooses to unlure that round. That’s not much damage at all, because Bear gives Toons 50% Defence Up, thus halving incoming damage.
However, even assuming that round 1 goes perfectly, round 2 is often quite dangerous. You’re now in Bull, so if you fucc up even a littol bit, then it’s not difficult to take two — or even three! — attacks in Bull, all within one round. This now seriously threatens to slay me.
Some strategies seem quite appealing until you actually think about them: perhaps I got hit by one or two attacks in round 1, so you Toon me Up in an attempt to increase my likelihood of surviving round 2; or perhaps you throw a $10 at the nonsup Cog that the sup unlured in round 1, in an attempt to minimise how many attacks the Cogs get to use. Neither of these general sorts of moves are strictly “bad”, but they’re usually difficult to justify.
In the case of the $10, such a move is straight-up griefing if the Cog received Investment, because its Attentive buff will cause it to automatically unlure anyway[4]. Nonetheless, if the Cog was instead Promoted, then the $10 could at least do its intended job. The ultimate problem with the two aforementioned moves, then, is more basic: they preclude your ability to do something else that round instead.
The reality is that, if you do anything even remotely like Algorithm A (with or without Algorithm B), then you only have two options:
- Kill the sup within round 2.
- Kill all nonsup Cogs within round 2.
If you don’t accomplish at least one of the above, then you’re forced to tank at least two(!) attacks during Bull within a single round. If at least two of those attacks hit me, then I’m not so invincible anymore. But to accomplish either of the above, you probably need all hands on deck!
With that in mind, we’ll start with killing the sup (rather than killing all nonsups), because it aligns most closely with Algorithm A.
Killing The Mint Auditor in round 2
The sup has 750 HP, which is the same amount as The Factory Foreman in Steel. However, because you’re in Bull Market, you get the benefit of +25% damage!
Somewhat unexpectedly, however, this still implies that the relevant lowest common denominator strategy (LCD strategy; meaning no Trap, no Drop, & no org gags) cannot kill the sup in round 2, even if the sup is damaged in round 1. The round 1 Cake takes the sup to 750 − 100 ⋅ (1 + 0.5) = 600 HP; yet, the Lure + 3 Cakes deals only 3 ⋅ 100 ⋅ (1 + 0.25 + 0.2 + 0.5) = 585 damage! Hopefully, this is illustrative of why the above discussion about having all hands on deck is meaningful.
Nonetheless, this same strategy does work if at least one of the Cakes involved is org, or if the initial Cake is replaced by a TNT, or if one of the round-2 Cakes is replaced by a Piano.
But what if you want to Toon-Up? Or perhaps you failed to damage the sup in round 1? Well, if you want both, then you’ll have to settle for unstunned Drop: 3 Pianos, where at least 1 is org.
If you merely want to Toon-Up (or whatever), then 1 Cake + 2 Pianos does the trick (assuming that you dealt ≥132 damage to the sup in round 1). Replacing the Cake with a Cloud ups the round-1 requirement to a TNT or org Cake. If you can get an org Cloud and/or org Piano, of course, it becomes easier. Switching from 1 Cake + 2 Pianos to 2 Cakes + 1 Piano (because Dropless builds are typical) is ✨technically✨ possible, but requires the very unlikely coïncidence that all four gags involved — including the round-1 TNT! — are org.
If you merely failed to damage the sup in round 1, then 2 Cakes + 2 Pianos does the trick. The Cakes can be replaced by Clouds, but only if a Piano is org or both Clouds are org. Luring or using fewer than two Drop gags are both nonstarters, as is typical in these sorts of situations.
- 1 Hypno + 2 Toons kill a nonsup (e.g. with 2 Cakes) + ⟨⟨1 TNT or 1 Cake⟩ on the sup or 1 group-lure⟩.
-
- If the sup was TNT’d or org Caked last round:
- Lure the sup (Hypno if it Promoted, else $10) + 3 Cakes; or
- 1 Toon-Up + 1 Cloud + 2 Pianos on the sup.
- Else if the sup was inorg Caked last round:
- Lure the sup (Hypno if it Promoted, else $10) + 1 org Cake + 2 Cakes; or
- 1 Toon-Up + 1 Cake + 2 Pianos on the sup; or
- 1 Toon-Up + 1 Cloud + 2 Pianos on the sup, where at least one damaging gag is org.
- Else if the sup is undamaged:
- 2 Clouds + 1 org Piano + 1 Piano on the sup.
- 2 Cakes + 2 Pianos on the sup.
- If the sup was TNT’d or org Caked last round:
Killing two nonsups in round 2
Given that there are two items in the list above, we might consider the latter: “kill all nonsup Cogs within round 2”. I don’t typically recommend this strategy, mostly because the presence of one or more randoms will surely thwart your collective ability to pick gags correctly! Nonetheless, it’s worth investigating.
We might expect to begin round 1 like so: 1 Hypno + 2 Cakes on the higher-EAD level 10 + hit the other level 10 (preferably with TNT). Assuming that this goes as planned, the sup’s best move[5] is to unlure the only lured Cog (the level 9) by Promoting it. Although Investing in the level 10 yields more healing[6], the extra healing is negligible in comparison to the advantage granted to the Toons by leaving the level 9 lured.
This leaves the Toons at the beginning of round 2 having taken up to three attacks in Bear, with a full-HP sup, a damaged level 10, & a full-HP level 10 (the latter was level 9 in round 1), none of which are lured.
The damaged level 10 can be taken care of by just 1 Toon per round: hitting it with 1 Cake in each round kills it, so long as at least one Cake is org; hitting it with 1 TNT in round 1, followed by 1 Safe or 1 Cloud kills it, so long as at least one gag is org; & with no org gags, 1 TNT followed by 1 Cake works as well.
The undamaged level 10 is still easily done, so long as you allocate 2 Toons to it in round 2: 2 Cakes, or 1 Cloud + 1 Piano. Simple!
Assuming that some combination of the above gag combos is possible with your party composition, that leaves one additional Toon to lure (not necessary in order to kill the nonsups, but makes gag accuracy less of a problem), to Toon-Up, or to hit the sup. That’s pretty nice, actually??
- 1 Hypno + kill a level 10 (e.g. with 2 Cakes) + hit the other level 10 (ideally with a TNT).
- 1 free choice (e.g. Toon-Up or Lure) + ⟨2 Cakes or ⟨1 Cloud + 1 Piano⟩⟩ on the undamaged nonsup +
- If the damaged nonsup was org TNT’d last round: hit it with 1 Door or 1 Cloud (or 1 Safe).
- If the damaged nonsup was inorg TNT’d last round: hit it with 1 Door or 1 Cake or 1 org Cloud (or 1 org Safe).
- If the damaged nonsup was org Caked last round: hit it with 1 Cake.
- If the damaged nonsup was inorg Caked last round: hit it with 1 org Cake (or 1 Piano).
(A variant that also kills all nonsups in round 2 starts much more similarly to Algorithm A, thus only tanking up to two Cog attacks in round 1, rather than as many as three — but note that these attacks are in Bear. However, this variant — in general — lacks the property of having one “extra” Toon in round 2 who isn’t directly doing the nonsup killing; that is, you need 2 Toons allocated per nonsup in round 2.)
Completely abandoning any semblance of received wisdom
Cog attacks in Bull Market deal 1.25∕0.5 = 2.5 times as much damage as those in Bear!! To put that into perspective, that implies that taking attacks from all 4 Cogs in round 1 is still less damage than just 2 attacks in Bull. And in fact, Bull is even worse than that: because it can pack more damage into fewer individual Cog attacks, it’s considerably more likely that said attacks will all align with a given vulnerable target (an Über, for example…). The result is that Bull Market is insanely more dangerous than Bear, full stop.
TTR randoms are, on a good day, only dimly aware of these facts. Indeed, I recently did a Bullion Mint with someone who explicitly confessed in SpeedChat+ that they had been doing many Mints recently — mostly Bullions — & yet had only just now (that is, after I explained myself in chat) realised that there even was such a thing as “Bear Market” vs. “Bull Market”. Truly, incredible.
But if we took Bull Market seriously, then we could devise strategies that entirely avoid allowing Cogs to attack within Bull at all! Finding practical strategies of this kind is not usually necessary, but suddenly makes a lot of sense in the context of an Über like Bái who is doing Coins with some regularity.
Lure & kill The Mint Auditor first
One such strategy that comes to mind is, basically, to start with group-lure & then kill the sup within round 2.
- 1 Hypno + 1 TNT + 2 Pianos on the sup.
-
- If Invested:
- 1 Toon-Up + 1 Hypno + ⟨1 TNT or 1 org Cake⟩ on the sup + 1 hit (ideally Trap) on the Investment Cog.
- 1 Toon-Up + 1 Cake + 1 Cream on the sup + 1 hit on the Investment Cog.
- 1 Hypno + ⟨1 TNT or 1 org Cake⟩ on the sup + kill the Investment Cog (⟨1 TNT + 1 org Cake⟩ or 2 Cakes or ⟨1 org Cloud + 1 Cloud⟩ or …).
- 1 Cake + 1 Cream on the sup + ⟨1 Cake or 1 org Cloud⟩ + 1 org Piano on the Investment Cog.
- Else (if Promoted):
- High-accuracy Lure (double-lure and/or use Trap) + kill sup + optionally ⟨1 Toon-Up or kill a nonsup⟩.
- If Invested:
- Proceed cautiously, as the benefit of Bear Market is removed by the sup’s death.
This general strategy can be made LCD, although this precludes the ability to use Toon-Up or damage/kill a nonsup in round 2:
- 1 Hypno + 1 group Lure (ideally Hypno) + 2 Cakes on the sup.
- 2 Cakes + 2 Clouds on the sup.
- Proceed cautiously, as the benefit of Bear Market is removed by the sup’s death.
The obvious problem with these general sorts of strategies is that you’re directly fighting Gag Tax. Realistically, if you know what you’re doing (in the context of TTO-style combat), have some patience, & take advantage of gag barrels when possible, Gag Tax simply won’t put up that much of a fight. Thus, these strategies are viable in general, & it’s unlikely that you cannot use them — unless your party members are especially underpowered.
Sound first
With 3〜4 Sound Toons, it’s possible to save all Fogs until the end, & then blast ’em all at once. The obvious version is given as Algorithm F:
- 4 Fogs. Unless healed by the sup, level 10s have 42 HP remaining, & level 9s have 20.
- 1 Toon-Up + kill two nonsups with some combination of Squirt and/or Sound + ⟨1 Toon-Up or 1 Hypno or hit the sup or …⟩.
- …Kill the sup ASAP.
Somewhat awkwardly, step (F2.) can risk exactly 1 nonsup dying (e.g. one Squirt hits but the other misses), in which case you’re forced to take at least 1 round’s worth of attacks in Bull! If you pay very close attention to HP values, & the sup’s strategy allows it, then it’s possible to kill both nonsups in (F2.) with nothing other than Sound, thus avoiding this possibility.
Of course, Algorithm F simply tanks 4 Cog attacks in round 1! This is in Bear, but still. With Drop, we can take this down to just 2 Cog attacks:
- 2 Fogs + 2 Pianos on two distinct nonsups.
- …Kill the sup ASAP, Tooning-Up as necessary.
Yet another Sound-first strategy is likely also practical for someone like Bái:
- 3 Fogs + hit sup.
- 1 Cloud + 1 Hose on each of two nonsups.
- …Kill the sup ASAP, Tooning-Up as necessary.
Algorithm H benefits from Bái not having any aggro from any nonsup Cogs in round 1, which mitigates some of the damage of the 4 Cog attacks. (Bái in particular is Squirtless, so one of the combos must be replaced with 1 Cake + 1 Cream.)
Crude comparison
I think that’s enough analysing strategies out of this one littol scenario for now! Proper analysis would require writing computer code that’s tricky to write, so I’m not gonna do that. Sorry. Noöne cares or is reading this right now, so I’m the only one who’s disappointed. Great.
That being said, we can take the main “Algorithms” so far, & compare them crudely. I’m gonna ignore the Sound-first ones because they’re sorta just there to demonstrate that they’re reasonable in principle (in many cases, at least), & you can suggest them if you’ve particularly Sound-happy party members who somehow didn’t already use their Fogs.
Anyway, here’s how we’re gonna do it:
Assumptions
- A strategy either works, or it doesn’t. We care about the probability that it does work, assuming ✨perfect✨ execution by the players.
- Gags whose outcomes (hit vs. miss) don’t affect whether the strategy’s main goal is met aren’t counted against the strategy’s success rate.
- We assume that Toon-Up never misses.
- Once the “Algorithm” is over, we don’t care about what happens next.
- A given Cog attack’s threat depends only on what Market is currently active.
- The Mint Auditor is smart.[5]
- Toons have access to all gag tracks, but all their gags are inorg.
- Because TTR’s post-v3.0.0 game mechanics are, in general, secret, we assume that the tgtDef of the sup is equal to whatever’s the strongest (i.e. closest to −∞) possible tgtDef of a non-Promoted nonsup (viz. −45, in this case).
Pretty shitty simplification, right? Cool. Let’s do it:
Legend for the tables below
- 📌
- An attack in Bear Market.
- 💣
- An attack in Bull Market.
- ✨
- A Toon-Up.
| Algorithm | suc rate | laff changes |
|---|---|---|
| C (TNT → Toon-Up) | 81.2% | 📌📌✨💣 |
| C (TNT → Lure) | 85.5% | 📌📌💣 |
| D (TNT → Toon-Up + 3 Cakes) | 77.0% | 📌📌📌✨💣 |
| D (TNT → Lure + 3 Cakes) | 93.2% | 📌📌📌💣 |
| E (Toon-Up + Trap(s) + Lure) | 85.7% | 📌📌✨📌 |
| E (Trap(s) + Lure + kill Investment) | 85.7% | 📌📌 |
The first thing to notice is that, because these are at least somewhat thought-out strategies, they’re already head & shoulders above what Bái is used to getting in her Coin runs. In particular, none of these strategies — when successful — result in taking two or more contiguous Bull Market attacks. Moreover, all three algorithms have some variant that allows getting a Toon-Up gag in there.
Although Table 1 is already crude enough, we can do even worse! Let’s summarise Table 1 as Table 2:
| Algorithm | worst change | fail rate | product |
|---|---|---|---|
| E (Toon-Up + Trap(s) + Lure) | 📌📌 | 14.3% | 14.3 |
| E (Trap(s) + Lure + kill Investment) | 📌📌 | 14.3% | 14.3 |
| D (TNT → Lure + 3 Cakes) | 📌📌📌💣 | 6.8% | 18.7 |
| C (TNT → Toon-Up) | 💣 | 18.8% | 23.5 |
| C (TNT → Lure) | 📌📌💣 | 14.5% | 32.6 |
| D (TNT → Toon-Up + 3 Cakes) | 📌📌📌 | 23.0% | 34.5 |
The product is the product of “worst laff change” (counting a normal Cog attack as dealing 100 damage) & “fail rate”. Thus, lower is better. This metric desperately & clumsily attempts to fabricate some information discarded by my simplifying assumptions, especially the assumption that all failures are equally “bad” in a way incomparable to how “bad” any given success is.
Using this product as a metric gives a lot of credit to strategies with low failure rates. By using a quotient instead of a product, we can place considerably more weight on the worst laff change:
| Algorithm | worst change | suc rate | quotient |
|---|---|---|---|
| E (Toon-Up + Trap(s) + Lure) | 📌📌 | 85.7% | 1.17 |
| E (Trap(s) + Lure + kill Investment) | 📌📌 | 85.7% | 1.17 |
| C (TNT → Toon-Up) | 💣 | 81.2% | 1.54 |
| D (TNT → Toon-Up + 3 Cakes) | 📌📌📌 | 77.0% | 1.95 |
| C (TNT → Lure) | 📌📌💣 | 85.5% | 2.63 |
| D (TNT → Lure + 3 Cakes) | 📌📌📌💣 | 93.2% | 2.95 |
But notice that, under both metrics, Algorithm E reigns supreme! Moreover, Algorithm C with the “TNT → Toon-Up” variant is also fairly strong under both metrics. This demonstrates the power of giving your party enough extra tempi to get a Toon-Up in there, or to kill an extra Cog.
Takeaways
In reality, strategies are not — & ✨ideally✨, should not — be chosen in the ways suggested by the crude metrics of Tables 2 & 3. In the absence of Übers (read: low-maxlaff Toons), Table 2 is a reasonable first approximation. In the presence of Übers, Table 3 is obviously more appealing (& might be of some utility).
But, again, the reality is this: you need to adapt to your situation (e.g. party composition), & you should know how much damage you’re willing to tolerate from a “success”. For most Übers (excepting perhaps a ≈39-maxlaff one), this makes the “TNT → Lure + 3 Cakes” variant of Algorithm D a bad idea, in spite of its impressively high success rate.
And above all, hopefully this analysis has demonstrated the power of actually just thinking about it. There are no funny tricks here, no computer code, & no mathematics (statistics included) beyond the primary school level. Just ordinary Tewtow-player reasoning, with publicly-known game mechanics.
Footnotes for “Write that down.”
- [↑] For my use of this term, see “The Earthly consequences of SBHQ”.
- [↑] (110 + 110) ⋅ 1.2 = 264 ≥ 260.
- [↑] This algorithm assumes that a Money Bags has a higher EAD (against four Toons) than a Robber Baron of the same level, & that a Loan Shark has a higher EAD than any other nonsup Cashbot of the same level that lacks multi-target attacks. Both of these are (plausible) assumptions, because TTR’s post-v3.0.0 game mechanics are, in general, secret.
- [↑] This is very similar to the sup’s behaviour, except that Investment’s Attentive only lasts for two rounds, whereas the sup is always Attentive.
- [↑] This approach of assuming that Toons always do “the right thing” (i.e. the best thing for the Toons), but that the Cogs always do “the right thing” from their perspective too (i.e. the worst thing for the Toons), is vaguely reminiscent of the game-theoretic notion of minimax. However, there is complication in the nondeterminism of Toontown battles. So, to simplify things to a hopefully(!) halfway-decent approximation, it’s often enough to assume that nothing ever misses (including both gags and Cog attacks). In cases where gag accuracy is more problematic, more sophisticated analysis is necessary.
- [↑] (11 ⋅ 12) − (10 ⋅ 11) = 22 < 25.
- [↑] Throughout, I use the term round to refer to the following contiguous 2-ply sequence: ⟨Toon ply, Cog ply⟩.
To the tune of “Metamorphosis 1962–1966”
Although I don’t feel like I urgently need it, it would be nice to get Rusa some more maxlaff from activities. You know, the non-Cog-busting kind of activities. Unfortunately, Cog-busting is the only lyfe I know!!
But, okay. I guess I can tolerate some amount of fishing, at least — so long as I have some sweet tunes to accompany me on my fisherly journey.
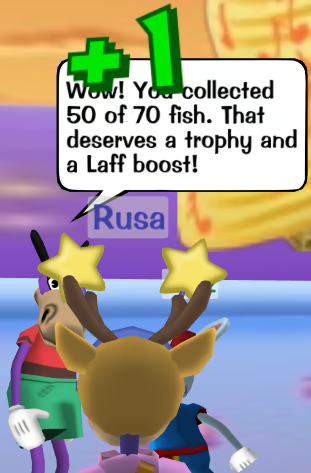
Wow! 50 species. It’s gonna get harder now, right?
Well, sorta. The real time-sink is in the ultra-super-duper-mega-giga-rares (or whatever), which naturally are there to gatekeep the completionists from the filthy casuals such as myneſelf.
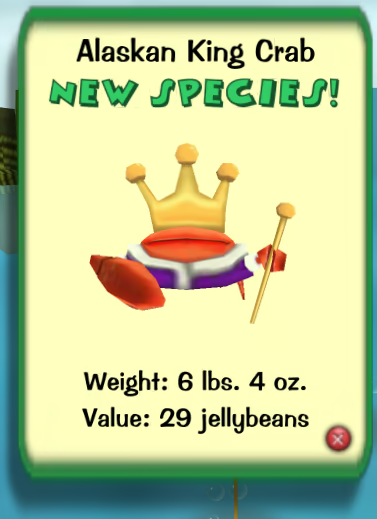
I made good use of The Shticker Foundation’s fishing Companion App, as discussed in the previous instalment. It worx really well! Never before has zipping through a couple o’ new fish species been so convenient.
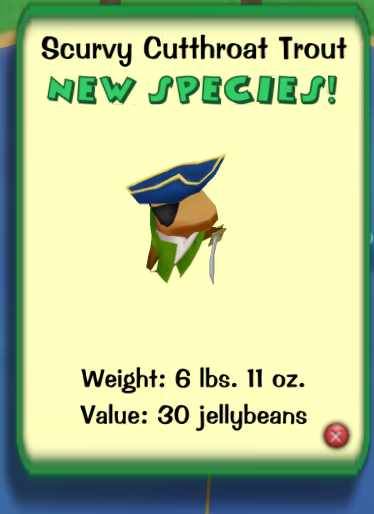
After it started to get too tedious to get new species — easily observed through the app — I bought the next rod: the Steel Rod.
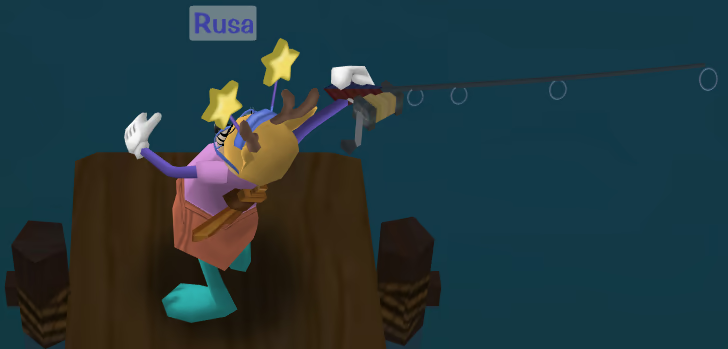
It’s not flashy, but it really does the trick. In fact, the Steel Rod supports enough weight to catch 69 (nice) out of the 70 species in existence! Only the Bull Dog Fish requires the next & highest-tier fishing rod: the Gold Rod.
And holy macquerelle! I caught a Holey Mackerel wif it!:
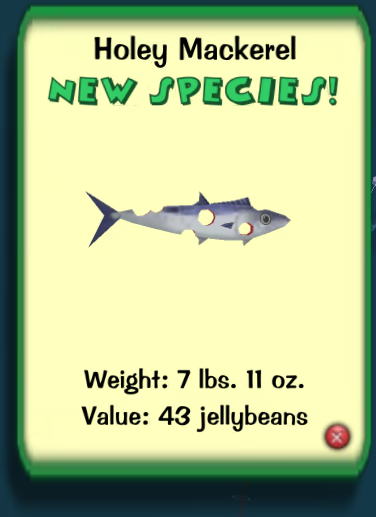
After a while, I bought the Gold Rod too, because why not? And with that, I hit the penultimate distinction in fishing: the sixth maxlaff boost.
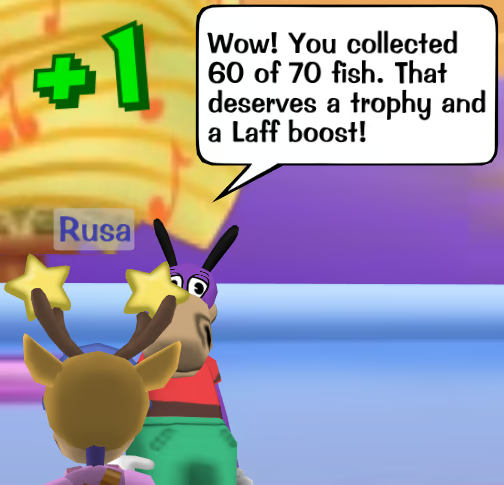
Those last ten species are pretty brutal, so we’re gonna stop there — for now, at least. 😅
Novice gooner
Also on Rusa, I did some C.F.O.ing, as usual. In particular, though, I accompanied Harley on her first-ever C.F.O. run!!:
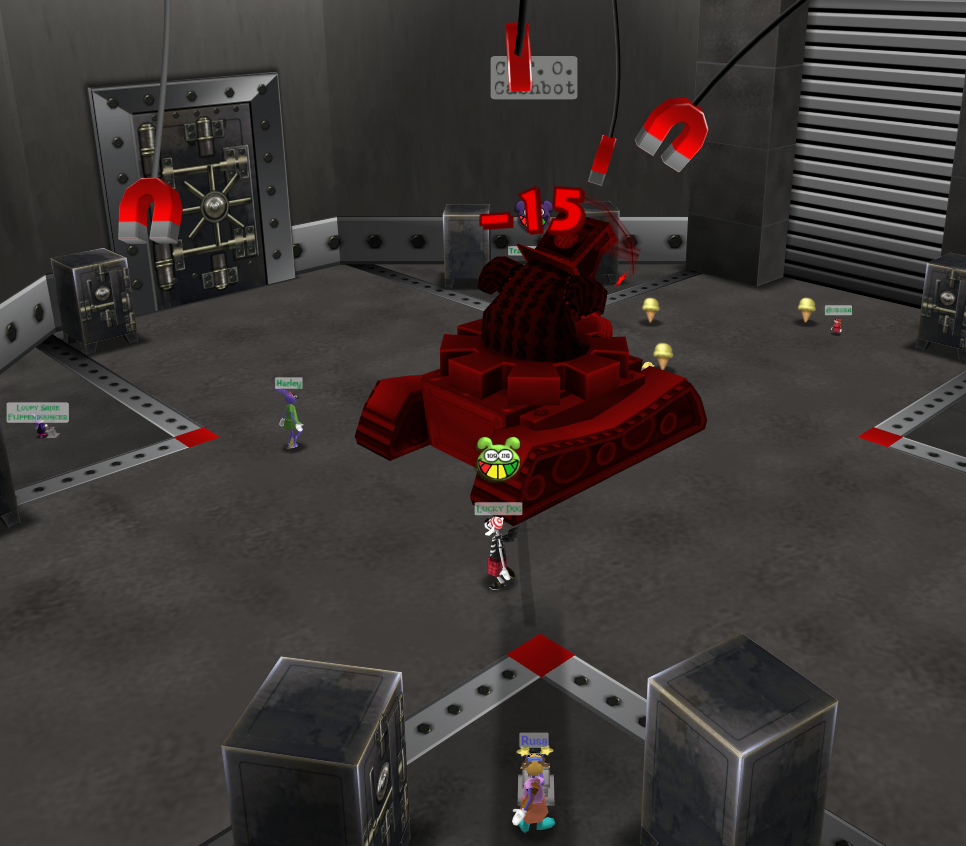
Gooning is the natural place to start, because the only other option — for the C.F.O. fight proper (i.e. phase II), that is — is to be a crane operator. Although I don’t doubt Harley’s potential, craning is just something that requires lots of practice — which I hope to see her get, later on!
Wintertide
No matter whether ye be in the hemisphere of the south or north, in Tewtow, the seasons of the north are evident for Christmastide:

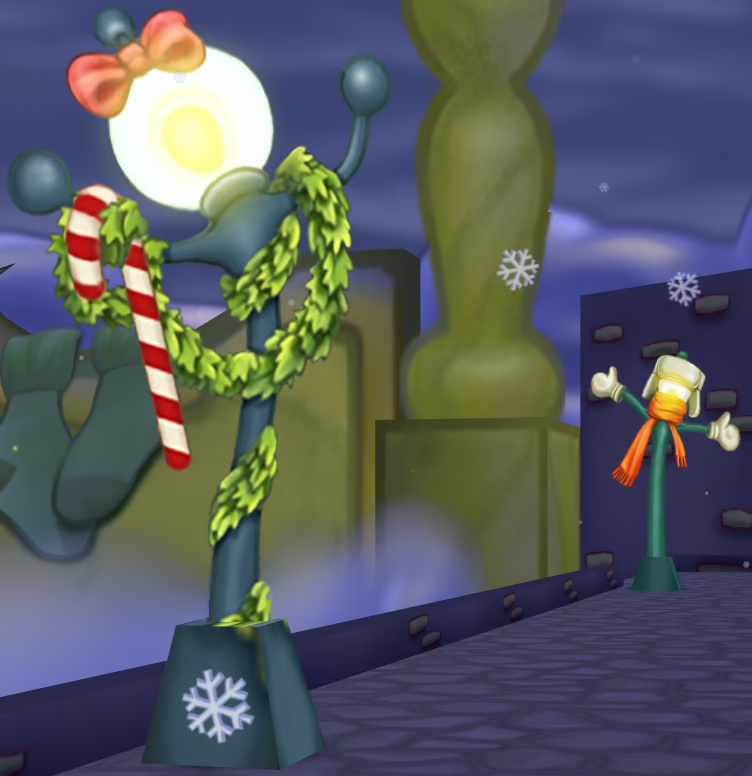
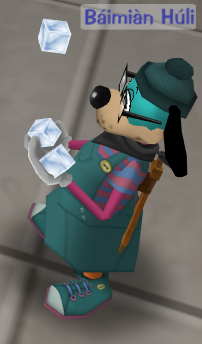
Half or so of our gags have been temporarily rethemed for the occasion — like Juggling Cubes becoming Juggling Ice Cubes!:
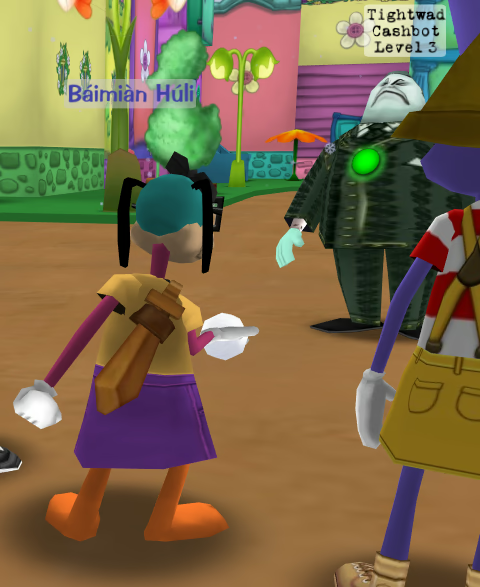
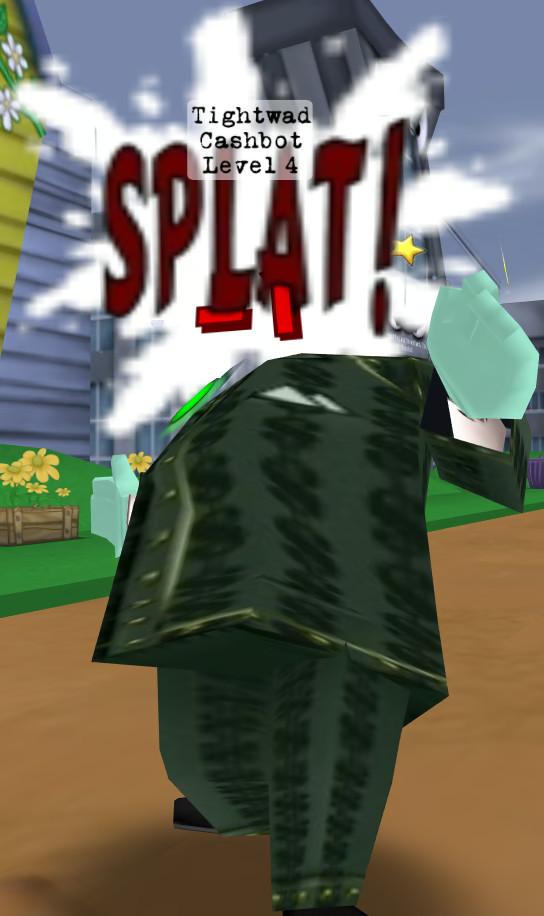
The snow can be used to pick snowball fights with friends — or with enemies:
And on Rusa, I shell’d out well over 10k jellies(!) for the Cosy Cabin house exterior:

Wowza. Pretty impressive, huh? It’s even got a front terrace with a littol staircase! Let’s Czech it out:
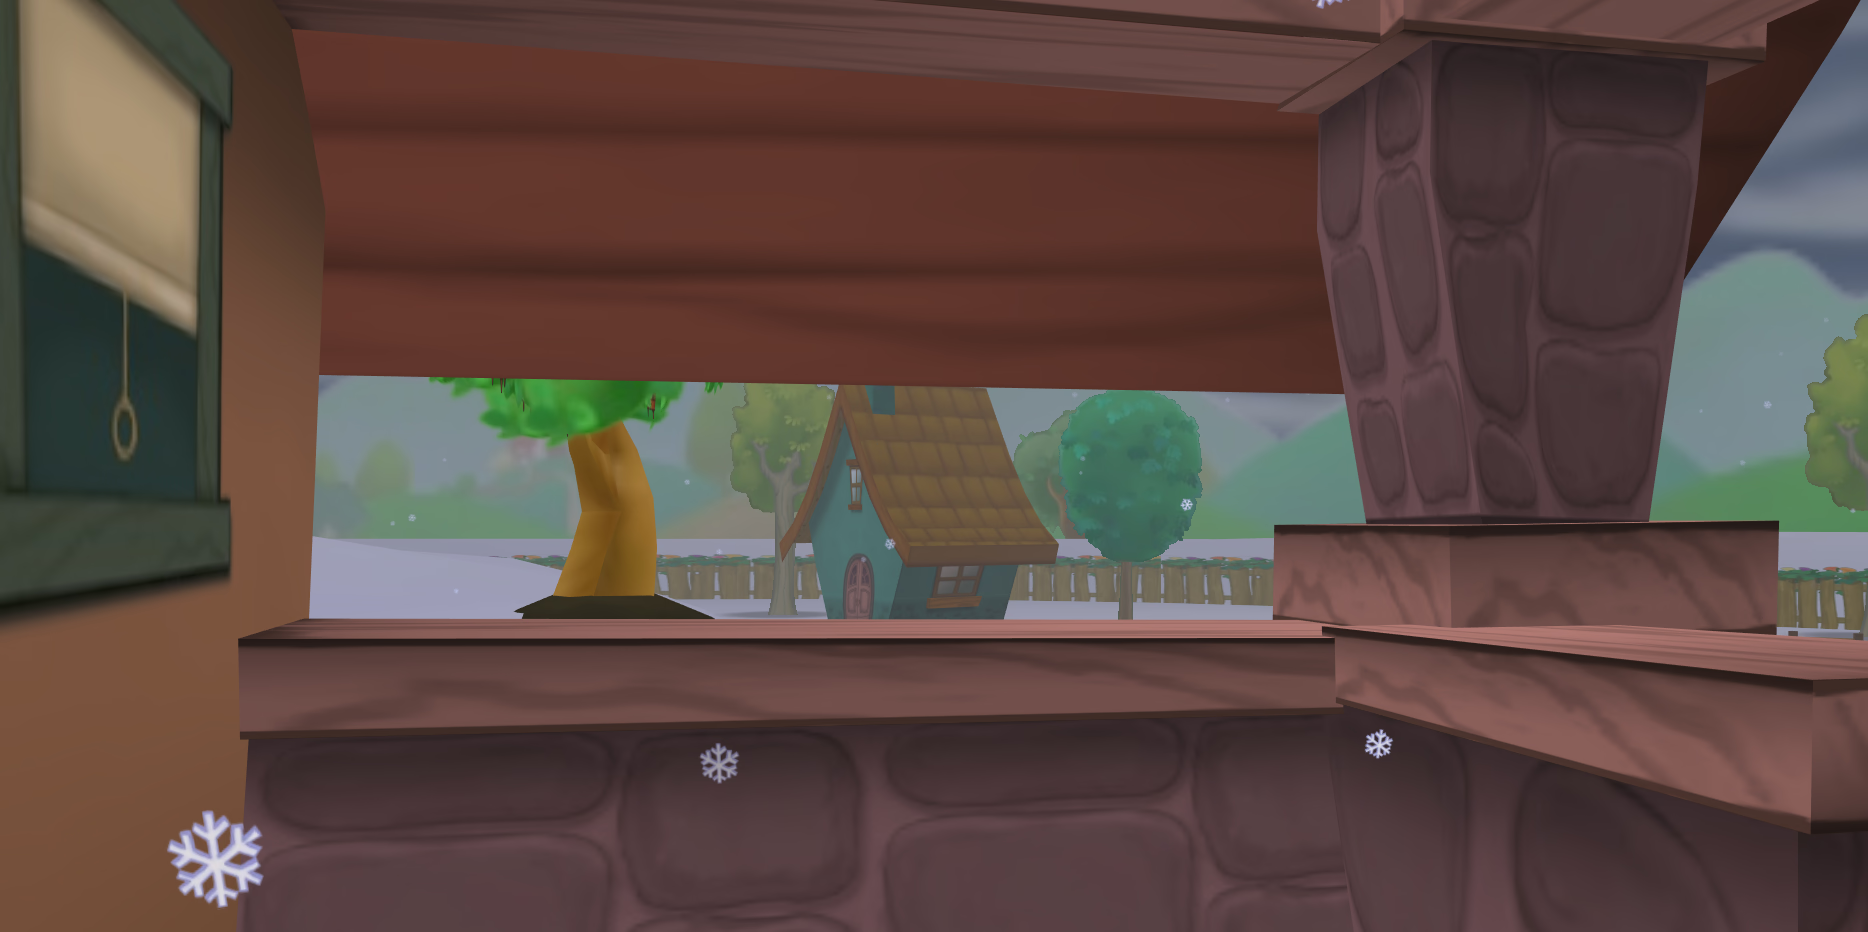
I feel cosy already, & I haven’t even entered the house! I could use the front door to do that, but with the Cosy Cabin, there’s a better way:
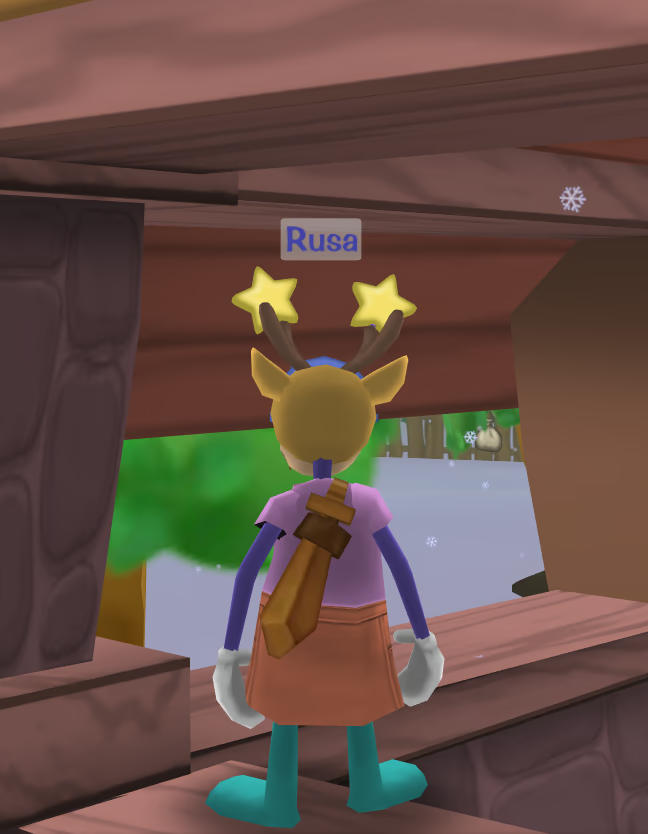
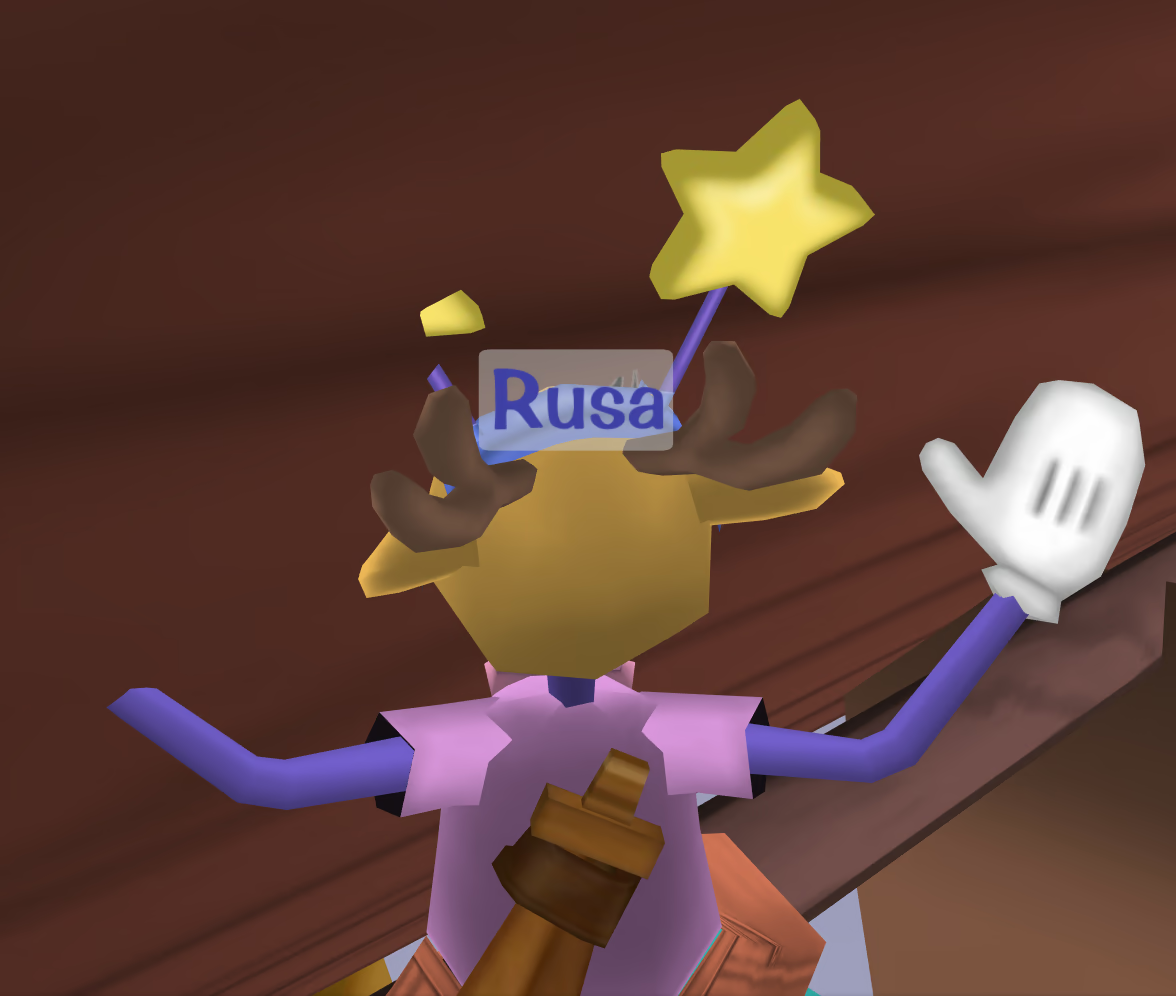
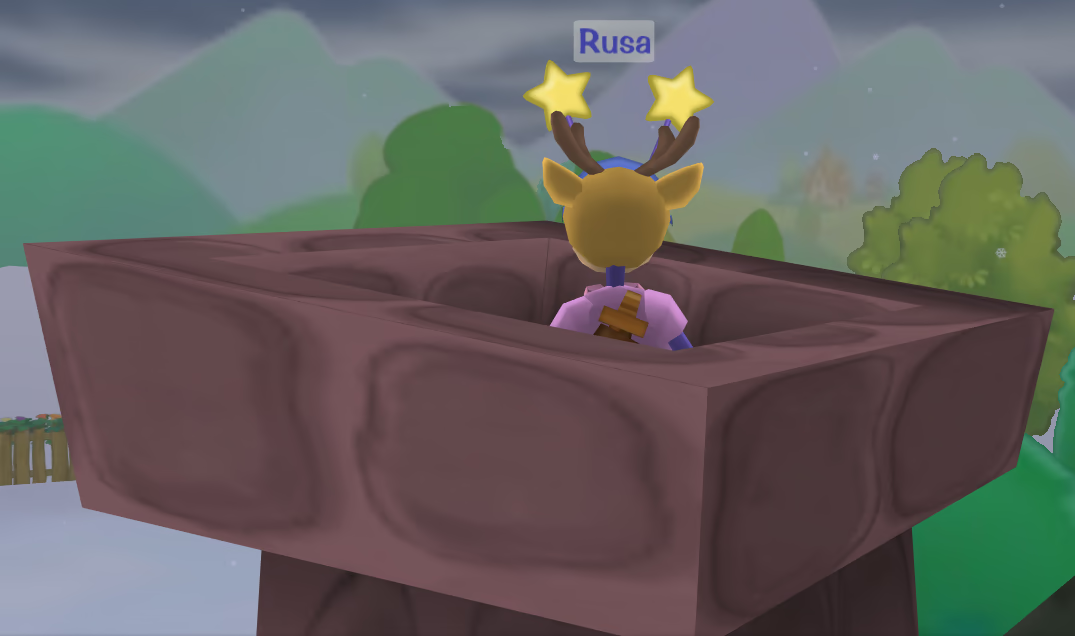
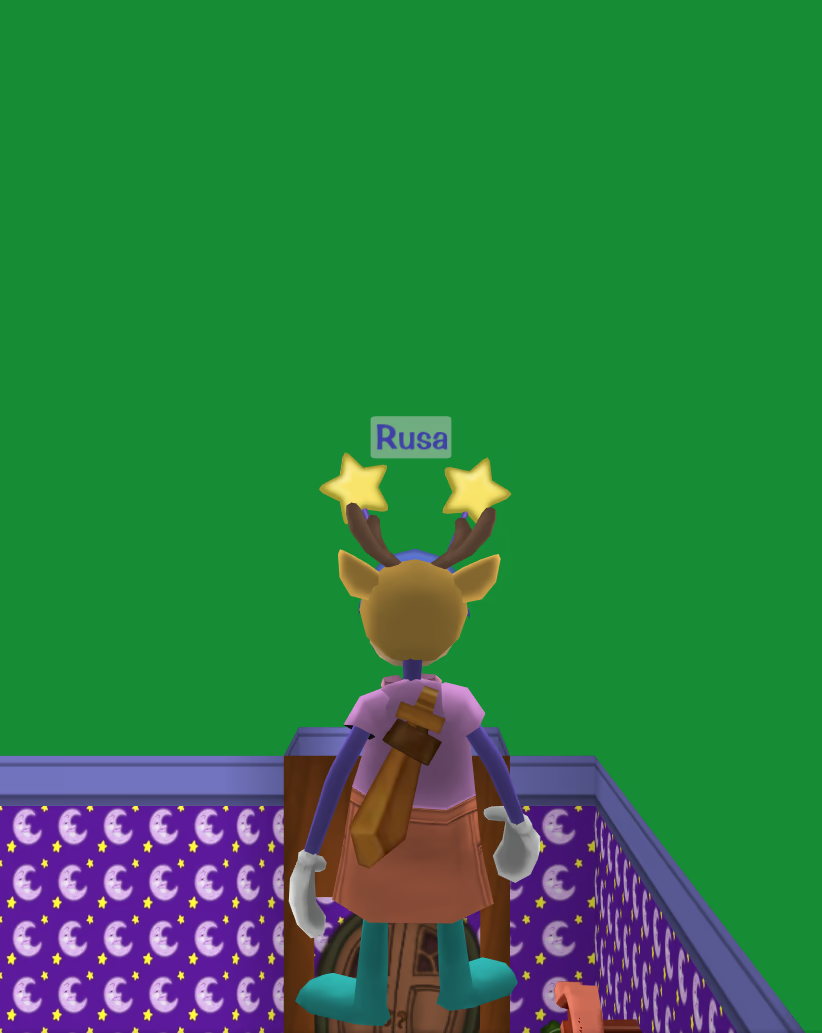
The chimney! So convenient for when I lose my housekeys!! 😊
Partnerfest
At the same time as IRL Toons were gathering (& presumably, freezing their bums off) in Columbus, Ohio, U.S., the game itself put on a Partnerfest!
Cultishness
One such TTR Partner was the Soundless Cult, a fairly long-running group of Soundless enjoyers whom I’ve never join’d because they always required a Discord™® account. Nowadays, I do have a Discord™® (@capreolina), but only because MapleStory made me do it!! Tewtow is a little better about that stuff. But anyway.
The point is that I attended one of their Partnerfest events: Soundless Cult V.P.!
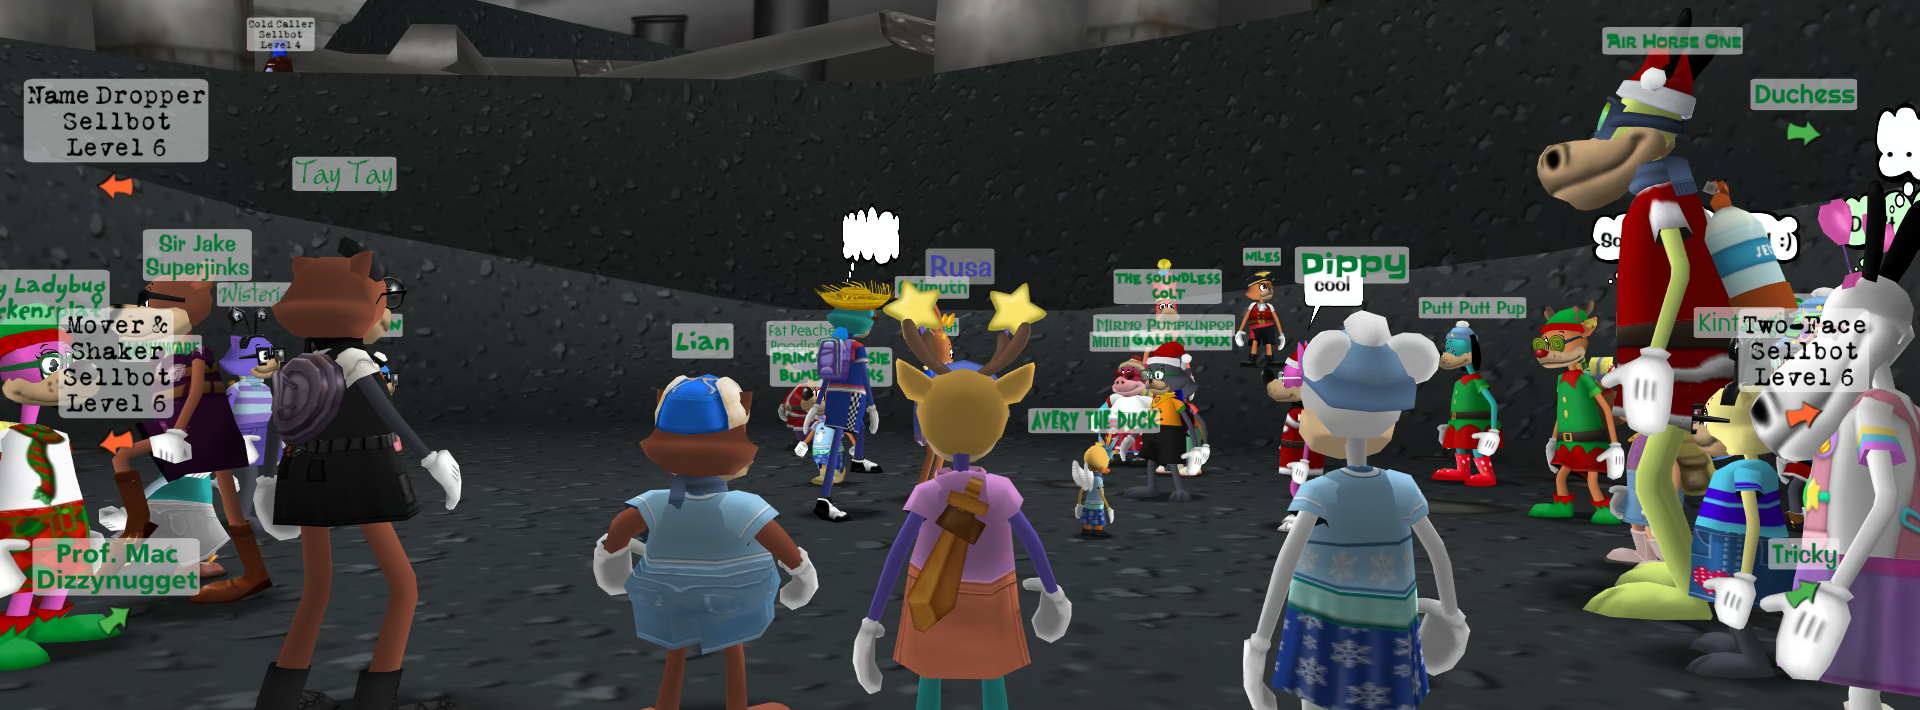
As we gathered in the pit in preparation to all run to Sellbot Towers & hop in the elevator eight by eight by eight, I spotted just one host: Soundless Colt, who was, naturally, a horse Toon.
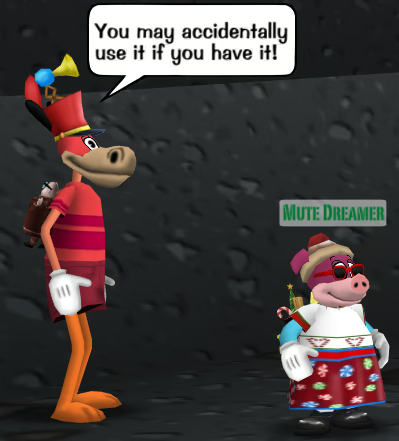
Here, we see him desperately trying to get Sound-havers to empty their Sound tracks before running. Sound Toons are allowed on the run, but obviously they’re not allowed to use Sound. Presumably, in the past, they’ve had issues with Sound Toons “accidentally” (lol) using Sound, hence the advisory to empty out the track at a gag shoppe before running.
In any case, I made it into the first group on the elevator, where I partook in… a quite nice V.P. run! Honestly, it didn’t feel all that “special” in comparison to an ordinary V.P. run. I’m always Soundless, so the only difference was that other people were also not Sounding. Still, I love me a good V.P., & it’s always nice feeling like noöne can call me out or get upset over my Toon build!
557/500
Although this didn’t seem to have anything to do with the Partner part of Partnerfest, one event in the lineup was a big ol’ beanfest. I think there were two(?) such beanfests in total, but I only attended one.
Because these were officially-designated beanfests, the turnout was spectacular. I mean, like, game-breakingly spectacular.
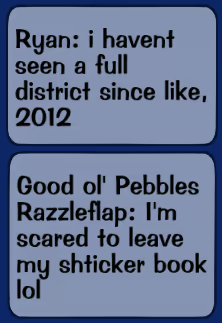
Transcription of the above image
Ryan: i havent seen a full district since like,
Good ol’ Pebbles Razzleflap: I’m scared to leave my shticker book lol
Indeed, I don’t have any screenshots of where the beanfest took place (around Fisherman Frizzy), because I, too, was afear’d of setting my CPU on fire by trying to render potentially over 500(!!!) Toons simultaneously.
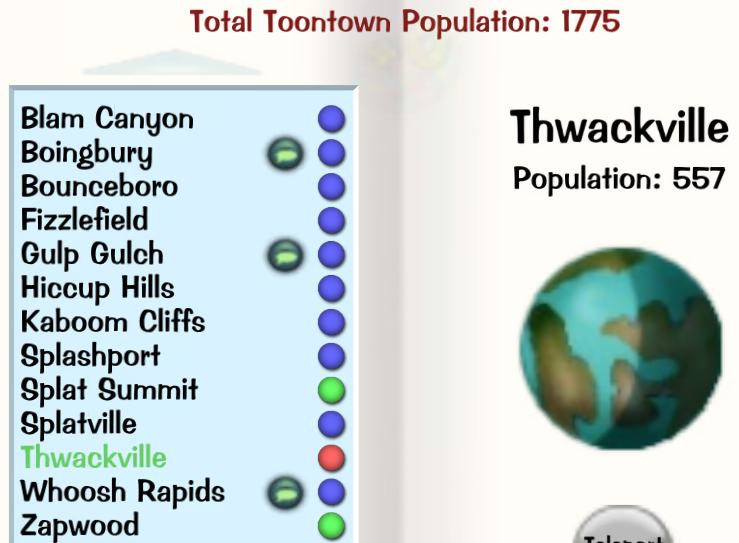
Transcription of the above image
Total Toontown Population: 1775
Thwackville
Population: 557
As you can see, the total TTR population at this time was not especially high (unless you compare it to an MSPS[1]), which meant that nearly one third(!!) of the total population was in a single district. For reference, the maximum capacity of a district is 500, so the only way it achieved 557+ was by people teleporting to Toons on their friend lists who were in the full district. Ordinarily, district sizes are balanced by the server fairly aggressively, so that full districts never naturally occur — thanks also to ToonHQ’s groupfinding system. So being here was quite the trip!
Footnotes for “Partnerfest”
- [↑] In which case, an MSPS of equivalent size would have a much higher reported population. Toontown fairly accurately counts actually-active players at the time of measurement.
First First Fairway
As disgust previously at least once or twice, yr grrl Rusa is still purposely staul’d in the main ToonTaskline in anticipation of the release of new LBHQ suit & BBHQ suit Tasklines. Harley, on the other hand, is understandably put off by the fact that I’ve been waiting for months now (😭), & so is doing þͤ olde versions of these Tasklines.
…Or is she?
Well, it turns out that the BBHQ Taskline was recently nerft (if you will) so that it doesn’t require a bajillion Front Threes; it now only requires three! And actually, they’re called “First Fairways” now. I haven’t done any CGCs since UNM, so I was excited to do my first First Fairway alongside Harley doing her first as well!
Some things never change. Long ago, in a land far, far away, I did many a CGC. Like, many. Very many. So even after all this time, there’s still a part of my brain (one of my six remaining braincells) activated by seeing the Hedge Maze before my eyes:
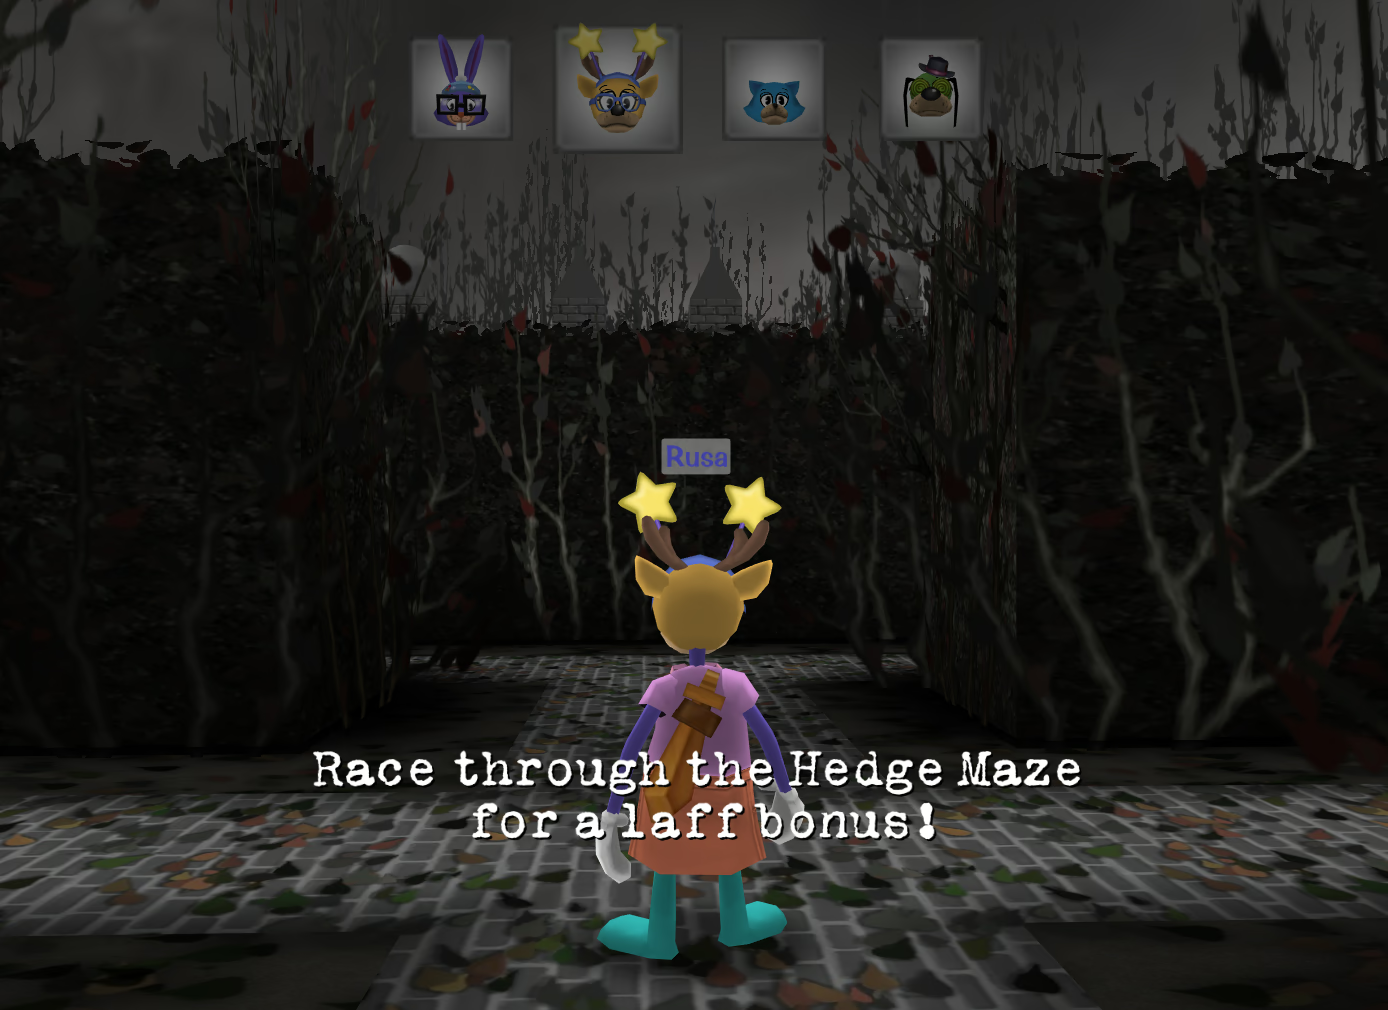
If you know what you’re doing, the visual cues presented to you always allow completing the maze in the most efficient possible way, without backtracking or guessing. So I ended up finishing in 1st place:
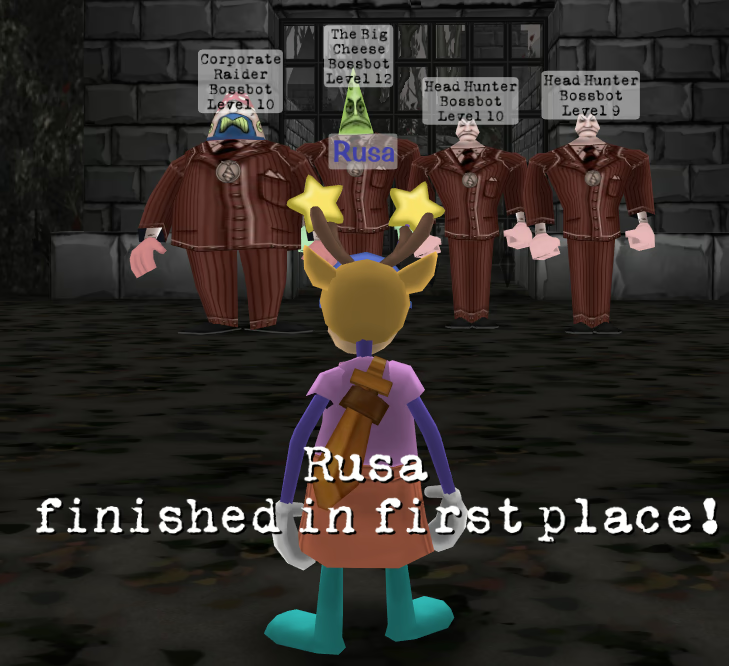
Thanx, ancient primæval instincts!
Mole Stomp is the same as always: a 6×6 grid of mole holes that each randomly pop up a red or yellow mole sometimes. The red ones are the ones that you have to stomp to make progress, & the yellow ones are one-way tickets on Mole Airlines™.
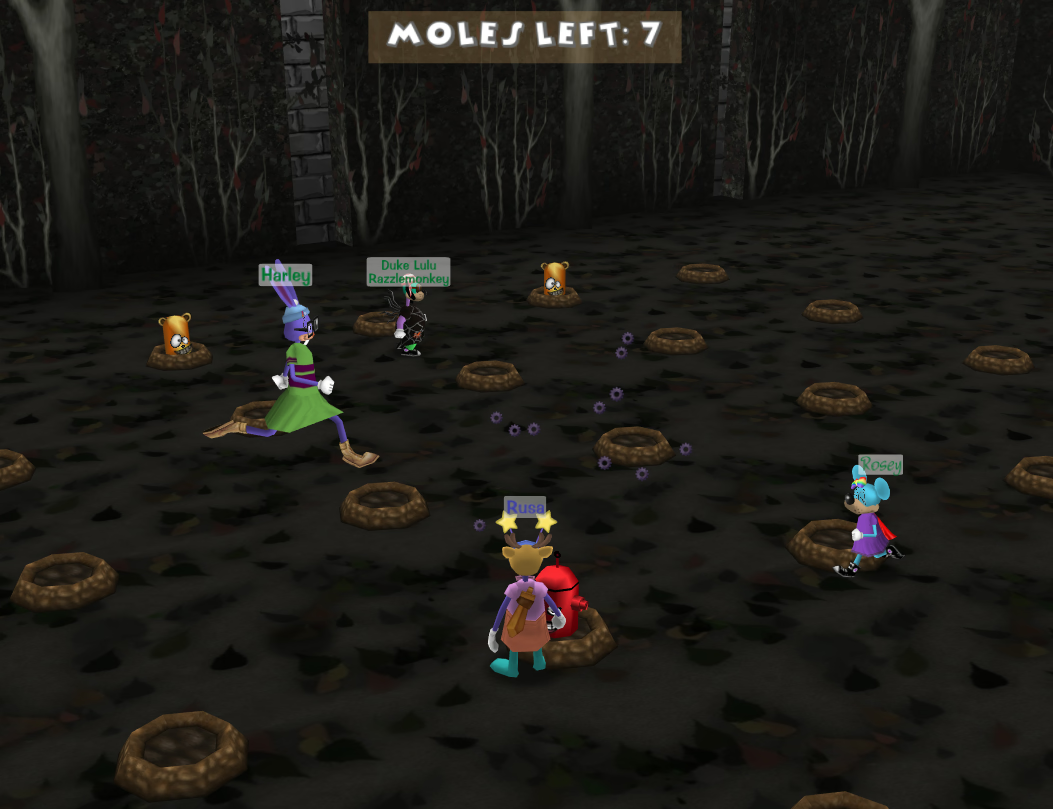
The key here is that, because you’re a party of four, the 6×6 grid can be straightfowardly split up into four 3×3 grids, so that each Toon is responsible for an aliquot & contiguous part of the field. How convenient!
Some things do change, however. Obviously, because this is a post-UNM facility, we’re already expecting it to be backloaded. Still, there are some changes to parts of the facility that aren’t the very final fight:
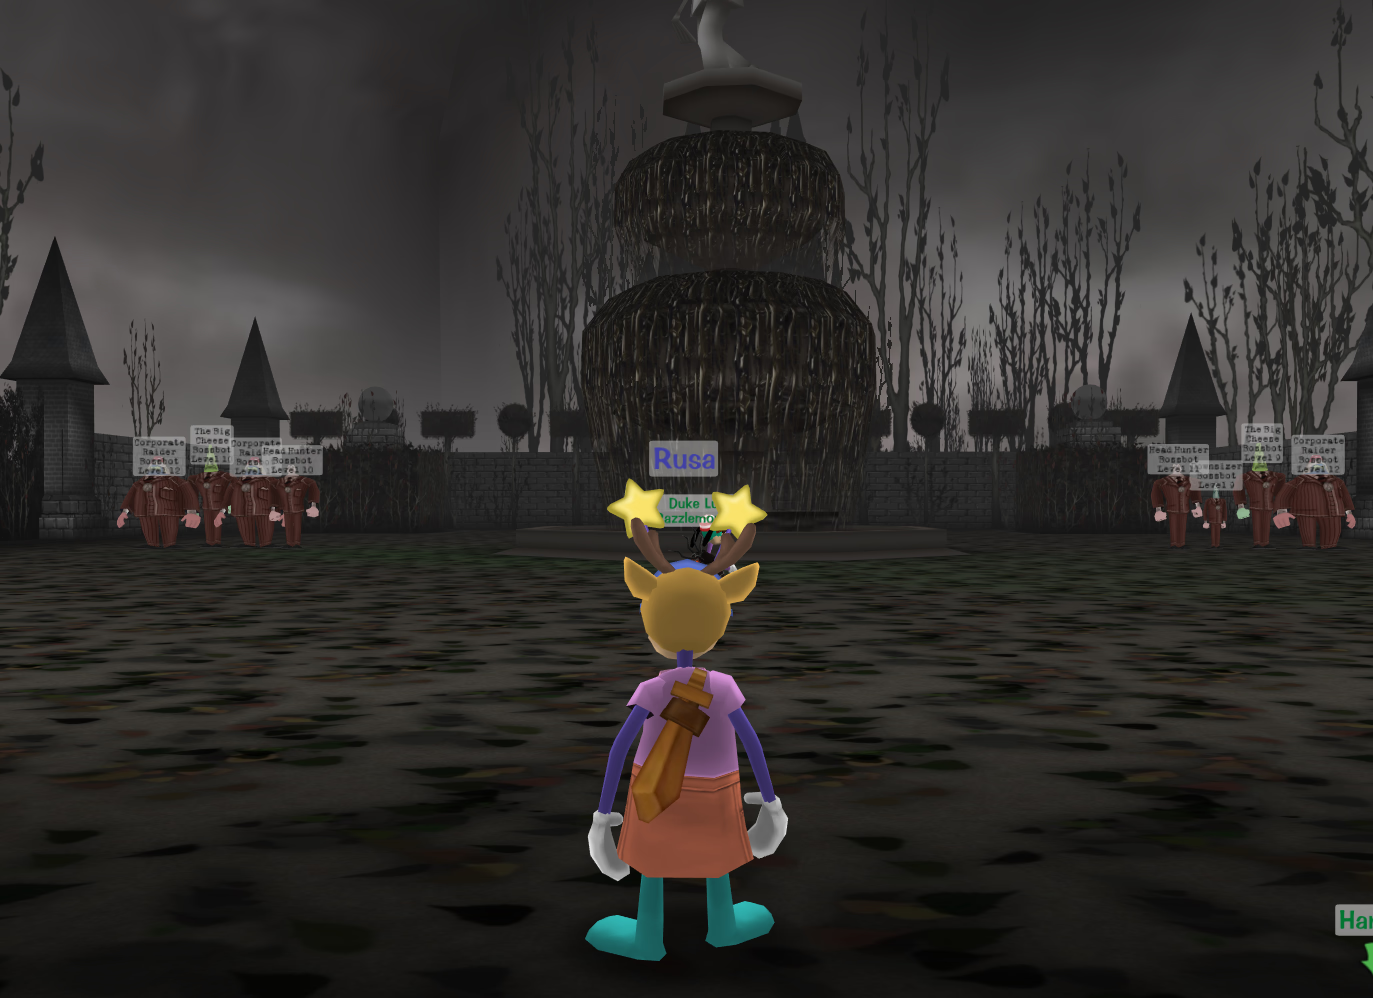
Wow! BBHQ has Doom Rooms™ now? Sort of. There’s only a left fight & a right fight — no front nor back. But you do indeed get the choice to do two fights or one, & if the latter, which fight you prefer (but they’re basically the same anyway).
It’s worth noting that, although this is a structural difference from þͤ olde CGCs, perhaps the most striking difference is æsthetic: this “Bossbot Doom Room™” (if you will) replaces what was previously a giant rectangular room that was almost entirely empty, excepting a single Cog fight at the end. It was pretty ugly, ngl.
And we still have the fun part of CGCs: the match-three game. Match three golfballs of the same colour, & they go poof:
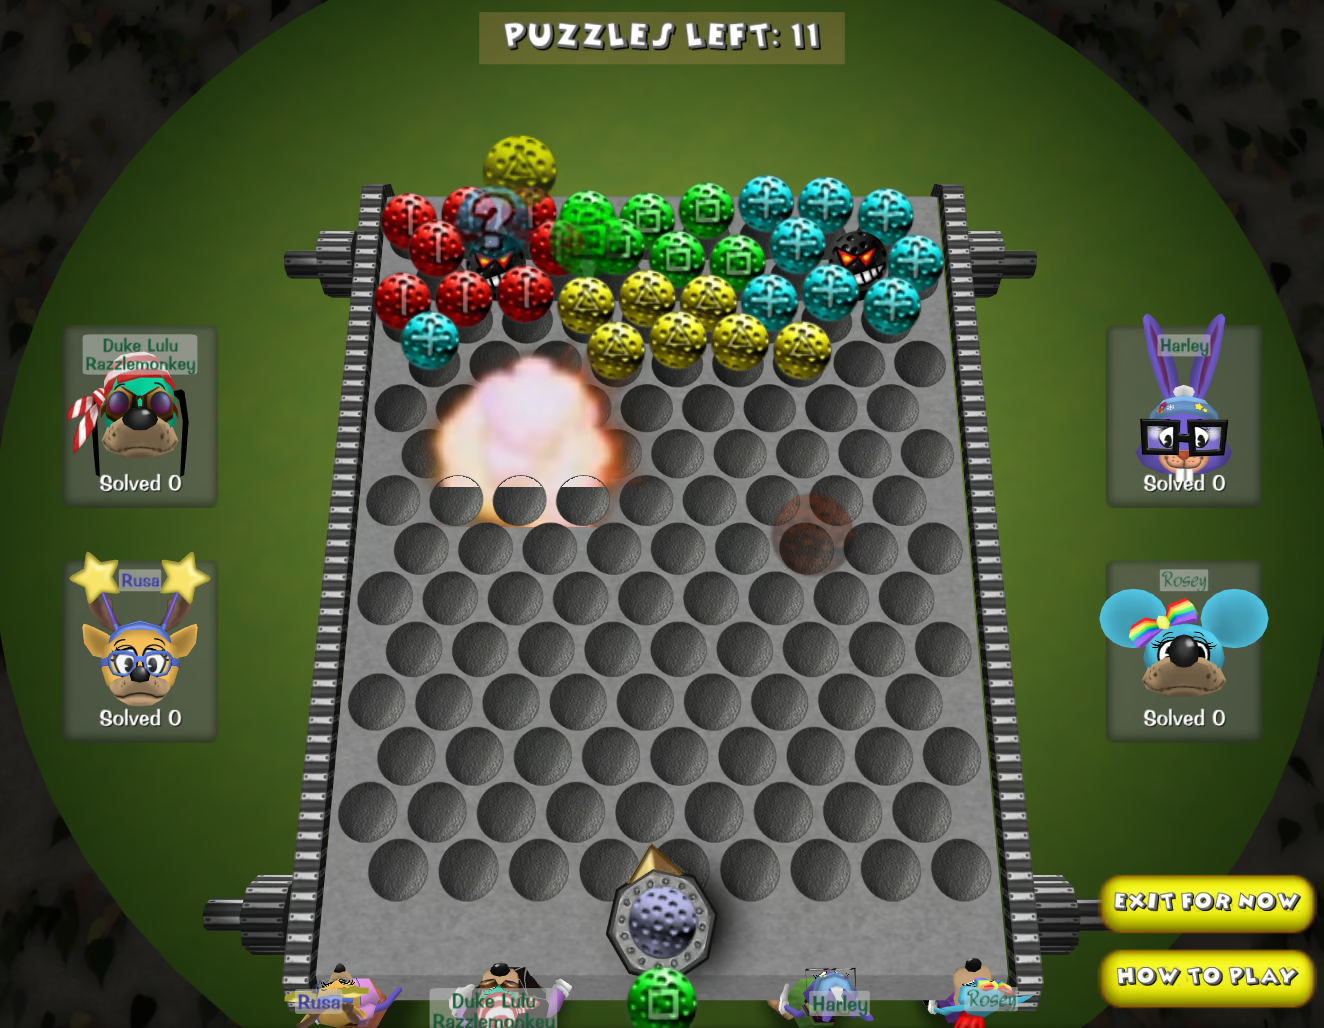
The game itself is the same, but the rewards are not. Previously, each completed match-three puzzle would award a random gag to whoëver completed it. This was, to put it politely, a littol goofy:
- Players were encouraged to partially empty out their gag pouches before entering the CGC, so as to leave room for useful high-level gags sometimes randomly awarded by the match-three minigame, whilst also leaving room for the undiscardable garbage awarded in the same way. It wasn’t uncommon for people to walk into CGCs with only ≈40 gags or so, in spite of the pouch size being 80.
- Semis with more than one non-Throw-non-Squirt track missing were encouraged to “stuff” those tracks as necessary to avoid being awarded gags in tracks that they didn’t even have. For example, a Lureless–Soundless semi would stock up ten (out of ten) $1 Bills, so that they couldn’t be “awarded” any more $1s. Throwless and/or Squirtless Toons were basically just screwed.
- Because each award went only to the Toon who completed the respective puzzle, a given player could be “too good” at the minigame, thus inadvertently depriving their teammates of gags.
UNM has replaced this bespoke mechanic with the one that has always been used in every other facility in the game: gag barrels. Players are still rewarded with healing for completing the minigames in time, & are still penalised with damage for failure.
The only really, totally new room appears to be the Oil Room:
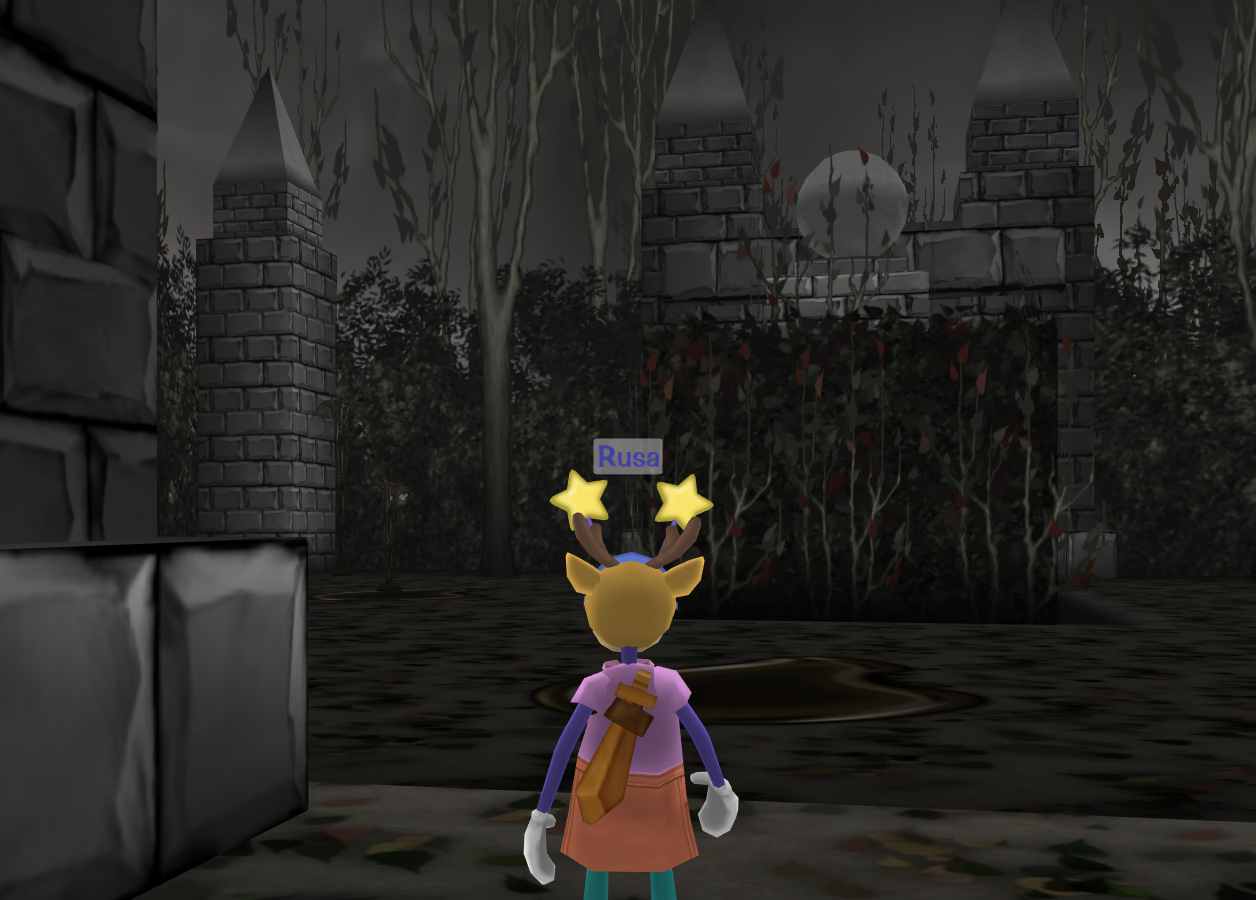
Basically, there are puddles of oil & concealed fountains of oil in the ground. Touching oil at any point causes a Toon to fall to the ground & slide, taking damage in the process. There are then two buttons in the room, both of which must be prest in order to proceed.
Ah! Another Hedge Maze! You know, I never did fully grasp how the flags workt:
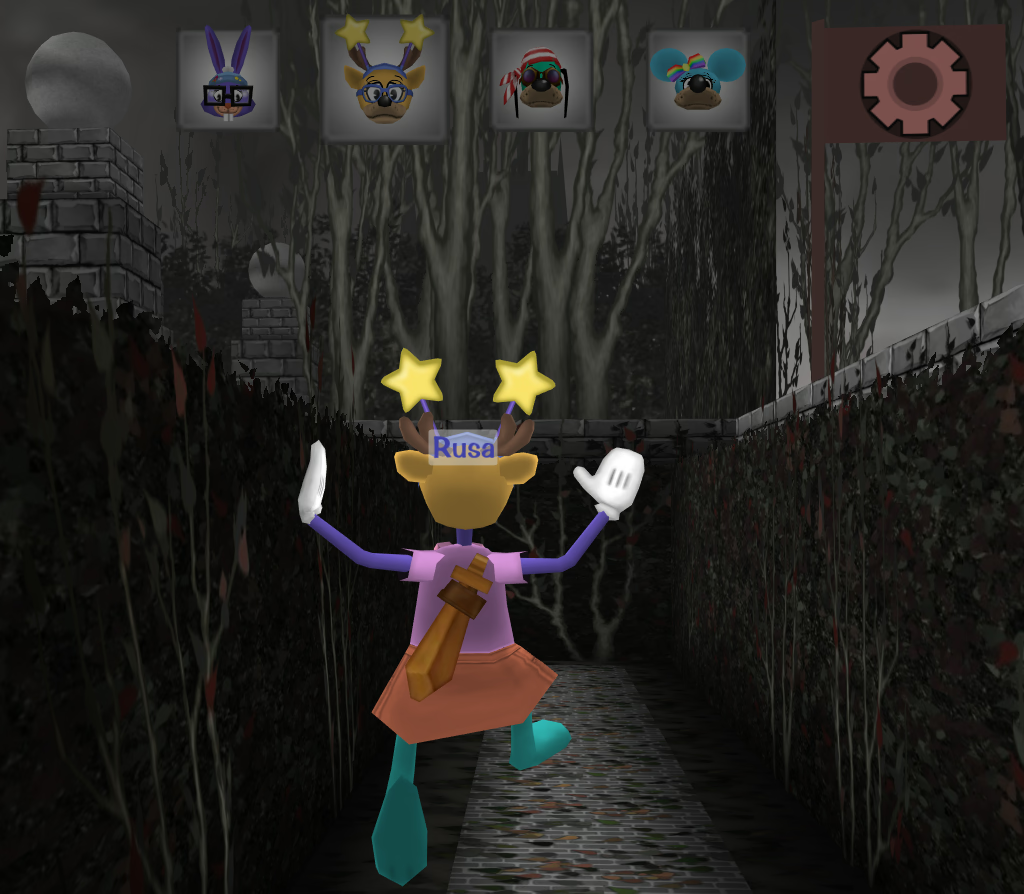
Like the other post-UNM facilities (presumably including DA Offices, although I’ve yet to do one myself), the ordinary CGC battles now have weird Cog level distributions that are kinda all over the place. Most impressively, we fought a level 13(!) Cog in a non-supervised First Fairway battle!:

Whew!
And finally, we arrive at the pièce de résistance: the Club President battol.
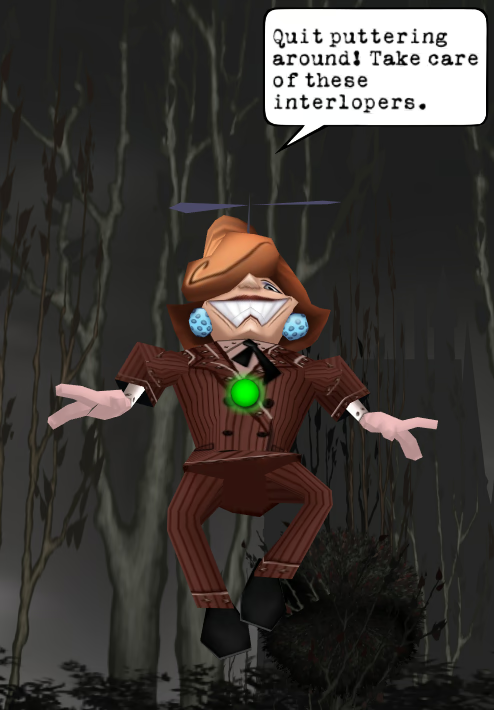
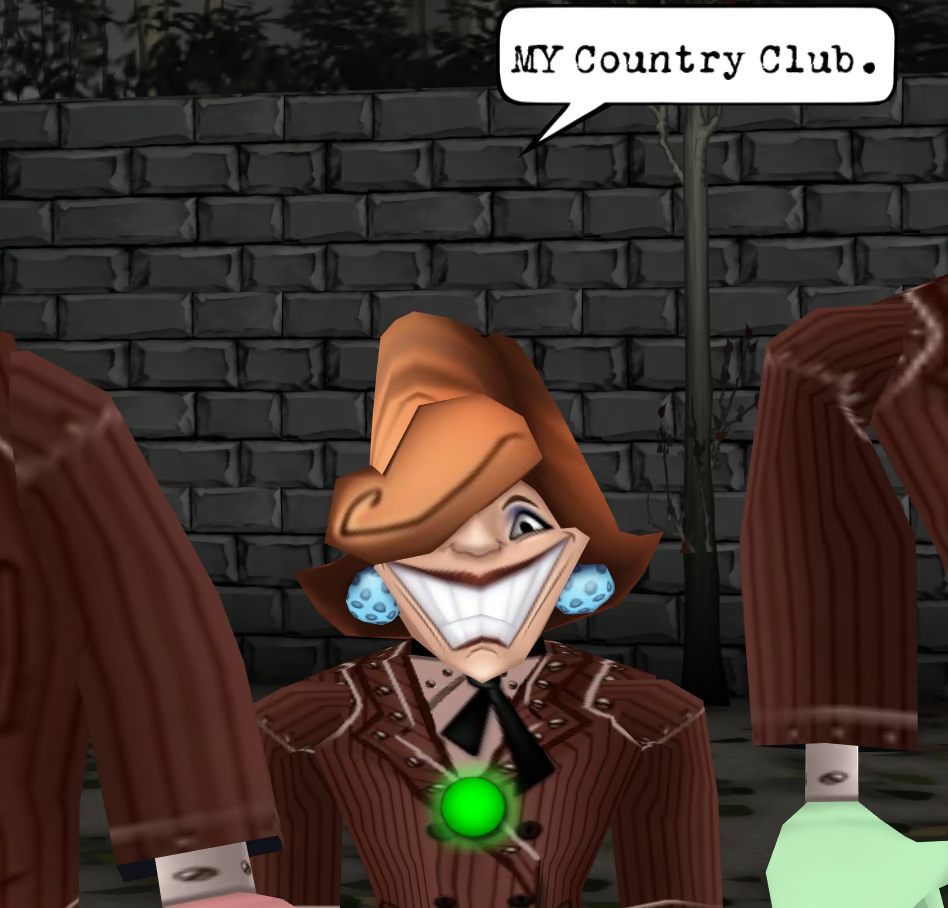
She’s the “Club President”, because this is a country club! If you’re not familiar, a country club is, like, an élite cult with a manor house for members of the cult to do golfing at. And also, only rich white people are allowed. I’m sure you understand now why we have to nuke it from orbit.
Because we’re trespassing, only so many rounds can elapse before our legally-impending doom:
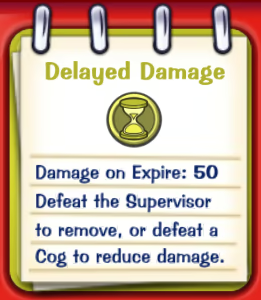
Transcription of the above image
Delayed Damage
Damage on Expire: 50
Defeat the Supervisor to remove, or defeat a Cog to reduce damage.
So we got straight to work with our opening salvo: 3 Fogs + 1 Piano. None of the Cogs were above level 11, so this would’ve cleared the field apart from the sup, if it weren’t for the fact that two of them were v2.0s — hence the Piano:
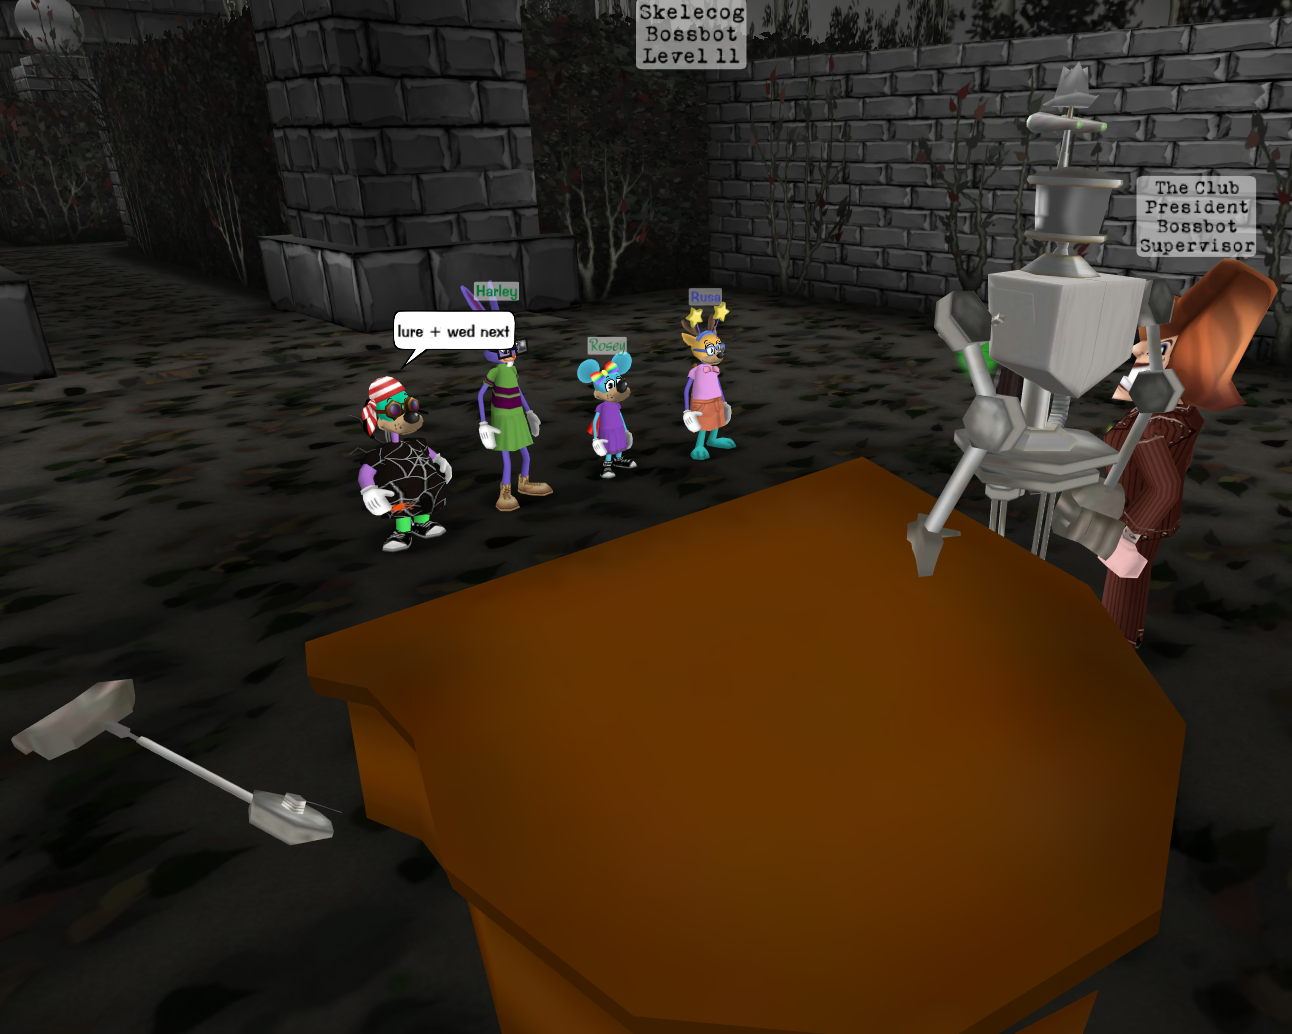
In many ways, getting rid of Cogs brings a lot of benefit for Toons. However, The Club President’s signature Bunker Shot attack gets significantly more powerful as Cogs are defeated:
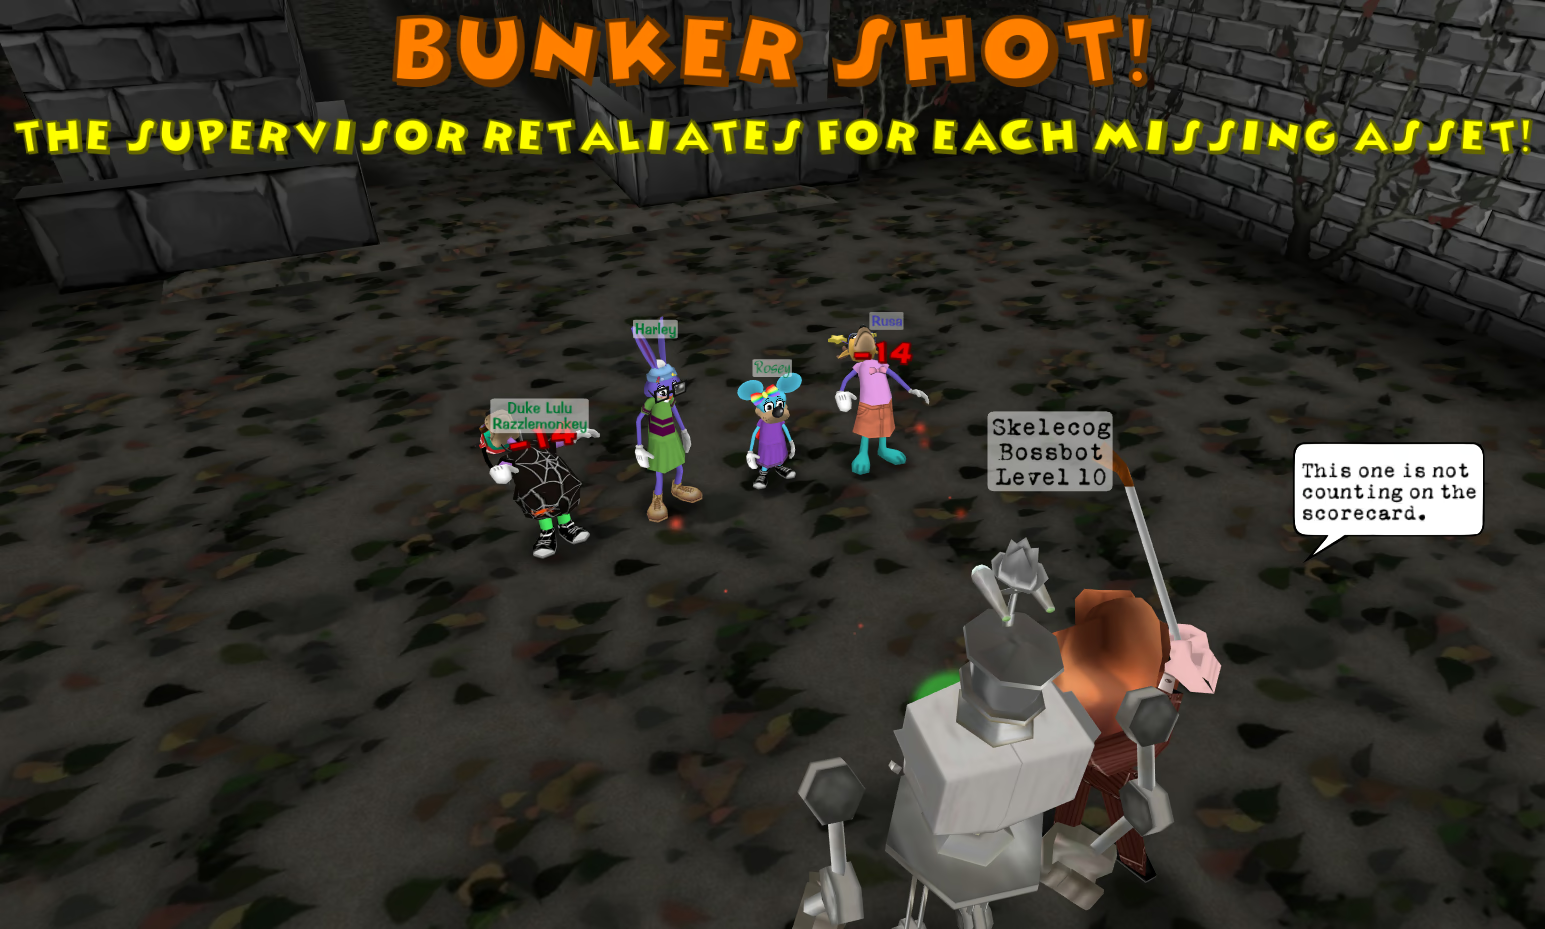
More missing Cogs (that is, the greater the number of empty spots on the Cogs’ side of the battol) means more damage from Bunker Shot, but also means that Bunker Shot hits more targets! This makes it the only Cog attack in the game that I know of (bearing in mind that I’ve yet to do a post-UNM DA Office) that can vary in its target count, & the only one that can have a number of targets intermediate between “one” & “all”. Pretty funky!
The Club President repurposes a mechanic from SBFOs that I really like: just as The Boiler can use Quality Control to take a given gag track away from all Toons for n rounds (the Gag Ordinance debuff), The Club President can use Sandtrapped to inflict its own Gag Ordinances:
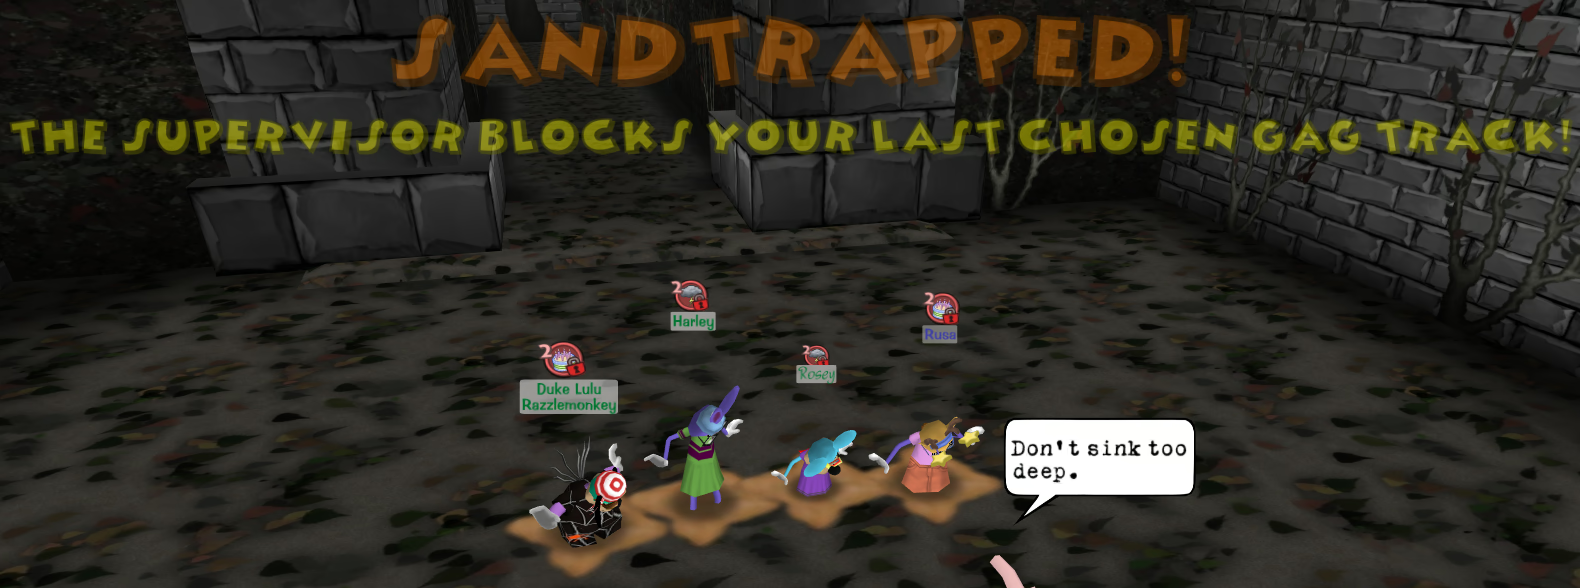
The neat twist is as stated in the image above: rather than taking the same arbitrary gag track away from all Toons, each Toon gets a Gag Ordinance on their most recently-used track! I appreciate this littol twist — especially how it forces players to think about which track they’re willing to give up for the next n rounds, & forces some variety in gag choice.
In any case, there’s a lot of shiRt going on in this fight. The result is that we have to wait quite a while for the Cogs — especially the sup — to do all of their three zillion moves or whatever each round, & also have to deal with Status-effect Soup™:
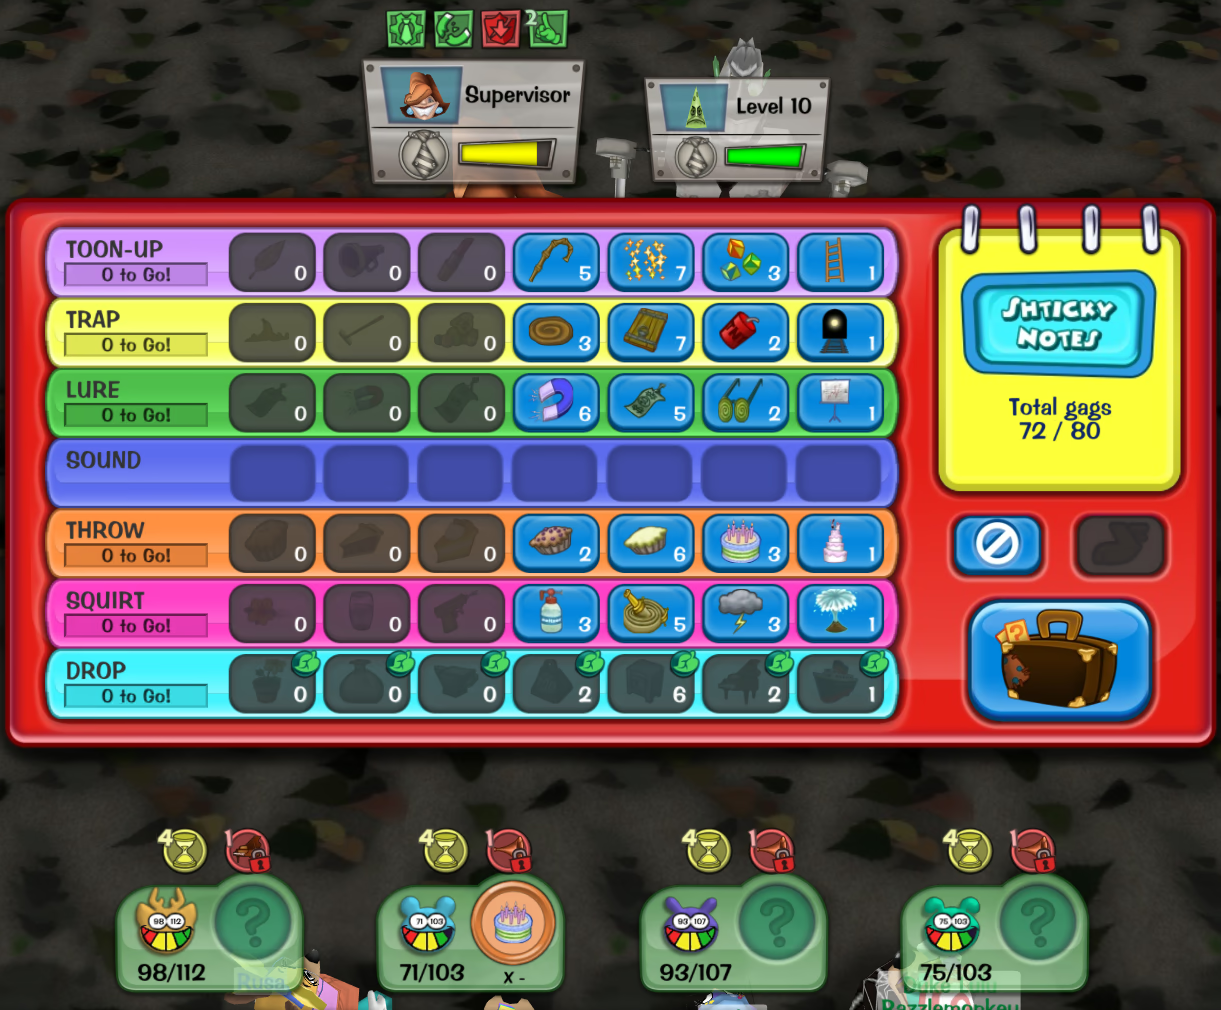
Many of those three zillion moves — & one component of the Status-effect Soup™ — are due to the Extra Turn effect:
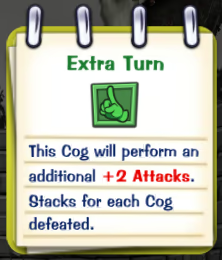
Transcription of the above image
Extra Turn
This Cog will perform an additional +2 Attacks. Stacks for each Cog defeated.
Great. Fortunately, The Club President also gets another status-effect that makes her weaker as her fellow cultists disappear:
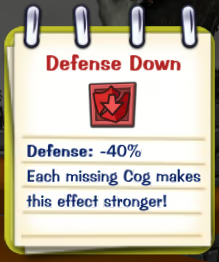
Transcription of the above image
Defense Down
Defense: −40%
Each missing Cog makes this effect stronger!
Given that we took out two of three Cogs within round 1, & only had one inner shell of a v2.0 Cog left for round 2, The Club President was soon alone. And with that much Defense Down, we nearly as soon emerged victorious…!
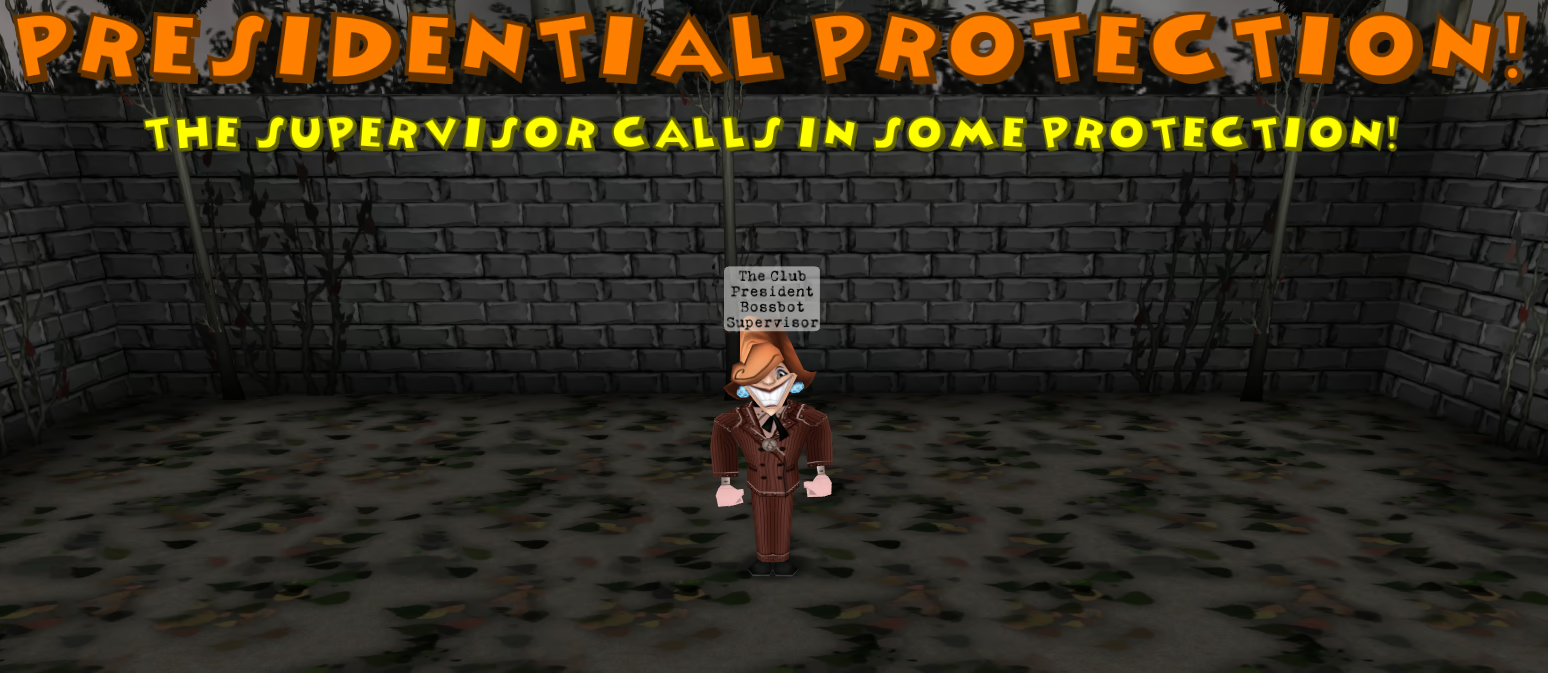
Wait. What?
No, no. The battol iz ova. We reduced every Cog in the battle to ≤0 HP! That’s victory, fair & square!!
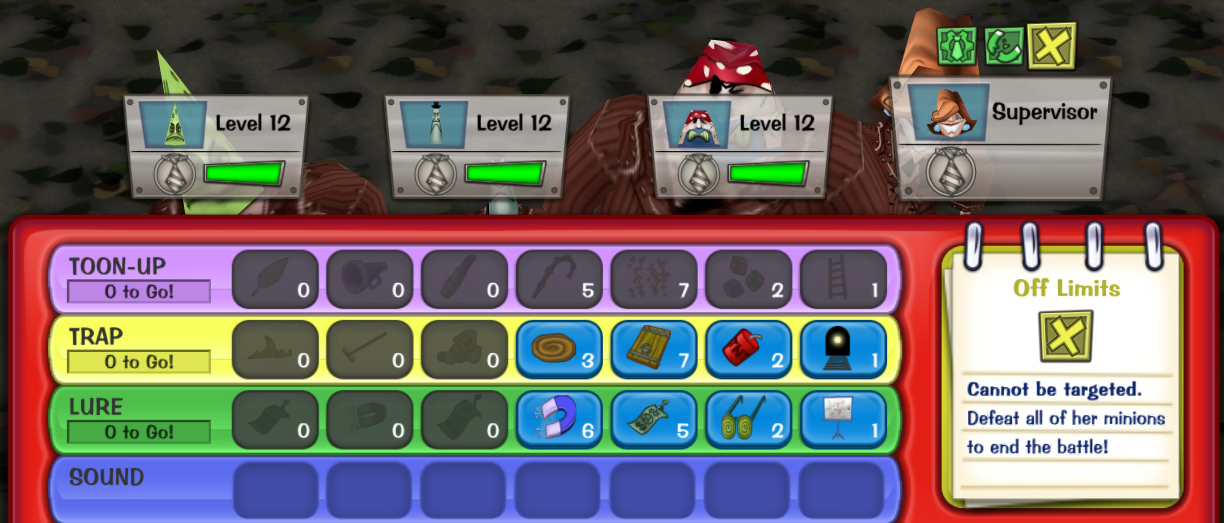
Transcription of the info panel in the above image
Off Limits
Cannot be targeted. Defeat all of her minions to end the battle!
Yep! There’s a second wave. We can no longer target the sup, so we just have to… kill three level 12 Cogs, I guess. Let’s have a go, then…
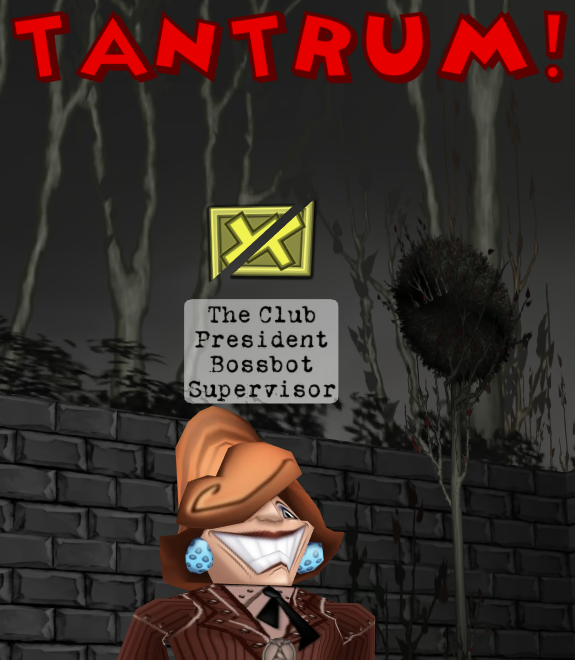
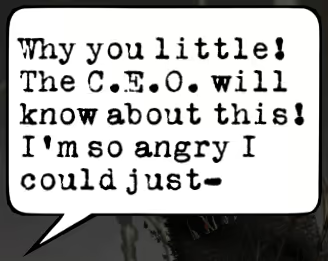
Okay, okay. That’s the real end of the fight. Promise. Pinky swear. I saw her blow tf up wif my own Toon eyes.
Silly first impressionz & opinionz 😜
After two or three runs with randoms, Harley & I pretty much got the idea. Well, I imagine it was a lot more to take in for Harley than it was for my veteran BBHQer self, but…
I’m really enjoying this version of the †Front Three!!
In past instalments, I’ve had a lot of critical stuff to say about post-UNM Tewtow content. Although I think those criticisms to be certainly valid, they mostly represent an unfulfilled potential latent in TTO (& pre-v3.0.0 TTR) as a game — or even as a bag of game mechanics, hence my mechanical focus. This lack of fulfillment pains me on a level only possible for a videogame that is, somehow, part of my physical body at this point (the only other such videogame, of course, being MoopleSteuri).
But I accept — as I, presumably, must — that TTR has other ideas, & so I must learn to live with TTO v2.0: Pilfering Arbitrarily From Random Other Games Edition™. That’s fine. It took me many months & several diarybound rants to get here, but I accept my fate & I am content.
With that in mind, the First Fairway might(‽) be my overall favourite so far. The changes to the bulk of the facility are welcomed, & honestly just feel like desperately-needed bugfixes & æsthetic facelifts.
As for the all-important final battol, although it is once again plagued with Status-effect Soup™, some of that soup consists of actually-useful additions like Gag Ordinance (from Sandtrapped, my new favourite Cog ability). Moreover, the focus of the fight is more heavily on TTO-style combat, due to the two waves of nonsups, & the use of v2.0 Cogs with mostly (kinda sorta……) the same mechanics as TTO’s. Honestly, my biggest complaint is that it’s irritating to wait for The Club President to do her seventeen attacks or whatever she does each round. Like forreal, I get it. Just take my laff away, & let me pick some gags!! I’m trying to play gæm here!!!
Ruser grind
Anyway, I did some moar grindin’. SBHQ & CBHQ are my people, so that’s where’m’st we’re friccin’ goin’.
It was in CBHQ where I was introduced to the Bullion Mint’s new post-UNM version of the Lava Room:
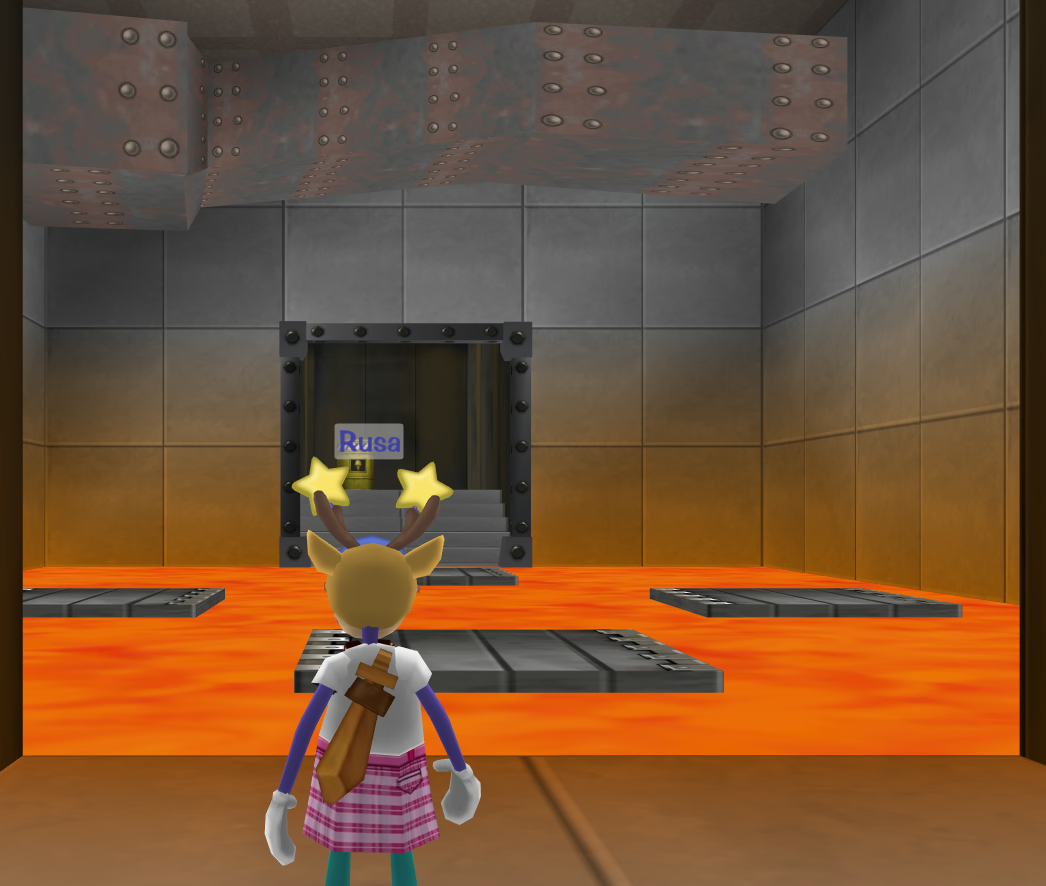
Whoa! The platforms are in, like, a square instead of a line, now. Kewl…!
Regrettably, however, not everyone is equally enthused by — nor even mentally prepared for — the Trowels & Tribulations of the Bullion Mint…
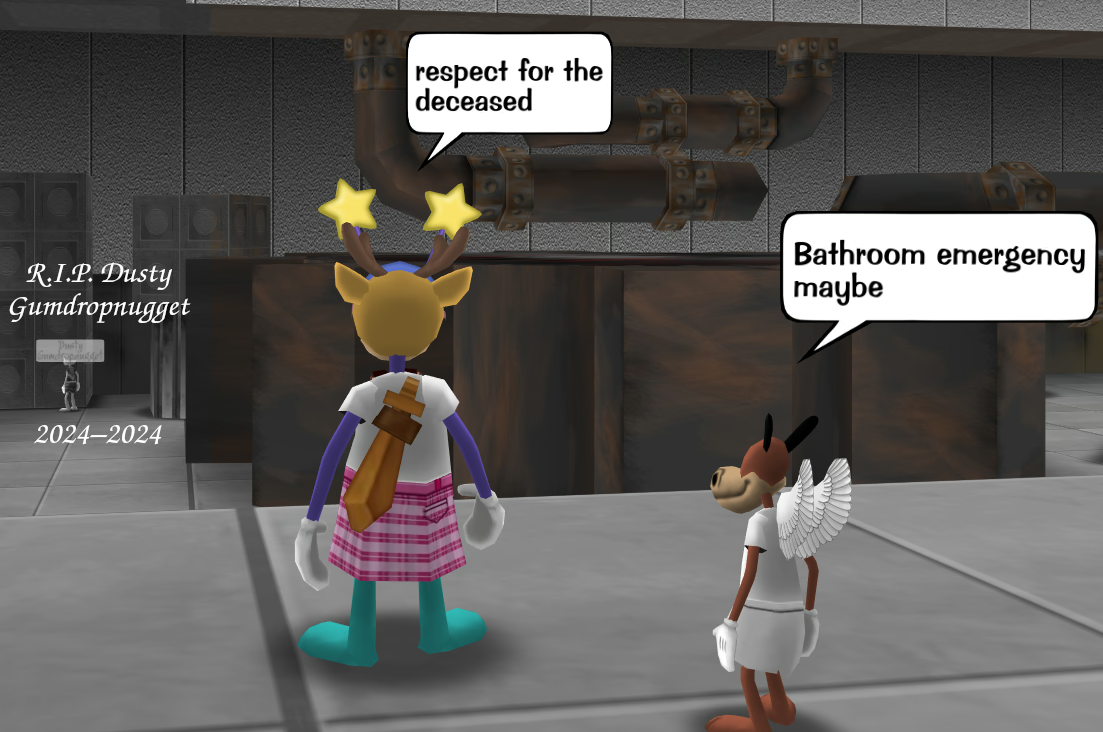
Transcription of the chatbubbles in the above image
Rusa: respect for the deceased
[brown horse]: Bathroom emergency maybe
Over at SBHQ, I’m typically on frontstunning duty when it comes to Veep. Maybe even backstunning duty, if the only other stunner insists on the front. But sometimes, we’re all stun’d out, & it’s time for me to take on the role of… erm… V.P.-knockbacker. Yeah, that.
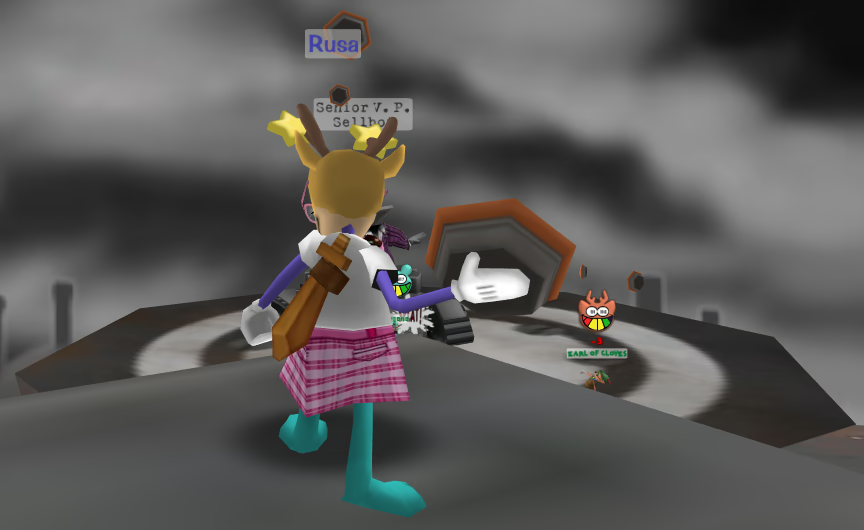
Vincibility
Speaking of Veeping… you ever just friccin’ dye?:
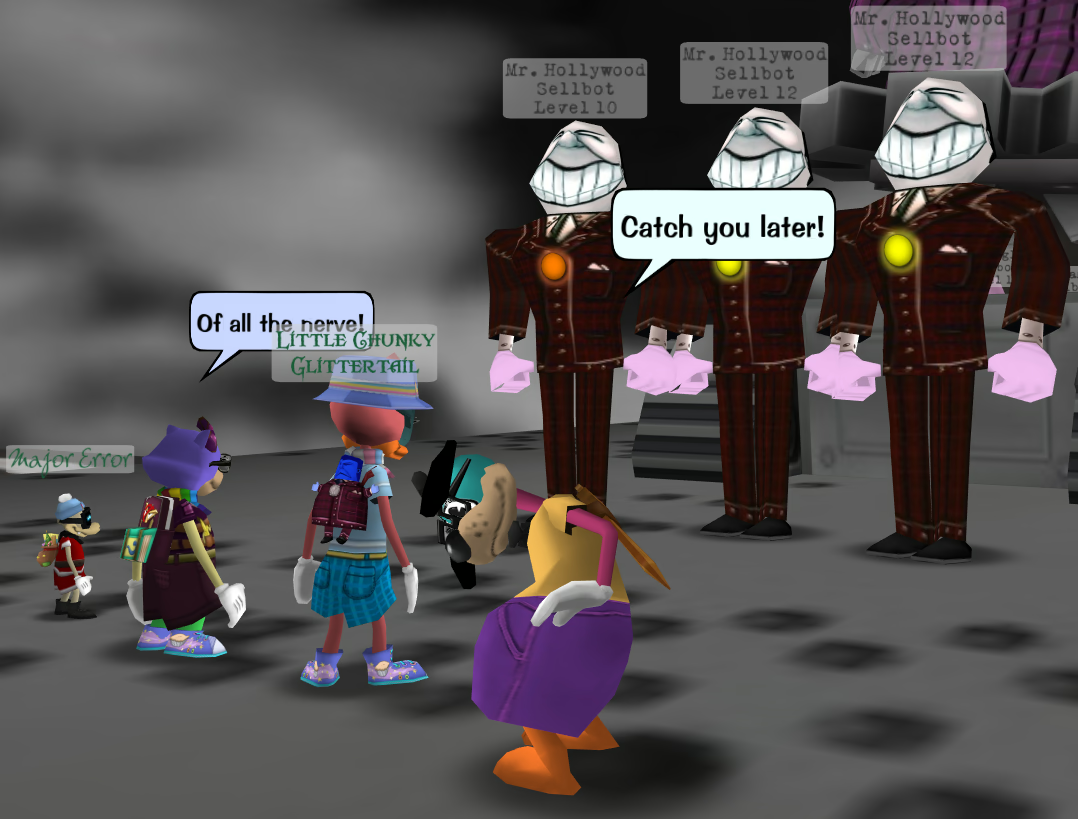
Yep! That’s my first V.P. death on Bái. 🪦 As always, I have my snappy SpeedChat phrases at the ready, for when a Cog murks my doggy-dog arse tushie into oblivion.
But you know me. If I’m anything, it’s certainly a glutton for punishment. So let’s… do a dog-dam’d Steel Factory???
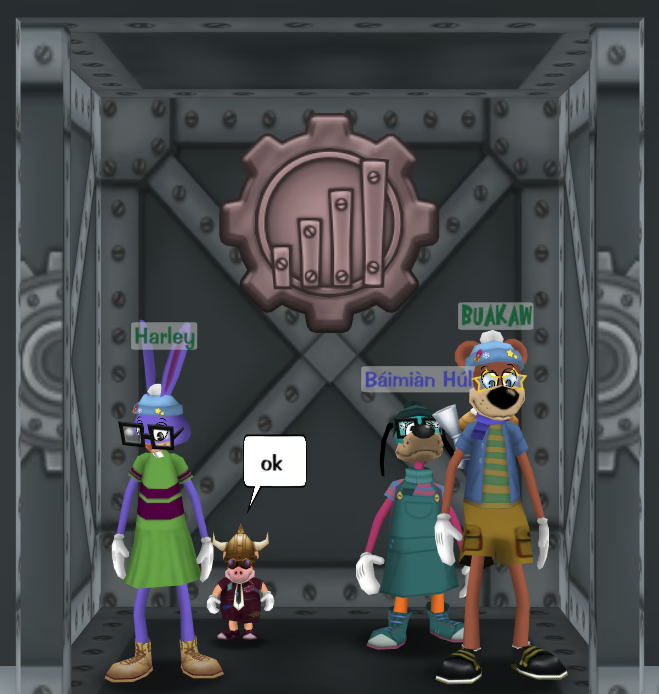
Now, I know what you’re thinking: the last time I wrote about the Steel Factory, it involved lots of crying & instantly dying — & there weren’t even any Übers involved! There’s no way this couldn’t go poorly!!
Ah, but there is a way.
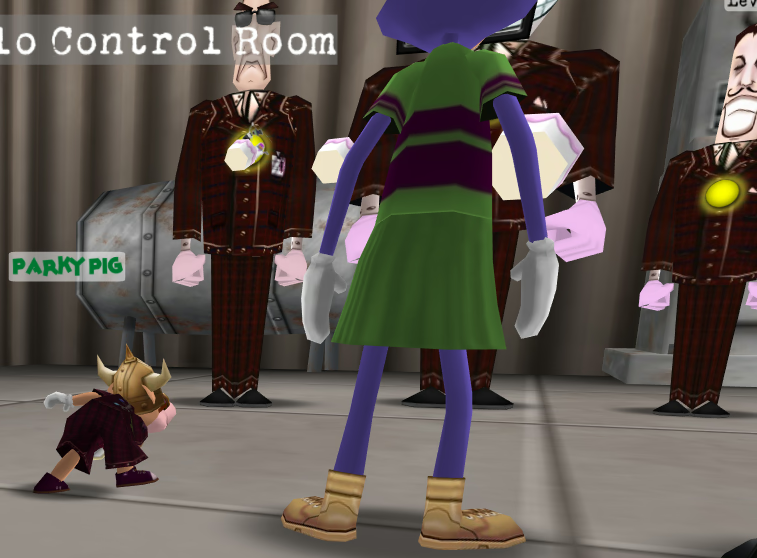
But wait. That’s still not enough to kill The Factory Foreman! And now that he’s at <50% HP, we’re in freaking Overtime!! I’m gonna need Harley to tank for me!!!
![Báimiàn Húli [16 laff]: whew Báimiàn Húli [16 laff]: whew](https://deer.codeberg.page/tt_diary/016/harley-tanking-for-me-again.avif)
Okay, phewf! 😅
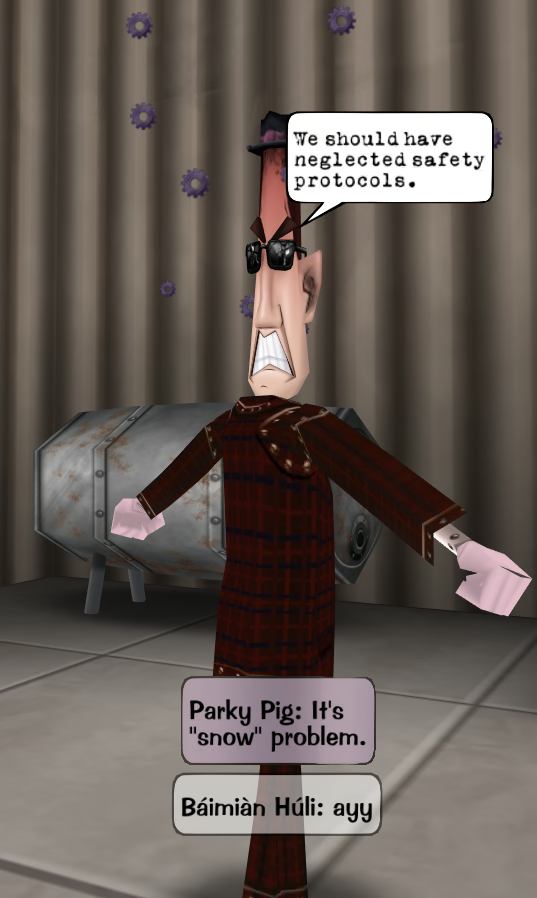
Transcription of the chatbubbles in the above image
The Factory Foreman: We should have neglected safety protocols.
Parky Pig [SpeedChat]: It’s “snow” problem.
Báimiàn Húli: ayy
Of course, I can’t expect to skate by on sheer good fortune & charming looks alone. If I wanna Steel for my Merits, then I need a game plan. First game plan: just Toontanic every time. If I ask my teammates to Sound, then we’ll easily clear out all the Cogs — save the sup — within round 1.
Regrettably, this version of the game plan ran into a slight hitch:
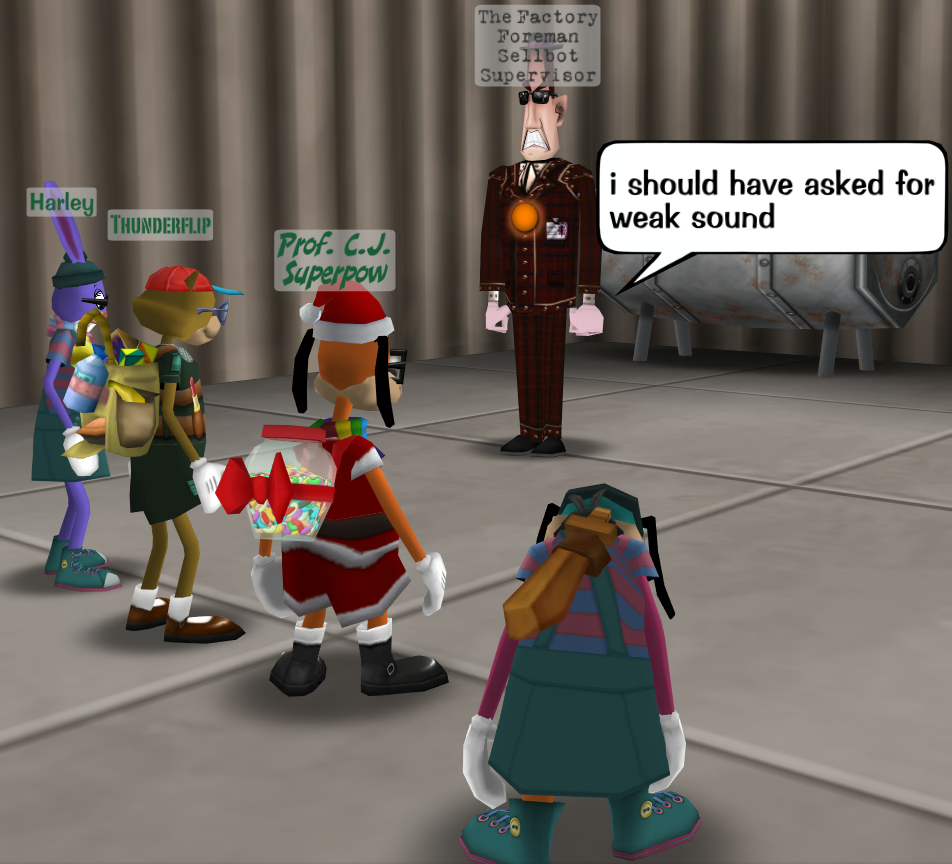
You see, the Steel Factory’s Foreman has 750 HP. That implies that the Overtime threshold is 750∕2 = 375. Three Fogs deals 50 ⋅ 3 ⋅ 1.2 = 180 damage, leaving just 375 − 180 = 195 damage before the Overtime threshold. Ordinarily, a Toontanic deals 180 damage, thus failing to trigger Overtime (180 < 195). But my Drop is organic, so it deals 207 damage!! That’s more than 195!!! I’m tooth-hucking stronk for my own good!!!!
As evidenced by the screenshot above, I almost immediately realised my mistake. So next time, I asct my teammates for 2 Fogs + 1 Trunk instead of 3 Fogs:
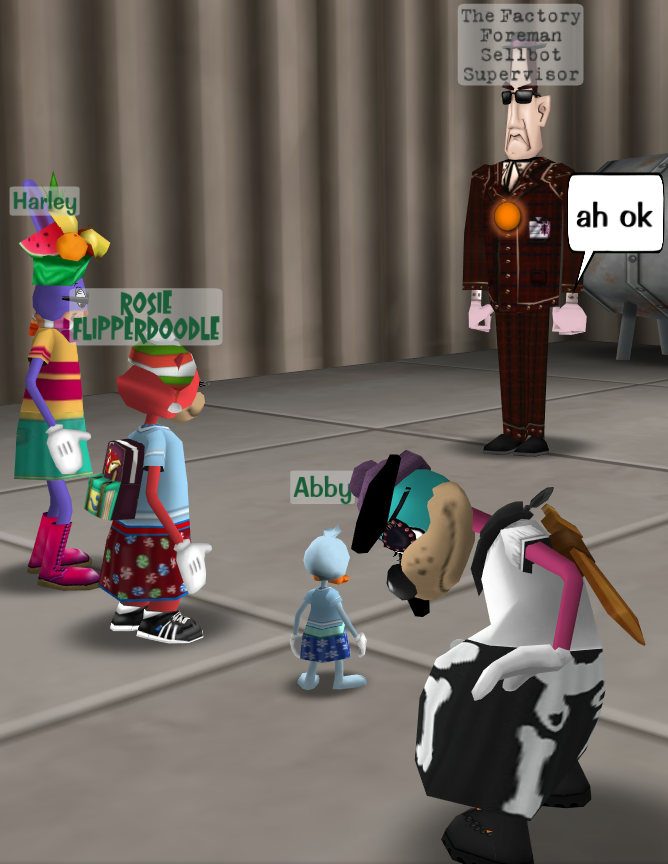
Right. So. As you can see, we’re not in Overtime. But as you can also see, I am still dead as a doornail! What did I screw up this time‽
Well, the error is that I failed to adequately understand TTR’s multifarious bespoke new game mechanics, even after all this time doing Steels (granted, not that many) on Rusa. Put simply: although the Steel Factory’s Foreman lacks the Extra Turn status-effect (see: “First First Fairway” above), it can still attack twice within a single round anyway! I know, right? What the fuc heck‽
Burnout is considered a “special move” rather than an attack, because it also applies the Damage Over Time status-effect. This is an arguably reasonable categorisation on a mechanical or philosophic level[1], but it still means that the Foreman can make two moves (actually three, since it can do Field Promotion as well) within a single round, both of which deal damage to Toons! Moreover, the Damage Over Time really makes it three attacks: the actual attack (😔), the Burnout itself, & the Damage-Over-Time tick that occurs immediately after the Foreman finishes its ply.
So basically, yeah, no shiRt I frucking dyed.
I can just accept that I’ll simply die in, say, half of my Steel runs — that is, the ones where I get insufficiently lucky. But what if I want to, you know, actually live? Well, if the Foreman is alive, there’s no stopping him from slammin’ the ol’ one-two-three on me in round 1 & threatening to send my bitch ass straight to heaven. That leaves me with only two options:
- Instantaneous robot destruction
- We can end the fight before the Cogs even get their first ply. Unfortunately, this typically requires more than one reward-or-level-7-gag[2], meaning that I can’t carry myself past the finish line. Fortunately, there are very reasonable ways to do it with 100%(!) success rate without using more than two resources; for example, 1 Franz + 1 Toontanic + 2 Pianos, where at least one gag is org (if at least two gags are org, then Franz can be downgraded to Clumsy).
- Cogs Miss
- You know how, ever since v3.0.0, Toons Hit has been utterly useless? Well, its converse is now stupidly overpowered & lets you do anything. If the Cogs can’t even hit me, then I may as well be invincible, yeah?
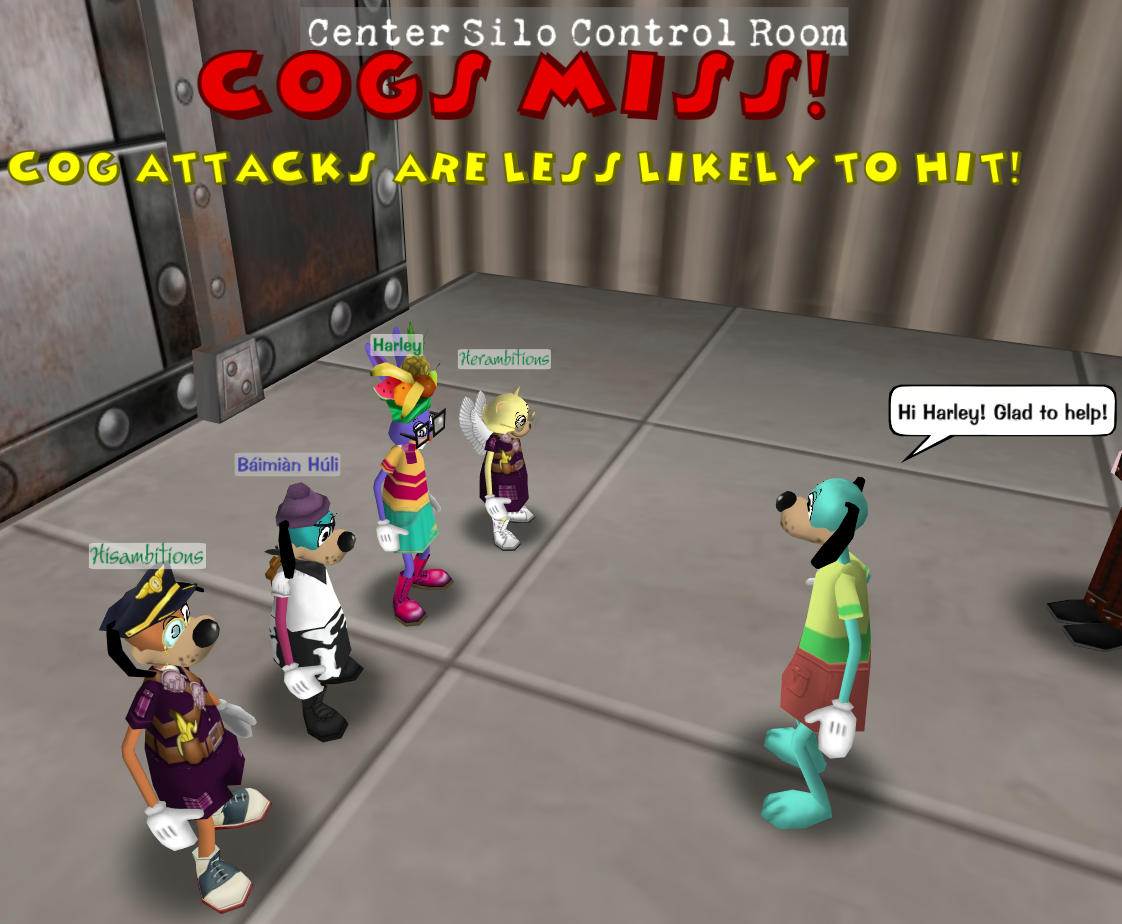
Soooo… yep! I took turns Flimming with Harley. This makes it pretty easy, so long as we don’t do anything spectacularly silly before the three-round duration elapses.
Footnotes for “Vincibility”
- [↑] Maybe??? At this point, I feel like such a categorisation must be tenuous at best for a supervisor or other “boss” Cog (to be distinguished from Bossbot), considering that, in post-UNM TTR, supervisors pretty much just do whatever now. Each one operates on an almost totally individual régime, so my temporary misunderstanding is really better hashed out as me not understanding the exact unique intricacies of — specifically — the Steel Factory Foreman’s régime.
- [↑] Counterexample: 1 Fog + 1 Toontanic + 2 Pianos, where all gags are org (recall that the nonsups have Defense Up). Sheesh! But has worse accuracy than just using SOS Drop anyway…
Max them gagz!
And finally, it’s time to max them gagz. We won’t be completing this crucial endeavour today, but Harley’s gags are in need of maxing. Once they’re maxt, she can basically do, like, whatever?? I mean, six maxt gag trax, wow. That’s as stronk as you can be!
It’s a littol braindead, but it’s also dead simpol: find Cog Invasion → find 5-storey Cog Building in Cog Invasion → train gags in building. Rinse & repeat & repeat & repeat…
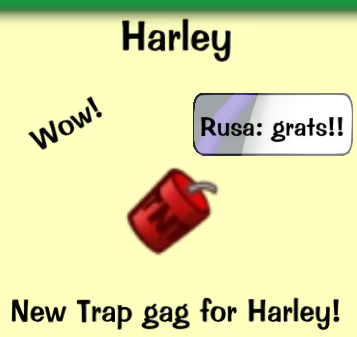
…Moar next time!! Ta-ta for nau!!! 🧡
Sunday funnies
Funny papers (crossword puzzle not included)
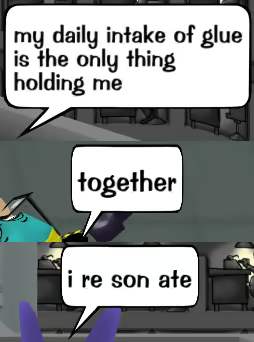
Transcription of the above image
Báimiàn Húli: my daily intake of glue is the only thing holding me
together
Harley: i re son ate
