The adventures of Rusa in Toontown (the eighth instalment)
Scrapbooking
At the end of the previous instalment, I ended up with a ToonTask to defeat a Sellbot Factory. In particular, a Scrap Factory. I was invited to do exactly that by Trixie Pepperjinks, so I showed up at the Sellbot Factory Exterior.
Back in the “Factorial” section of the fourth instalment, we saw Rusa do her very first Factory. But that was the old, original Factory, which is no more. The Sellbot Factory Exterior looks a lot like it used to, but I’m pleasantly surprised to see that they upgraded some of the textures! And they look very nice!! See? I knew it could be done.
But this wasn’t the only alteration to the Exterior: the Front Entrance is now the Scrap Factory entrance, & my belovèd Side Entrance is now the Steel Factory entrance (an entrance to a distinct facility!). I was unsure of whether UNM would mess around with Factory pathing or not, and unfortunately it seems that I was just barely in time to document The Old Ways™ & some of their nuances.
I guess the new textures are nice. Say, let’s check out the Paint Mixer, shall we? I didn’t get a chance to take a peek last time, so I made sure to take a short detour this time:

Looks like the Paint Mixer got the texture upgrade treatment too! The Paint Mixer is in an awkward position within the Factory. It has pretty good gag restock barrels in it — if you dare to hop along the moving pistons to get there — but not in a spot where you’re likely to actually need them. The result is that few ever set foot in here, & indeed, Trixie noted that she’d never seen the Paint Mixer before! It’s unfortunate, because it’s definitely somewhere in my personal top three rooms of the Sellbot Factory, if not № 1.
The good news is that, aside from some appealing texture upgrades replacing many of the old & mouldy ones, the physical space of the Sellbot Factory itself is unchanged — even if we’ve lost the ability to use half of its entrances. Unlike last time, I convinced everyone to take the East Silo route after the Warehouse. And by “convinced”, I mean I just kinda started going that way, & looked behind me to make sure they were following.
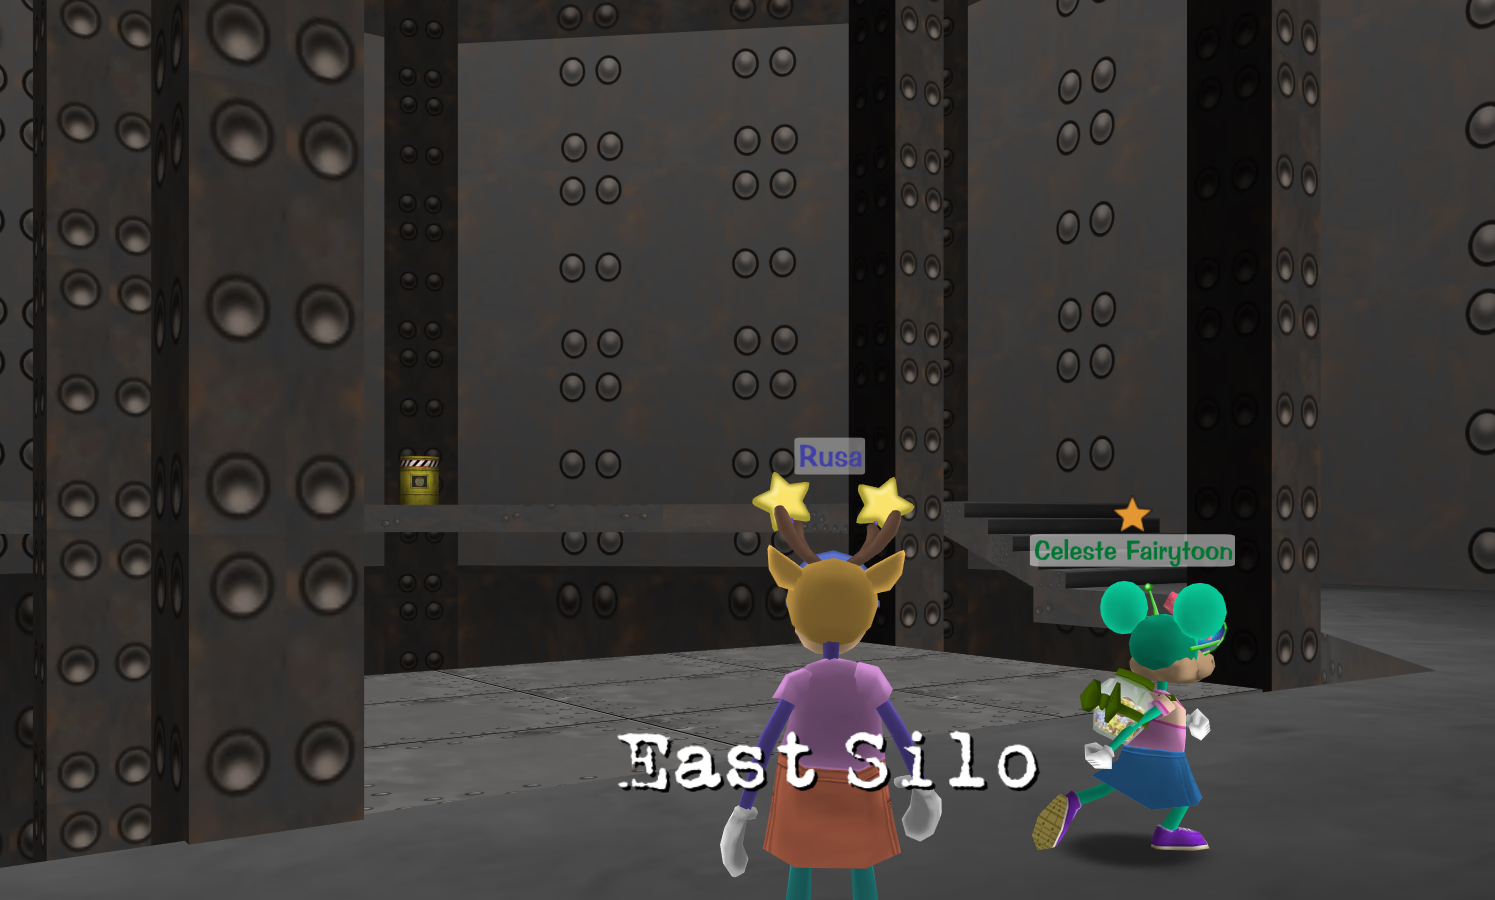
Presumably the East Silo (as opposed to the West Silo) is slightly slower, considering that noöne — not even speedrunners — seems to ever use it. But there’s just no way that the difference is actually significant (apart from actual speedrunning, perhaps), so I prefer the East Silo anyway. Maybe it’s just for a change of pace, but what I really like about it is that you’re actually inside a silo, with a vaguely annular catwalk around the inner edge. Although its western counterpart does give a better “view” on account of not being inside an actual silo & thus having no walls, this “view” is of stuff that you’ve already seen, particularly including the rather uninteresting skybox. By comparison, the East Silo is much more voluminous, gives a view of things that you’d never otherwise see, feels more perilous on account of the gaping several-metre-radius hole, & even has a jellybean barrel!
In any case, ’tweren’t long ’fore the four of us headed for the Foreman. I knew that this was where things were gonna get really wacky, because the focus of UNM’s content-wise updates was on the new facility supervisors (minibosses).
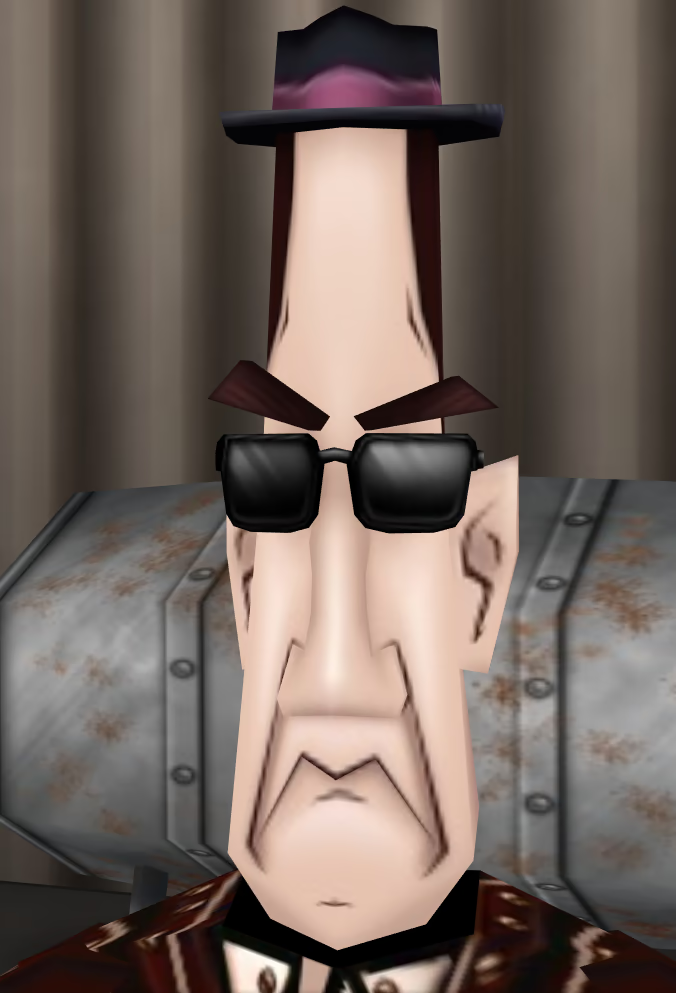
This is an all-new Cog. The very tall & skinny head topped with a smol hat makes him look a bit like a Bean Counter or a Downsizer; but the Foreman has ears, a nose, & a chin, rather than a purely conical[1] noggin. The colour palette is more reminiscent of a Mover & Shaker, which makes more sense given that Shakers are actually Sellbots. And although the Robber Baron also wears shades, the Foreman might be the only Cog with sunglasses that are actually part of the model, rather than part of the head texture.
I think all the new Cog designs are excellent, & definitely in the spirit of their respective departments, whilst still looking very clearly unique & identifiable. In this case, the Foreman replaces a Cog that felt like a miniboss even in the original TTO version of this facility. The original original Sellbot Factory had, I think, a very high level Cog as the Foreman, perhaps level 11 or even 12![2] And the Factory that most of us know & love had a level 9 Skelecog here (still the highest-level Cog in the facility by 2 whole levels). The new Foreman is a li’l diff, though. He gets his own whole cutscene with cinematic camera angles & everything:
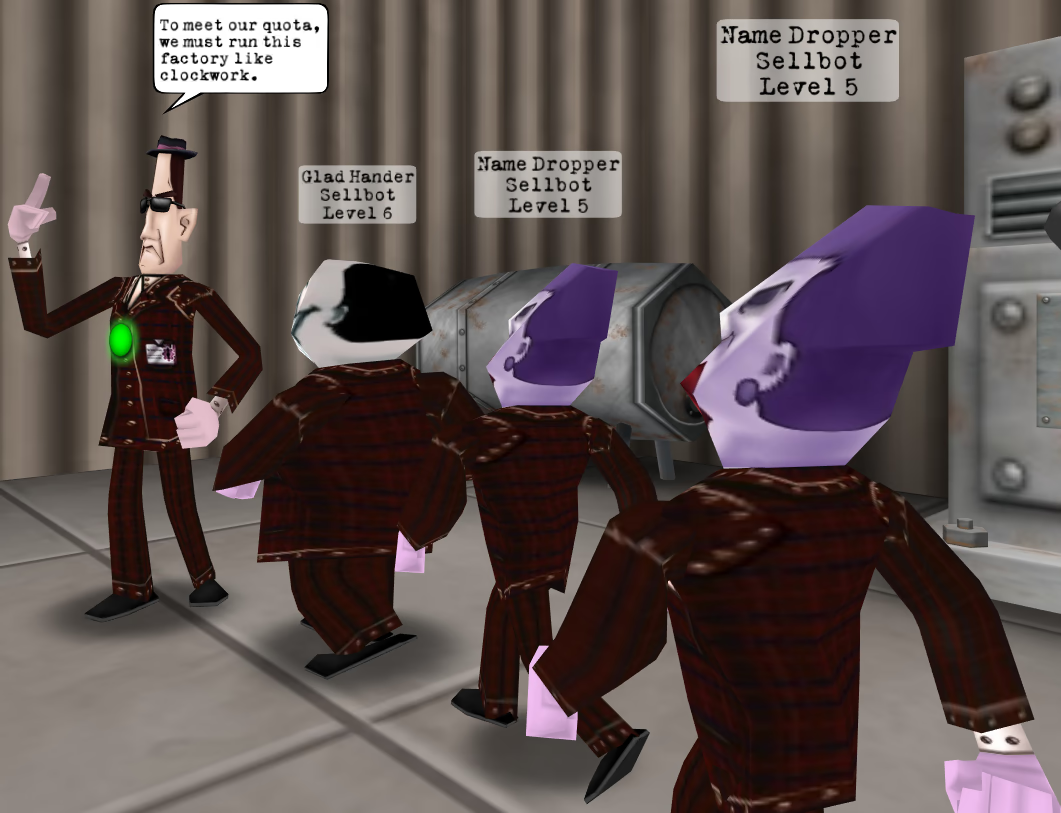
More to the point, this fight has got some kooky shenanigans going on. Already at the very incipit, we see a small handful of crazy new status effects that’ve certainly never been seen before in a Sellbot Factory. Like this Defence Up buff that the normal Cogs get:
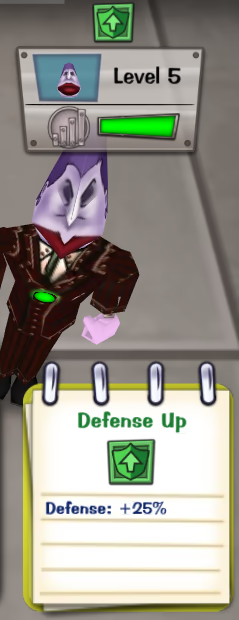
From what I understand, this effectively multiplies the base damage (org damage included) of all incoming gags by ¾, although I’ve no idea how the rounding works, & my understanding might be mistaken. In any case, this very much changes the entire landscape of what gag combos are capable of doing what.
The Foreman also had his own buffs, one of which seemed to make him immune, or nearly immune, to being lured. He also has lots of various tricks up his sleeve, which again are all new things never seen before by the Factory enthusiast:
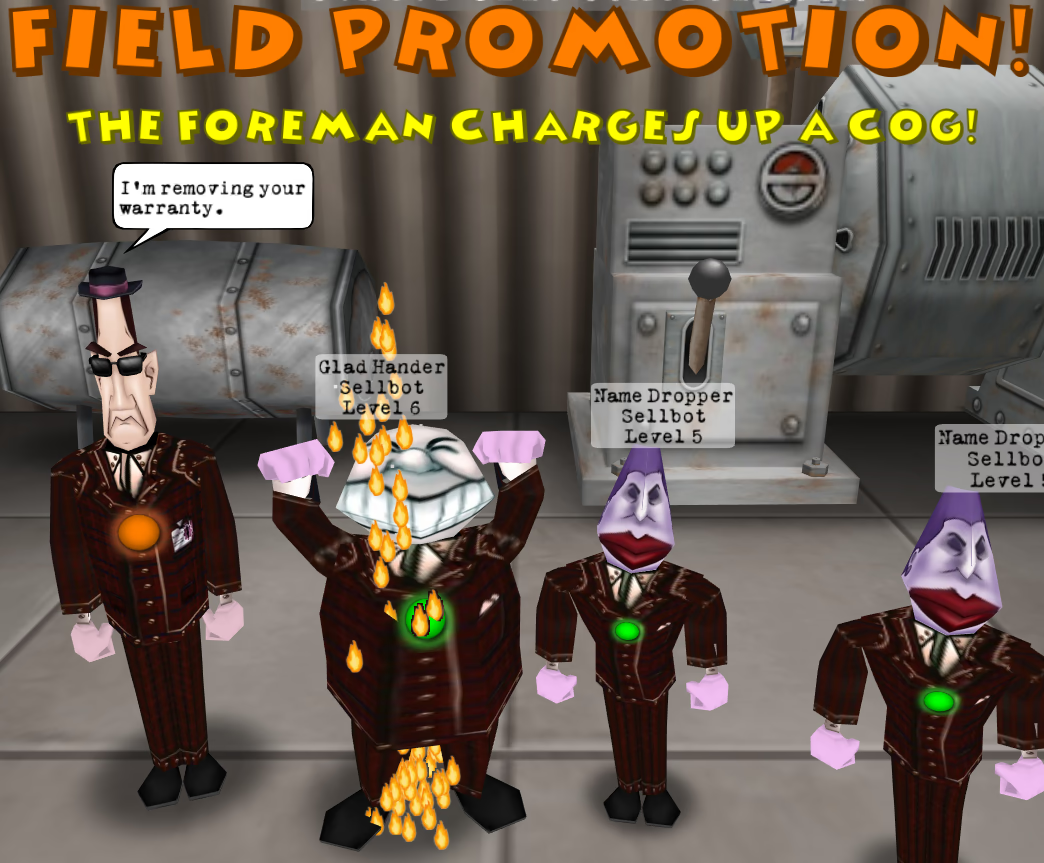
I think promoting a Cog just increases its level, but it probably does other things too. I admit to being rather a bit confused & overwhelmed during some parts of the fight, but by just picking gags that hit the Cogs, we were able to explodificate them all eventually.
What in Sam Hill’s goin’ on here?
This was enough to complete my ToonTask, but more importantly, this first experience — albeit the mildest possible one — with the new UNM content gave me a lot to think about.
For starters, it strikes me as a bit uneven to change the Foreman fight in this way. This isn’t necessarily a bad thing on its own, but think of it this way: ignoring the painful loss of the Side Entrance, the geography & combat of the (Scrap) Factory remains the same up until this point. Although this is a good thing on its own, it also means that the Foreman fight sticks out like a sore thumb — the “vanilla” fights relegated to little more than a way of wasting the Toons’ gags before they can get to the “real” fight, perhaps.
Moreover, the game’s ToonTasks remain unchanged, with the exception that explicit references to facilities have been changed to the names of their UNM equivalents. This means that DG Taskers will end up with at least one Task to “defeat a Scrap Factory”. In doing so, they’ll be quite abruptly bombarded with the bizarre mélange of a dozen new game mechanics — but only briefly, for the duration of a single fight against four Cogs. Then, with the possible exception of intentionally picking up random ToonTasks to defeat more Factories (something that I did just this once, at someone else’s behest), they will never see any of these mechanics again until much, much later in the game.
I also wonder how much of this “bizarre mélange” is really necessary. As I made clear in the “It happened.” section of the fifth instalment, I’m of the opinion that TTO’s mechanics were (& are) already rich in & of themselves, & only needed gentle balancing and, more importantly, new content to challenge the players’ (& PCs’) skill at exercising said mechanics. This new content only need present things like higher-level (& higher-version) Cogs, additional stricture(!) & strain on the PCs’ resources (gags, & ideally rewards[3] as well), & perhaps more unique and/or elaborate and/or difficult versions of the general kinds[4] of non-combat challenges already present in TTO content.
Yet, as we see here, the strategy is more to cultivate interest & difficulty by just throwing more random crap at the game, & hoping that it sticks. Exact HP values, gag combos, & the various other mainstays of classical TTO mechanics are not so relevant when the fight is actually dominated by the various layers of fuckery laid on top.
On the one hand, this can be seen as a good thing. Players who didn’t really care that much about TTO mechanics anyway — other than the bare minimum necessary to do TTO content in the prescribed ways — stand to be thrilled by having these things thrown at them in a way more lively & exciting than what they’re used to. We can have added “difficulty” without expecting players to learn game mechanics in any detail — or worse, actually do arithmetic! — & if all else fails, they can just reach for their rewards[3].
On the other, however, the shift towards eliminating raw numbers from the player’s consideration, towards mechanics that are more inherently random & unpredictable, & towards maximalism of mechanics rather than minimalism, are all contrary to the undercurrent that we see in TTO’s original design & in how so many people (myself included) played that design. In TTO-centric design, raw numbers are integral to innovating gag combos; randomness is certainly present, but in predictable & highly-manipulable ways, relegated to the role of “ensuring that things happen at least slightly differently every time”; & the minimalism of the core game mechanics is a virtue unto itself.
Virtue
With a relatively simple core set of mechanics that generate a wealth of emergent possibilities, we have something that is simple to learn, difficult to master, & endlessly replayable when done right. When we think of the greatest game designs of all time — whatever your personal opinions may be — we often think of complex games that are actually very simple at their core, an obvious example being Go. And when we don’t, the games that we think of can still usually be usefully reduced to a “relatively simple core set of mechanics that generate a wealth of emergent possibilities”. And the fact that TTO so closely matches this description is no accident; it’s also a recipe for making a game more accessible, including making it more accessible to people of all ages.
Although I pretty strongly believe in the ethos described by the previous paragraph, it would appear that some of TTR’s staff do not. As I noted above, this can be seen as a good thing. But in addition to displacing the spirit of the TTO upon which TTR is built, it makes me wonder what kind of messages we’re attempting to ludemically communicate to the game’s audience here. If I had a child[5], I’d want to introduce them to Toontown, & TTR would presumably be the way to do it. I’d hope that they’d enjoy it, & that they’d learn something about what can make games great, beyond the very nebulous notion of “being fun”. I think that TTR, in its current form, can still do this. But that ability has — as I’ve argued — been eroded somewhat, & even if I never played Toontown ever again, I might still worry about how that could affect the legacy of “grandma’s game”. 👵🏽
Footnotes for “Scrapbooking”
- [↑] More accurately a frustum, rather than a cone.
- [↑] Yes, yes, 479 001 600… Haha…
- [↑] See footnote #2 of the “It happened.” section of the fifth instalment.
- [↑] And I do mean “general kinds”, here. There’s a lot of room for creativity, as demonstrated by e.g. Cold Caller Cubicles.
- [↑] God forbid.
A chip on the shoulder for a chip of the tooth
But okay. That’s over with, now. It’s time to head back to The Brrrgh!
Unfortunately, I don’t have teleport access to go back, but I do have a ToonTask to get it.
![[HQ officer]: Ever since the incident with the turnip bread, Grumpy Phil has been mad at Gus Gooseburger. [HQ officer]: Ever since the incident with the turnip bread, Grumpy Phil has been mad at Gus Gooseburger.](https://deer.codeberg.page/tt_diary/007/ever-since-the-incident.avif)
Grumpy Phil is the shopkeeper of The Frozen Nose on Sleet Street:
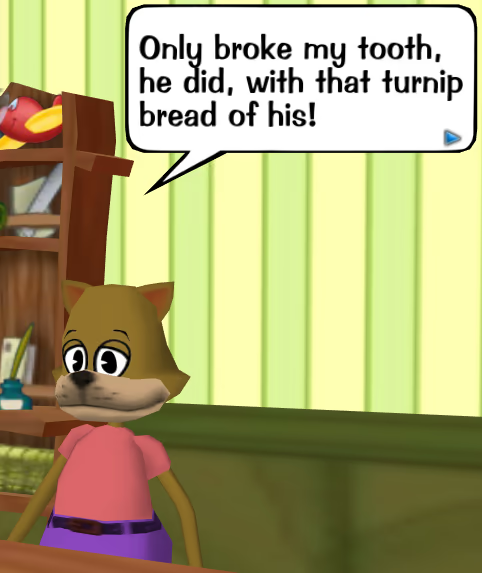
Phil had me bring his chipped tooth to Dr. Mumbleface of Chattering Teeth, Subzero Dentist. But Dr. Mumbleface said that it was broken beyond repair, so a gold tooth would have to suffice instead. And the best way to get one of those is, of course, from Robber Barons. Who else has a greater craving for gold?
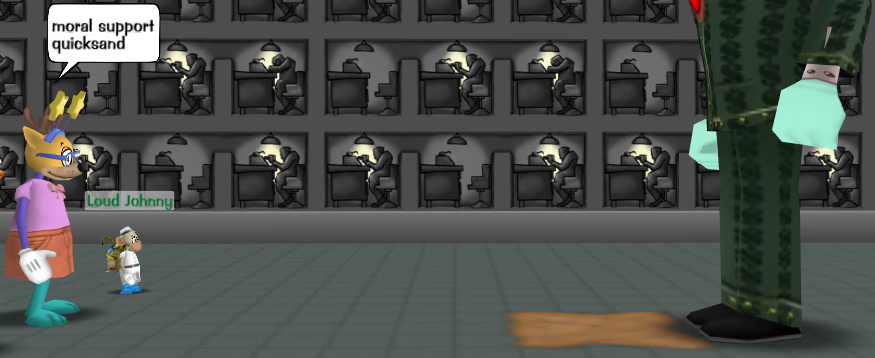
Enough Robber Barons Quicksanded (or made to stand patiently in front of Quicksand, as the case may be), & I had the necessary gold toof.
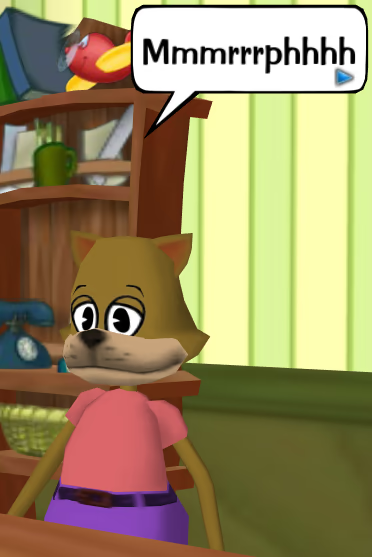
It’s time to report back to Gus Gooseburger of Affordable Goosebumps on Walrus Way.
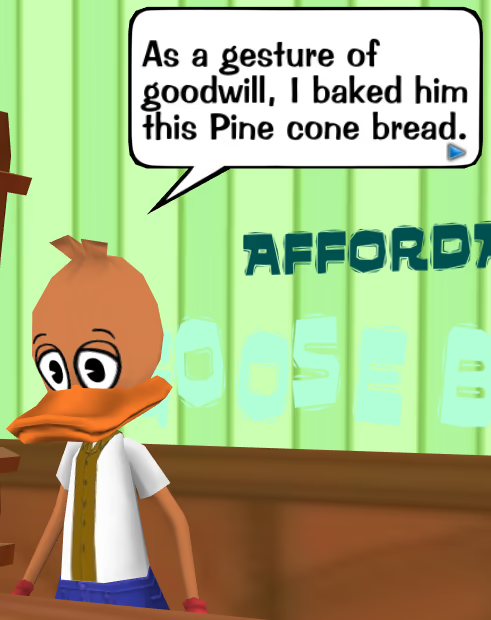
Oh… pinecone bread. How… exotic?
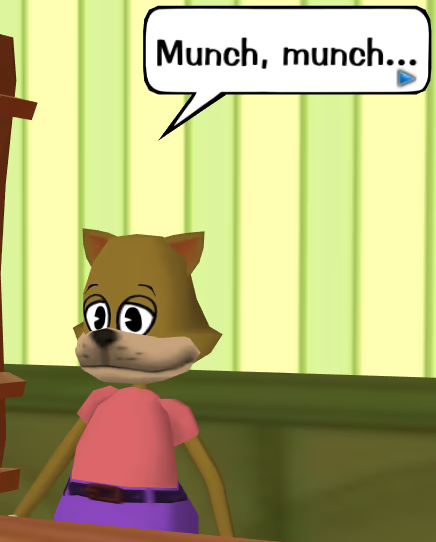
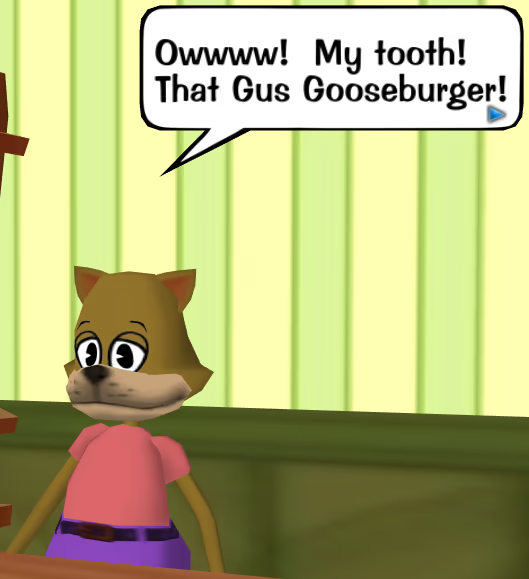
🤦🏽♀️

Biting off more than I can choose
In my Brrrghventures, I did some fun Cog Building runs with Rustle & Sergeant Drippy. But when someone needed Cashbots, Rustle had the idea to go directly to the source: Cashbot Headquarters (CBHQ). I was a little wary, considering that we weren’t even far enough in the ToonTaskline to get to CBHQ Tasks yet, but nevertheless agreed to try a Coin Mint with them:
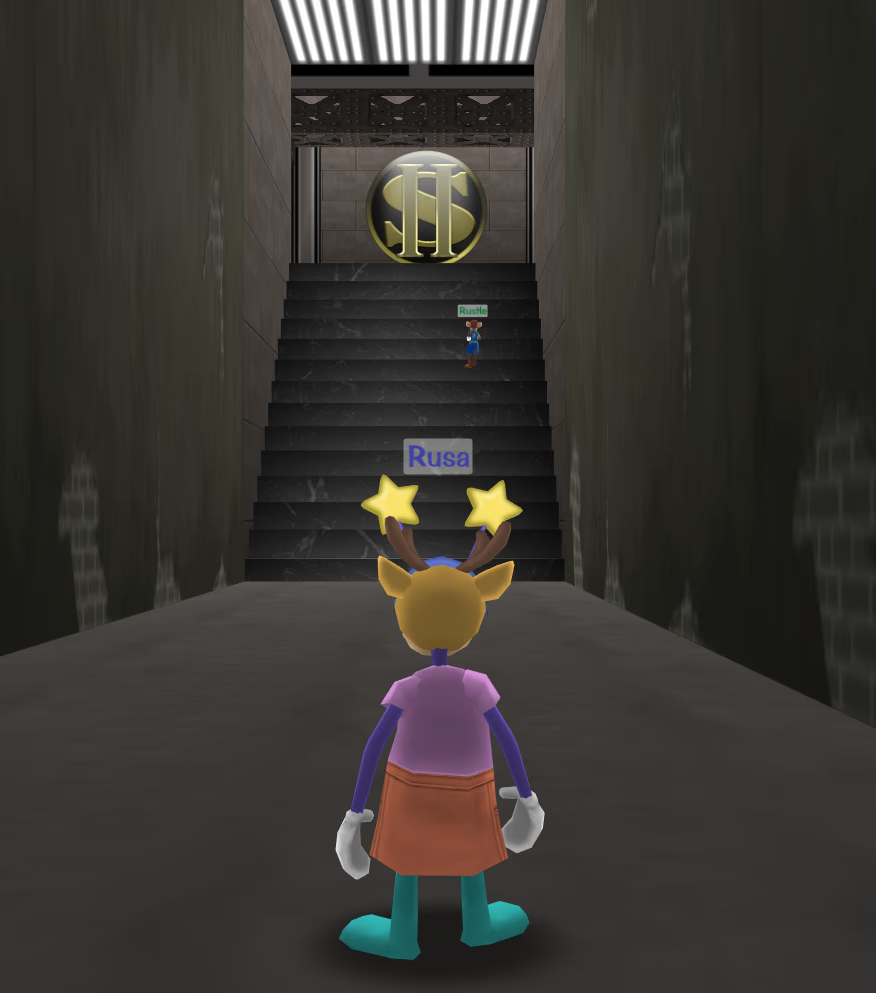
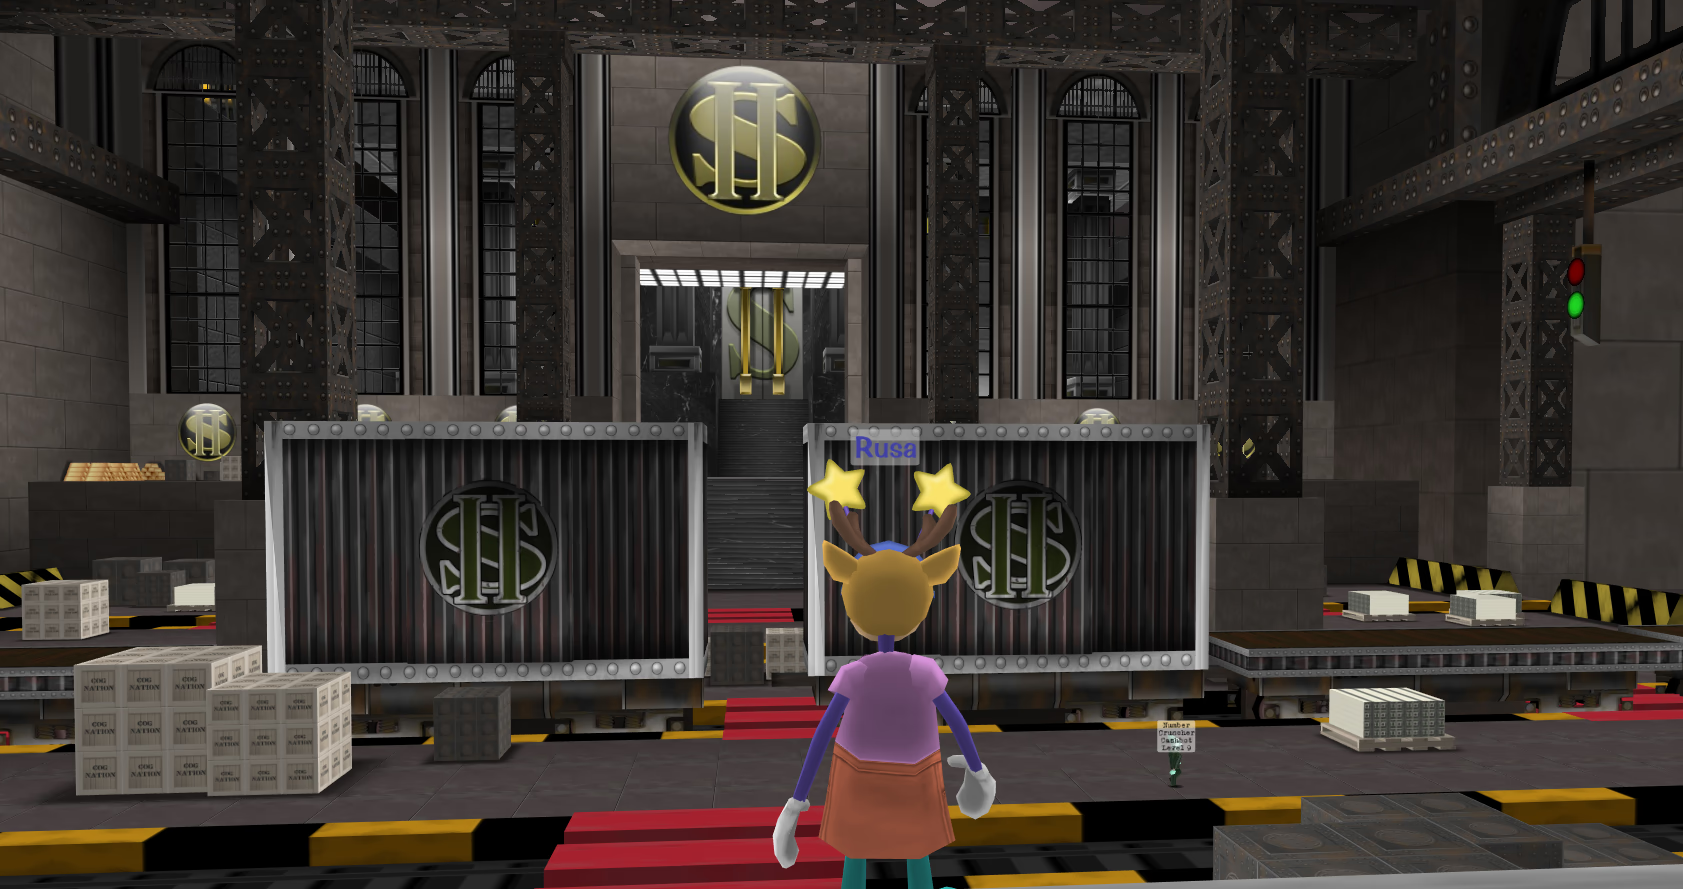
The CBHQ Trainyard is pretty huge. It’s also loud as hell, because there are trains that run right through this thing at full speed, on three sets of tracks. You’ve got to be careful walking around here: look both ways when crossing the tracks, or risk getting flattened (for ten whole damage)! We can also see pallets holding stacks of paper money, & heaps of crates that just say “Cog Nation” on them. At the very back, though, is the entrance to the Cashbot Vault, behind two absolutely colossal double-doors that are probably two or three dozen times my height. That’s where the CFO is, though, so I won’t be going through those doors any time soon…
Like SBHQ, the facilities of CBHQ have been overhauled by UNM. However, CBHQ has always had three distinct facilities (all called Mints): the shortest is Coin, followed by Dollar, & finally Bullion is the largest of the three. Whereas SBHQ’s single facility had to be cleft in twain, CBHQ’s three facilities had to be pared down to just two: Coin & Bullion.
🪦 R.I.P. Dollar Mint, 〜 🪦
Naturally, we want the easier one, as we’re just here for a visit.
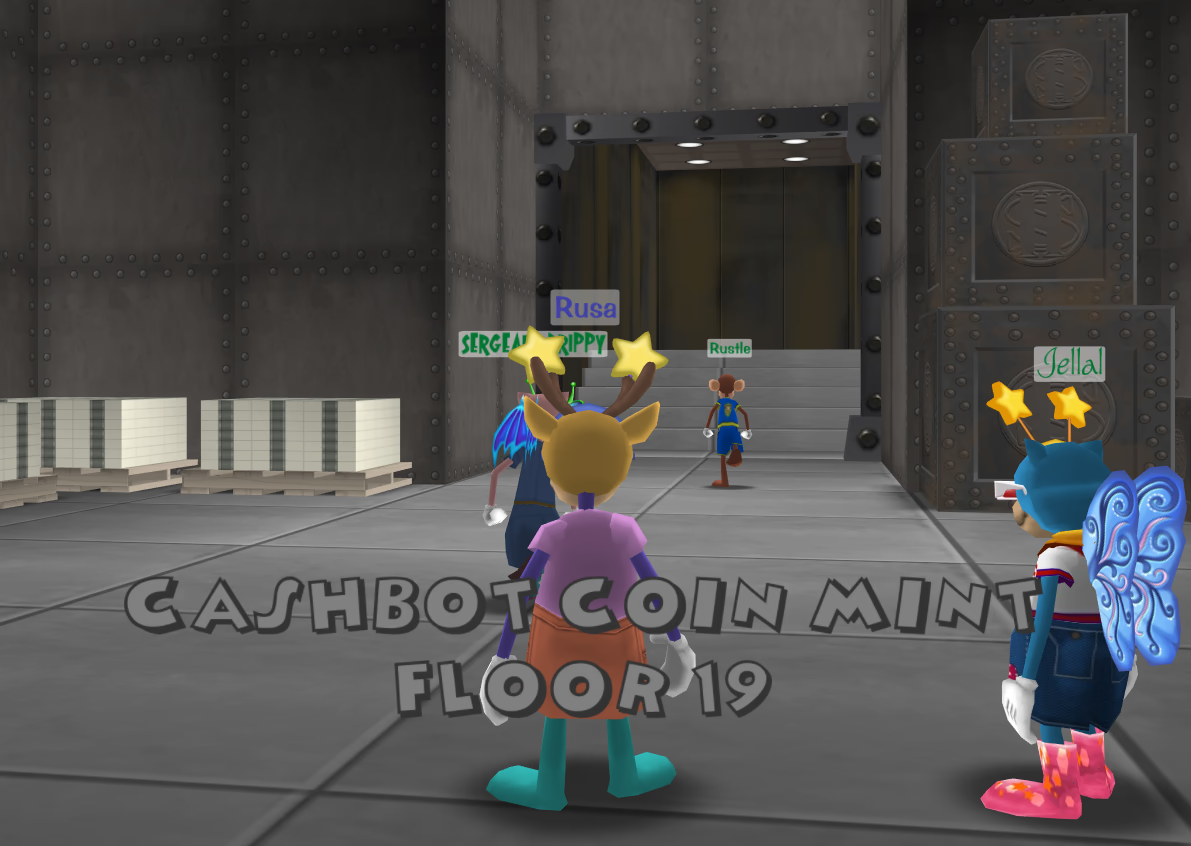
Although Mints have never offered multiple intentionally-elected entrances in the way that the Factory used to have a Front Entrance vs. Side Entrance, they have had many layouts. Entering the Mint just spawns you into a random one, so there have — historically — been rare occasions to “shop for” a certain layout. In this case, we got Floor 19.
With this layout, our first challenge is not a Cog fight, but instead hopping across some lava. You know, the classic “floor is (literally!) lava” room that any good mint has. After that, we’re treated to… another JQ! We don’t call them jump quests here in Toontown, but the idea is pretty similar.
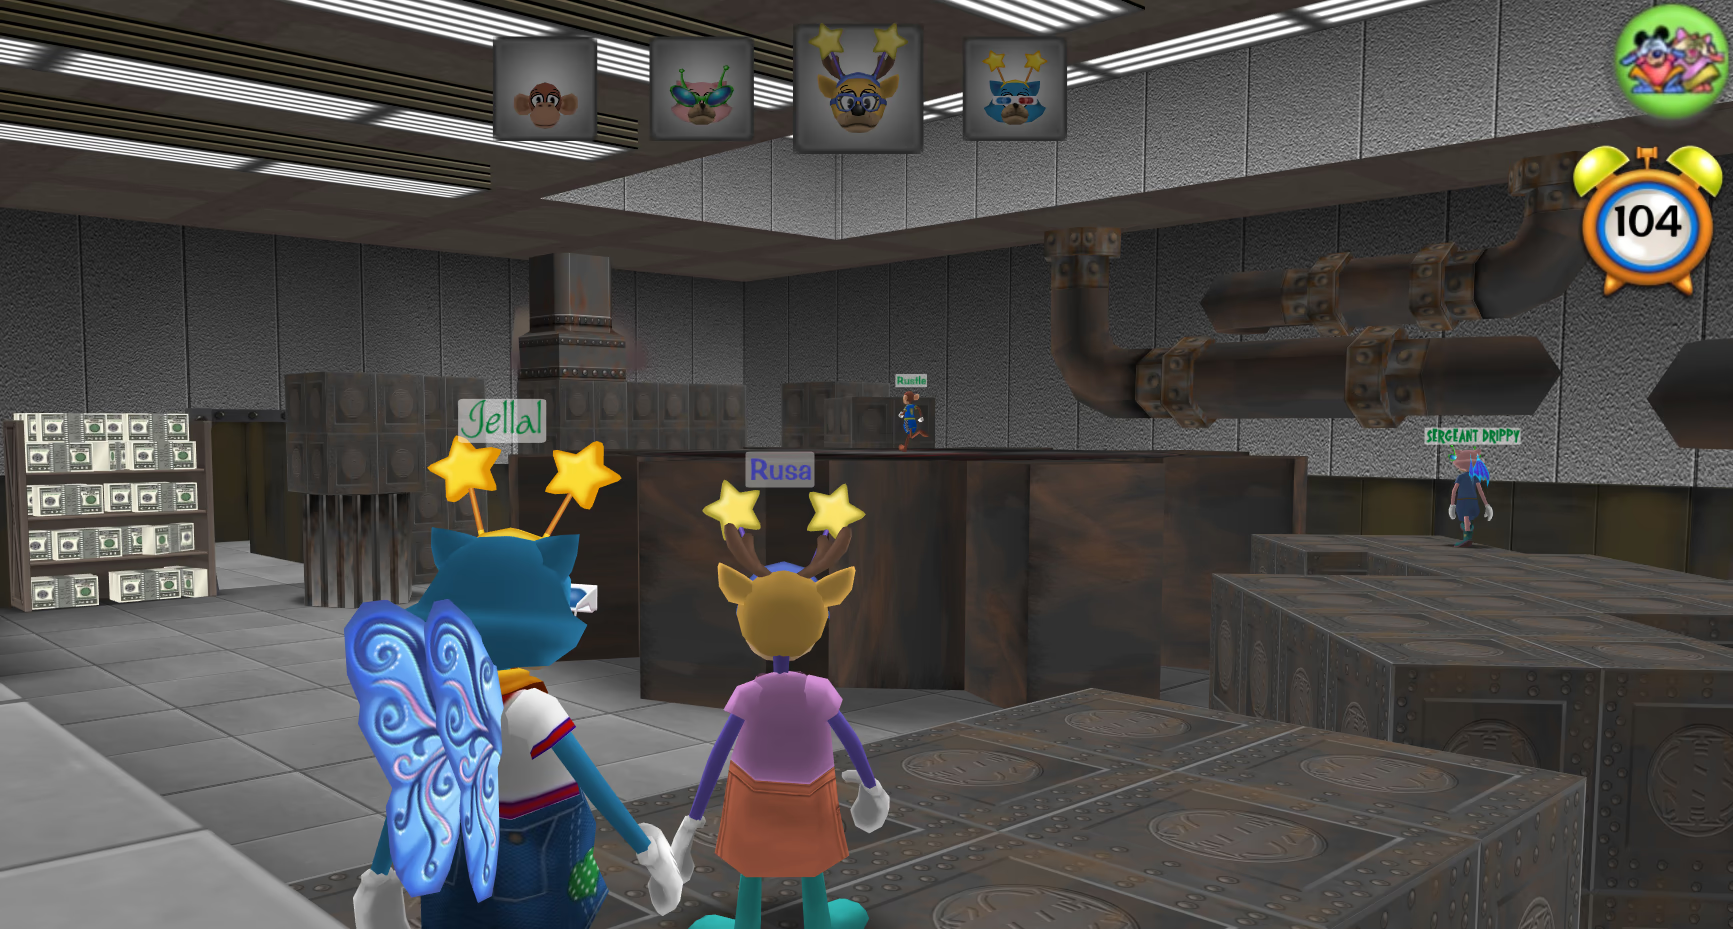
This one, however, is larger, & is timed. The giant gear at the centre actually spins, & that piston at the top attempts to crush the intrepid JQer! With a few skips, leaps, & hops, it’s possible to loop around to the end of this JQ. This causes your indicator at the top of the screen to turn a different colour. If you don’t manage to accomplish this before the timer runs out, it’s not necessarily game over for you, but you will be punished with some damage (which might be game over if you’ve not enough laff to sustain it). After taking the damage, a path allowing you to skip the JQ is opened up.
After these trials & tribulations, it was time to actually start fighting.
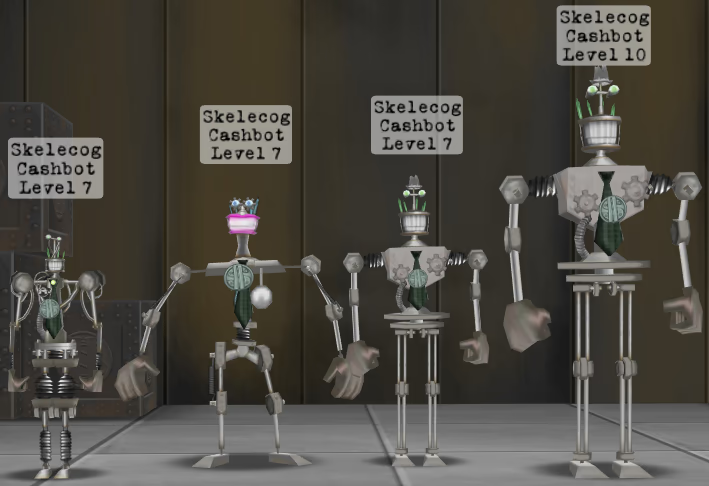
Huh? Level 7 Cogs? I don’t remember ever seeing any Cogs under level 9 in a Mint before. Easily done, I guess.
Oh, boy. It’s time for another JQ. This time, there’s a big stack of gears that are all rotating at different speeds:
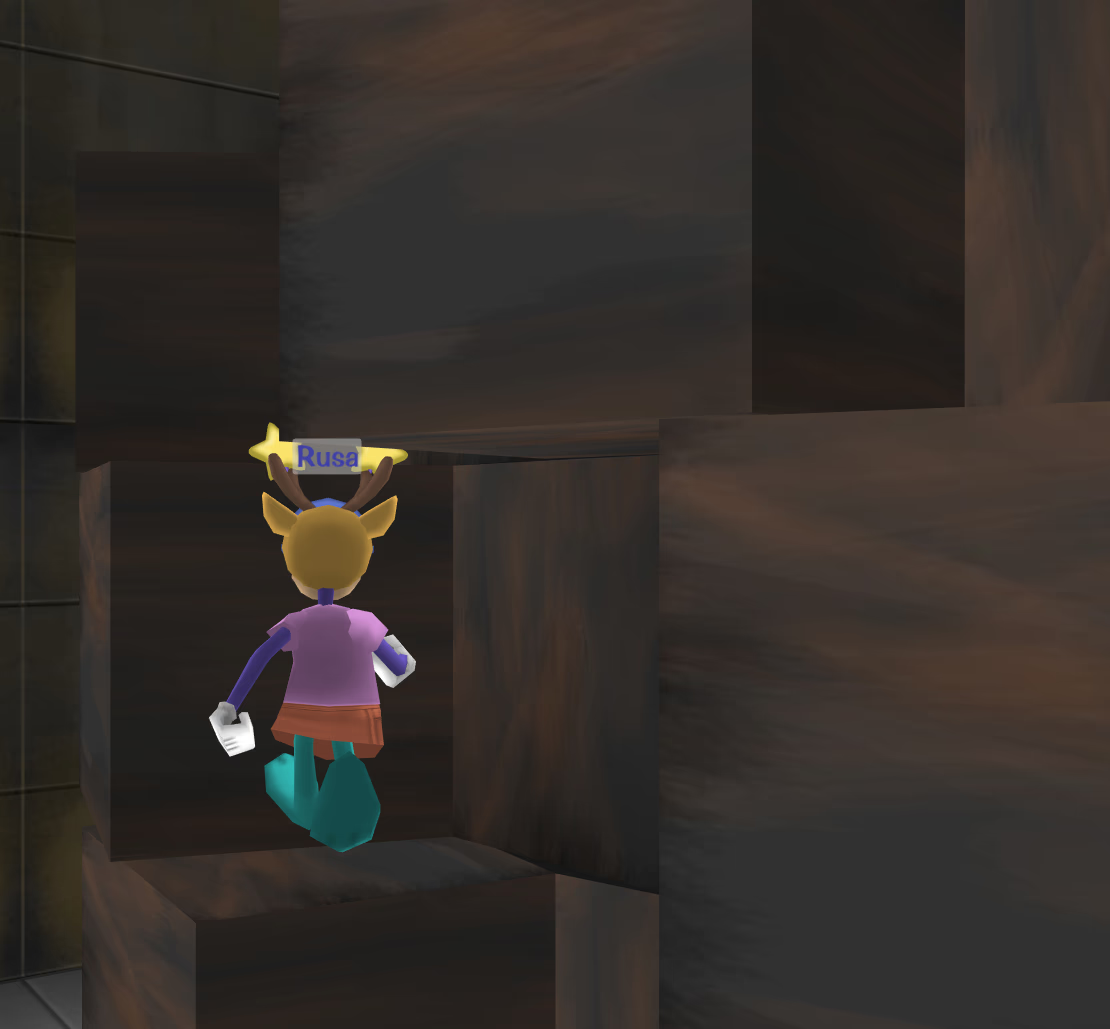
Climbing this thing can be pretty annoying if you don’t know what you’re doing, but there’s a kind of trick to it.
Next up is nothing other than the notorious Doom Room™…
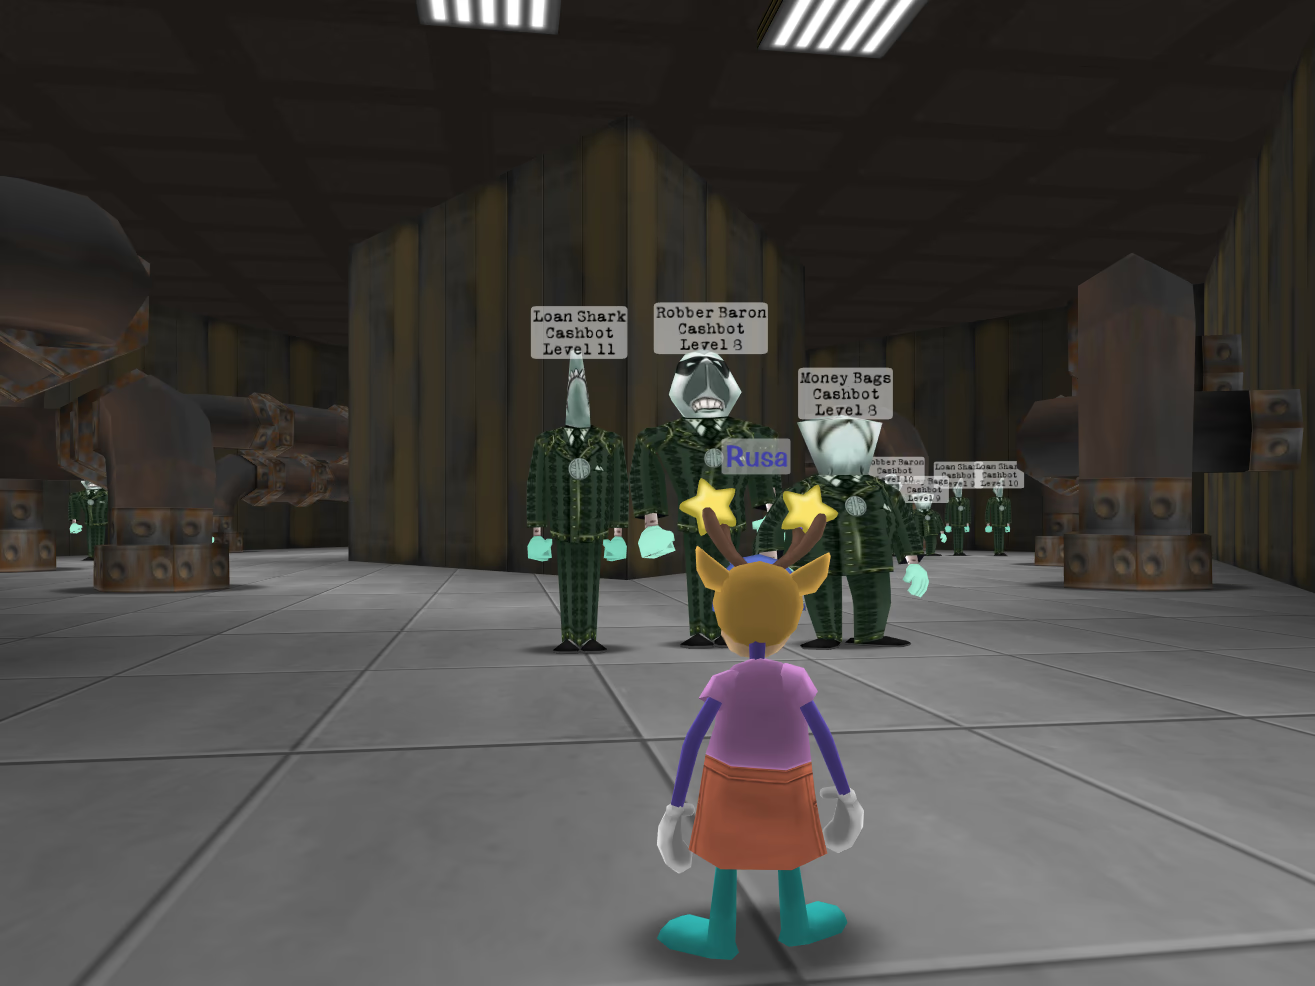
The Doom Room™ (a.k.a. the diamond room) is a lozenge-shaped room with a battle at each vertex. That’s a lot of battles, which is maybe how it got the name Doom Room™. But actually, you only have to do three of them, because either one of the side battles can be skipped. It is, however, not at all uncommon to do all four, to get those extra Cogbucks.
We indeed decided to do all four, but we were quickly learning a lesson about post-v4.0.0 Lure accuracy…:
![Rustle: IM NOT IMAGINING IT[!] IT WAS NERFED!!!!!!!!!! Rustle: IM NOT IMAGINING IT[!] IT WAS NERFED!!!!!!!!!!](https://deer.codeberg.page/tt_diary/007/im-not-imagining.avif)
Oh, dear.
Next up is the Shover Room, which is another kind of JQ where you have to walk along a conveyor belt, whilst getting constantly threatened by “shover” pistons attempting to shove you off the side.
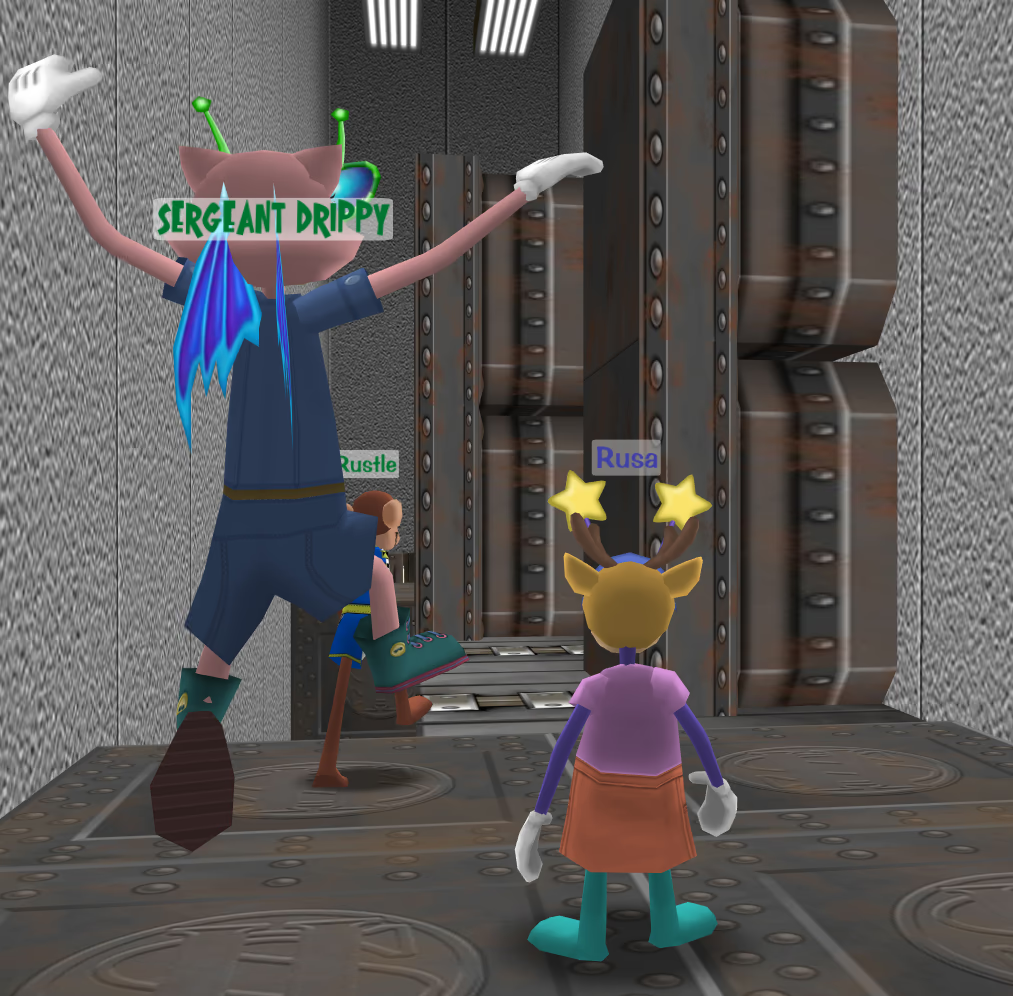
The punishment for getting shoved off is landing in a cramped pit with a nasty Goon in it, and then having to climb out & try again.
Eventually, after all these Cog battles & JQs, we arrived at the Supervisor. In pre-v4.0.0 Mints, the Supervisor was a level 12 Skelecog. But of course, he looks very different nowadays…

On my right-hand side, you can also see the giant door to a walk-in strongbox. I’ve always assumed that the implication is that, when the Toons are successful in conquering a Mint, they get the key to the strongbox/vault, & can steal whatever priceless treasures are presumably in there. But I’ve never seen the inside of one myself…
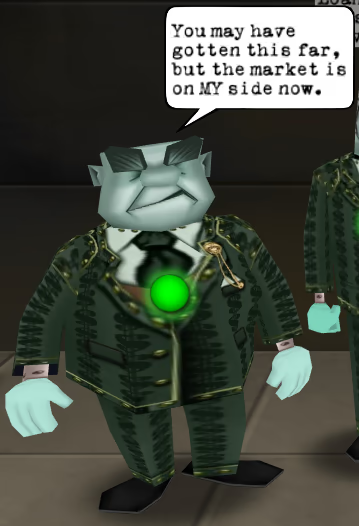
The form gotten as the past participle of get is archaic in some lects of English, where the INF–PRET–PPRT scheme is levelled to simply get–got–got in all cases. In lects that retain gotten (such as the Auditor’s), got is used for the PPRT specifically in the present perfect construction meaning “possess; need to, must”, as in e.g. I’ve got this backpack “I possess this backpack”; I’ve got to go “I need to go, I must go”. All other PPRT senses use gotten: I’ve gotten this backpack “I have obtained this backpack”; I’ve gotten to go “I have had the opportunity to go”.
In a get–got–got lect, the Auditor’s utterance begins You may have got this far, which is invalid in lects with gotten, because the presumed meaning would be that the phrase this far refers to some thing that “you” (admittedly) possess.
The new supervisor (note the now-lowercase initial ⟨s⟩) is The Mint Auditor. I think that he most resembles the Money Bags, except… you know, with an actual face. Oh, & he has that gold chain thingy on his chest.
The beginning of the fight is a bit dramatic, but less so than the Foreman’s introduction, I think. Once again, we’re immediately treated to a variety of status effects across the board:
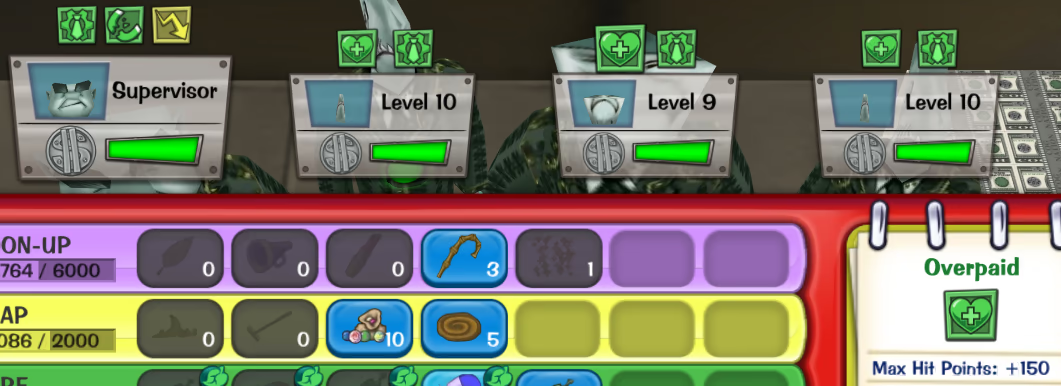
The fact that Overpaid gives them +150 additional HP is pretty crazy, & basically ensures that it will take multiple rounds to kill each one, unless we all simultaneously direct our most powerful gags at a particular one!
And on the Toon side, we have Gag Tax & Defence Up:
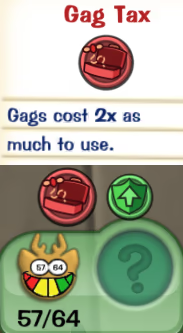
The idea here is that we take quite a bit less damage, but at the expense of effectively dealing less damage as well, because Gag Tax causes gags to cost twice as much. The Gag Tax can be quite frustrating when you’ve only one gag of a given type left, because you can only use them two at a time! We would find out only later on in the fight that both of these effects are tied to the Auditor’s existence, meaning that killing the Auditor (more easily said than done) would reset our gag costs to normal, & make us take damage normally as well.
Like in the Foreman fight, the Auditor seems to enjoy promoting his employees:

The “+24” that you see in the image above is a kind of “healing”; in particular, it’s a direct result of the Cog levelling up, & so serves to keep the difference between its HP & maxHP constant in the process.
The result of all this is that the Auditor is doing a lot of things to protract the fight. The Cogs (Auditor included) already start with anomalously large HP pools, on top of which we stack the promotions, and the Gag Tax that effectively reduces our damage output. Although the promotions also increase the damage that we take, the Defence Up of course works to counteract that, basically preventing us from entering a downward spiral of having to use almost exclusively Toon-Up each round. The word that comes to mind is attrition.
Eventually, we somehow ended up with a level 15 Loan Shark. Yes, really. Level 15. Fifteen.
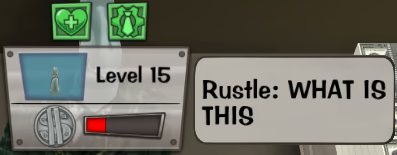
In TTO (& indeed, in pre-v3.0.0 TTR), 12 was the absolute highest level of Cog, so this is pretty wild to see in, you know, the easiest possible CBHQ facility.
After what I can only describe as a “protracted struggle”, we did get rid of the Auditor:
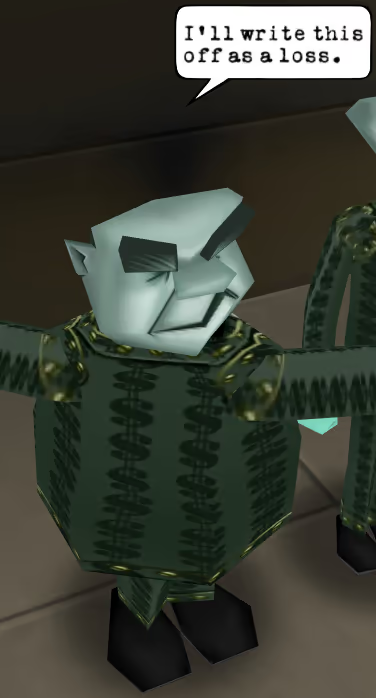
By this point, we weren’t far from the end of the fight. Moreover, we’d all formed some… opinions… about what we’d just experienced:
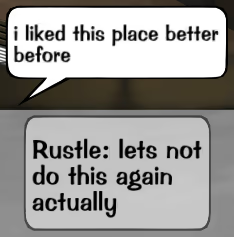
Come again?
Like with the Scrap Factory, the final battle of Mints now has a bunch of crap thrown into it. But, based on my limited experience with the Scrap Factory, & my complete lack of experience with the Steel Factory, it seems to me like the “unevenness” that I noted above might actually be even worse when it comes to the Mints!
For starters, the rest of the Coin Mint (i.e. everything except the final battle) appears to actually be slightly easier now, with a handful of the Cogs’ levels lowered. On the other hand, the final battle throws even more wrenches at the Toons than the corresponding battle in the Scrap Factory does. It’s not a trivial fight! This lopsidedness gets away from TTO’s “Cog facility” design in favour of what is effectively a miniboss run, with a “trifling” prelude prepended to it.
Although I haven’t done a CFO in a while, & I’ve yet to see the inside of a post-UNM Bullion Mint, I’ve heard from others that there’s another kind of unevenness: the facilities (Bullion Mints, in particular) that you do to “train for” & “earn a promotion for” the boss (CFO) are more difficult than the boss itself! That is crazy.
As far as our experience with the Coin Mint goes, we should bear in mind that all four of us were new to the whole post-UNM Mints thing (although I was not new to post-UNM facilities in general). Nonetheless, it was a surprisingly harrowing experience given that this is, as I said, the easiest possible CBHQ content. Yes, CBHQ is a Cog HQ, so we should expect some challenge! Duh!! But that challenge is, presumably, to be found largely in the Bullion & the CFO — the CFO being, after all, the boss of the entire HQ. Coin Mints, on the other hand, are something that we’re expecting neophyte DDL ToonTaskers to do, similar to what we expect of DG Taskers w.r.t. SBHQ.
Maybe that’s a good thing; a neophyte DDL Tasker who takes on the Coin Mint with other Toons of comparable power just might have the fear of Cashbot HQ put into them. But I guess the question is: what kind of “fear” is it? Is it one of reverence, or is it fear of getting bogged down by tediously protracted Auditor fights? Is it humbling, or is it the itching feeling that the body of Cog facilities has been neutered in favour of a bloated head? I’m not sure, but I suppose I’ll find out later.
Four these flowers’ve never bean
So anyway, I’m gardening, right? And my shovel decides to level up!:
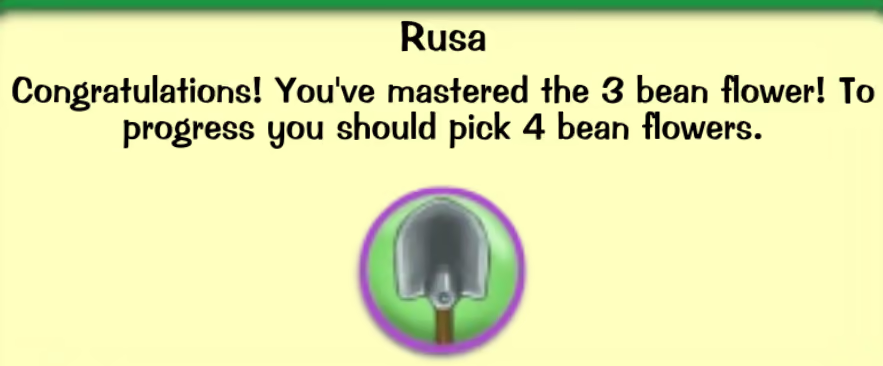
Whoa~ ✨4️⃣✨! Check it out!!:

Corn Rose… Livered Lily… Giraff-o-dil… Pretty good, if you ask me.
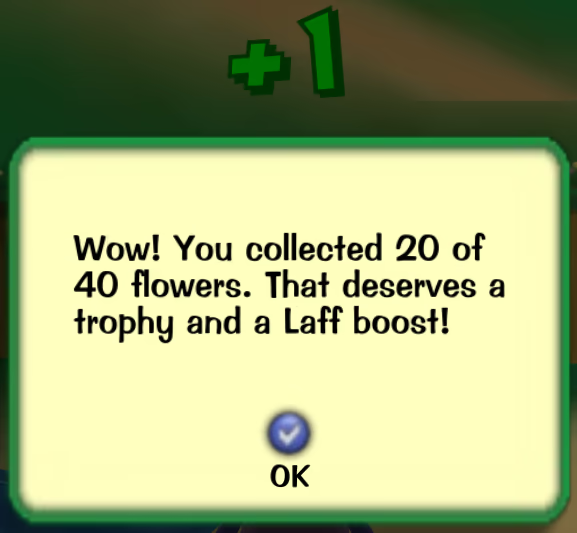
Cool! Halfway there, right…? I mean, not really, because the later trophies are harder to get, but… I’ll get there. Eventually.
A meal fit for a wizard
Mmkay, it’s time to return to The Brrrgh again.

I’ve gotta be almost done with The Brrrgh’s ToonTaskline by now, right? Well… yes! Sort of!! There’s just one last thing: final gag track training. So I’m off to The Blizzard Wizard again.
Lil Oldman wants to share a meal before we really start our training. For that, I got some Lumpy Cheeses™ from Big Cheeses in, you know, various 5-storey Bossbot Buildings. Although this is apparently enough to make a good broth, we were still missing something important.
LOM: A simple man eats with a simple spoon.
A Cog took my simple spoon, so I simply can not eat.
Return my spoon to me. I think a Big Wig took it.
Simple, right?
![Big Wig: I’m a big deal[,] little Toon. Big Wig: I’m a big deal[,] little Toon.](https://deer.codeberg.page/tt_diary/007/big-wig.avif)
Judging by the look on his face, he must’ve accidentally poked himself in the eye with the Simple Spoon.
![]()
Now that there’s something to eat — & something to eat with — my true training can begin. Right?
I guess my first task is to fish a talking toad out of the local pond.
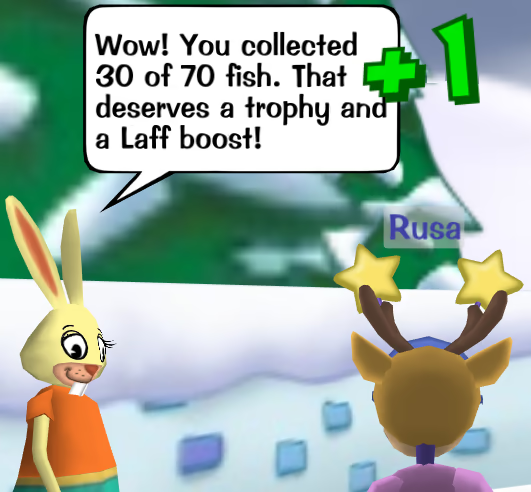
Oh! Well, getting another fishing trophy along the way certainly doesn’t hurt.
LOM: What’s that you say, toad?
Uh huh.
Uh huh…
The toad has spoken. We need dessert.
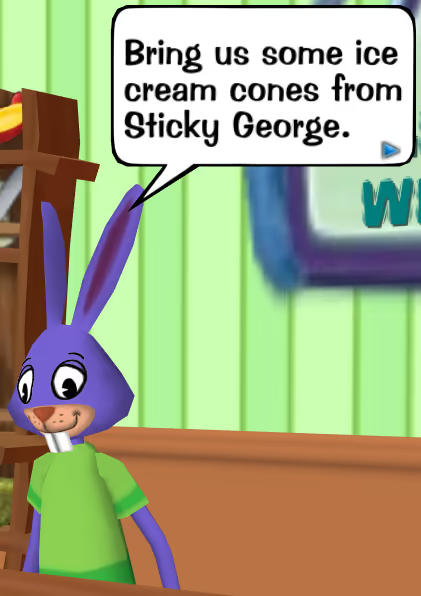
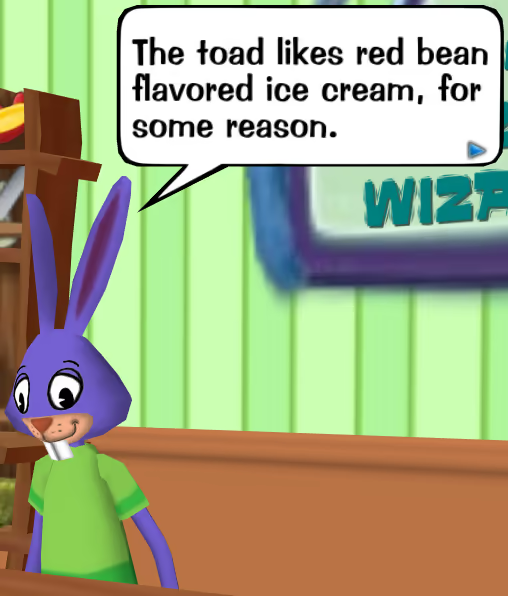
You know how talking toads are, with their cravings & such.
I guess some Mr. Hollywoods have “commandeered” Sticky George’s azuki bean ice cream, so I think I know what kind of Cog Buildings I’ll be doing next…
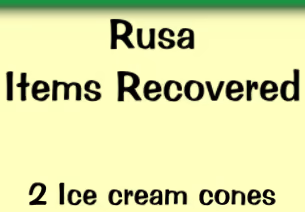
Yummers!
Come to think of it, I haven’t actually looked at my Cog Gallery yet…
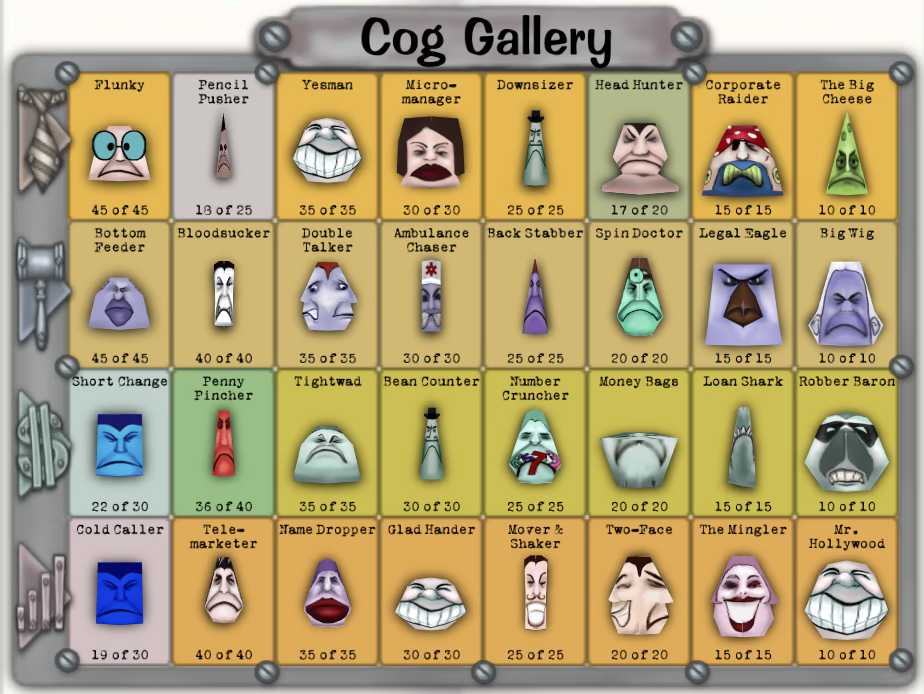
Well, hey. It’s not that far from being complete, & indeed, almost all the incomplete bits are just random low-tier Cogs that I killed a few of & then moved on. The main purpose of filling out a Cog Gallery at all is to be able to use Cog radar (a.k.a. Cog tracker), which can be used to detect how many of a given species of Cog are on the current street, & even more usefully, to detect the presence — & with the power of street M.A.P.S., locations — of Cog Buildings of a given department. Not bad, right?
Unfortunately, I’ll have to intentionally go back & clear those low-tier Cogs, because otherwise it might take forever to get this thing filled.
With some more Cog Buildings under my belt, I got enough Lure XP to unlock the Hypno-goggles (the level 6 Lure gag)!!:
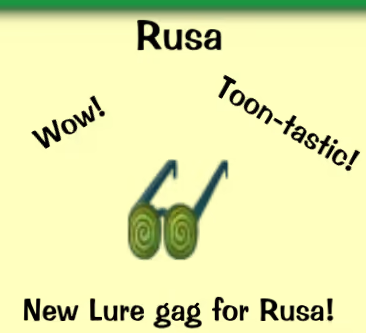
That’s pretty huge, because my Lure is now really formidable. I mean, look at (& listen to) this thing:
It’s that simple! Who knew that robots were so susceptible to hypnosis?
If you meet the Buddha on the road, throw a pie at him
So far, I guess my job has mostly been food service. And… talking toad service. Now, LOM wants something to powder his nose with, so I’ve got to recover the powder from the wigs of yet more Big Wigs. With even moar Lawbot Buildings absolutely demolisht, I think that LOM was finally ready to actually get down to business. Whew!
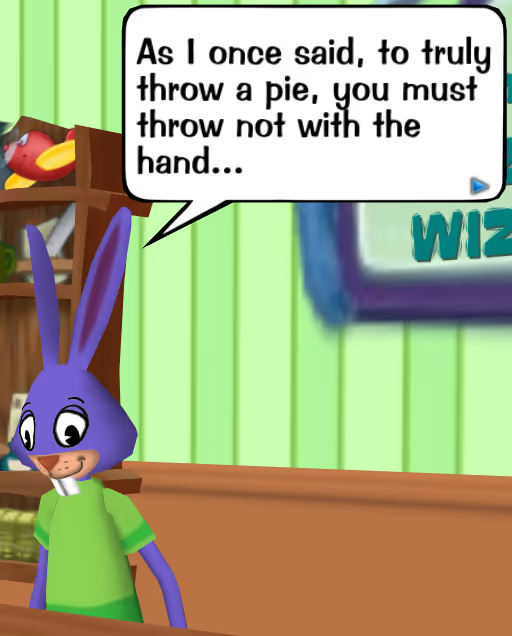
This is basically a kōan [公案], so… I guess LOM is a Zen [禅] monk now…?
Let’s see that Task, doe.
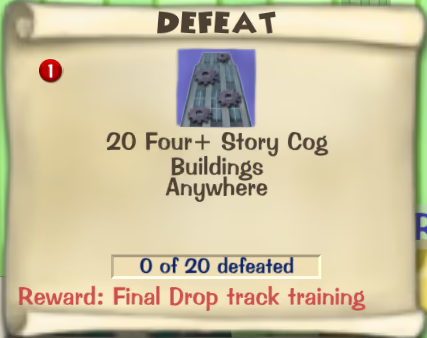
Right, so, this is the one. The infamous & notorious “defeat 20 four+ storey Cog Buildings” ToonTask. But the gravity of such a Task is certainly lost on Rusa; after all, what’s 20 more? I eat four+ storey Cog Buildings for breakfast, lunch, & dinner. I breathe the damned things.
Well, let’s get started!
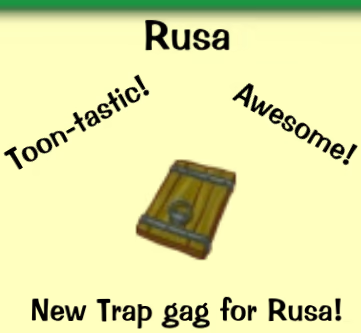
Ah, excellent. Finally, a Trap gag that isn’t kinda embarrassing to use: the Trapdoor.

Some more ToonHQ surfing later, & I did it. No, I don’t mean that I finished The Task™. I mean that I maxed my first gag track!! Specifically Squirt!!!
Wow! I got the trumpets & the confetti & everything! I’ve got that Geyser!! Although the Geyser does do heaps of damage, & is the only Squirt gag that targets all Cogs (rather than just one), I like to think that maxing the track is mostly useful to ensure that my other (level ≤6) gags are at peak performance. Although I’ll certainly be using my Geyser (& other level 7 gags) — especially later on — this usage is limited by having to farm 500 of the relevant (Squirt) XP for each restock of the danged thing. It’s not usually something to be thrown away lightly.
In the process of defeating these four+ storey Cog Buildings — & even after completing the Task, but continuing to do buildings without bothering to turn it in… — I got a lot of really solid gag XP grinding done alongside Rustle. We formed a formidable XP-grinding duo, with just one slight inconvenience: I’m the only one of us who has Toon-Up.
This basically means that any laff I lose in the course of a Cog Building run is lost for that entire run; I’ve no way to recover it. Technically, Rustle can heal me by summoning his doodle (a pet that can do tricks in lieu of Toon-Up), but his doodle was not very well-trained, so it wasn’t really worth bothering with. So our strategies reflected this. Still, even if we’re careful to have Rustle “aggro” (see below) any Cogs that will be allowed to attack — something that we admittedly weren’t 100% consistent in doing — I can still get hurt.
Firstly, sometimes gags just unexpectedly miss. Moreover, if we’re fighting in a Cog Invasion of a species that has one or more group attacks[1] at its disposal, the aggro sometimes doesn’t matter at all. But also, the state machine responsible for orchestrating a Cog’s attacking behaviour looks something like this:
- Select an attack randomly from the categorical distribution associated with the Cog’s combination of species & level. For example, the species–level combination may have a 35% chance of selecting attack A, a 15% chance of selecting attack B, & a 50% chance of selecting attack C.
- Roll a four-sided die.
-
- If the Cog has yet to take any damage, or a “1” was rolled on the die, then select a target uniformly at random.
- Otherwise, select a target from a categorical distribution, where the probability assigned to each Toon is equal to the amount of damage taken from that Toon divided by the total amount of damage taken so far.
Note that if the attack selected in (A1.) is a group attack[1], then the target that is selected by (A2.)〜(A3.) is irrelevant.
If it weren’t for group attacks, & if it weren’t for the “or a ‘1’ was rolled on a die” clause in (A3.), it would be possible to precisely manipulate a Cog to never attack me: simply have Rustle deal a nonzero amount of damage to it, whilst I deal exactly zero. Alas, sufficiently poor luck was enough to speed me to sadness at least this time, on the 5th floor of a joocy Micromanager-Invaded Cog Building…:
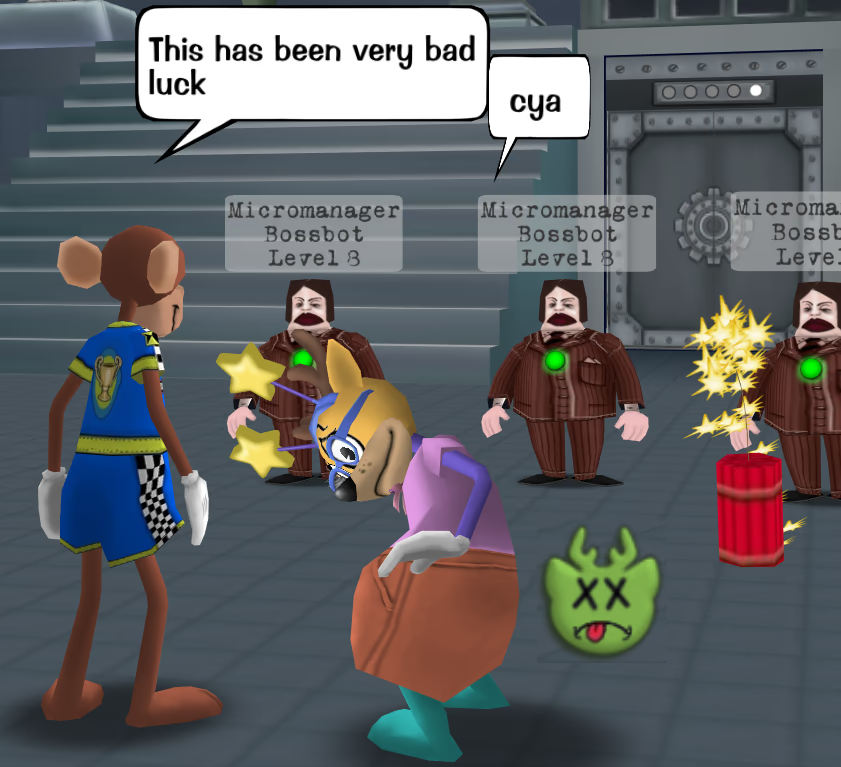
Transcription of the chat bubbles in the above image
Rustle: This has been very bad luck
Rusa: cya
Ouf. 😵
It’s all right, though. I still got a whole lot of delicious XP in my many training buildings! And to my pleasant surprise (I forgor about the Silly Meter), we got a 2× Trap XP reward!?!:
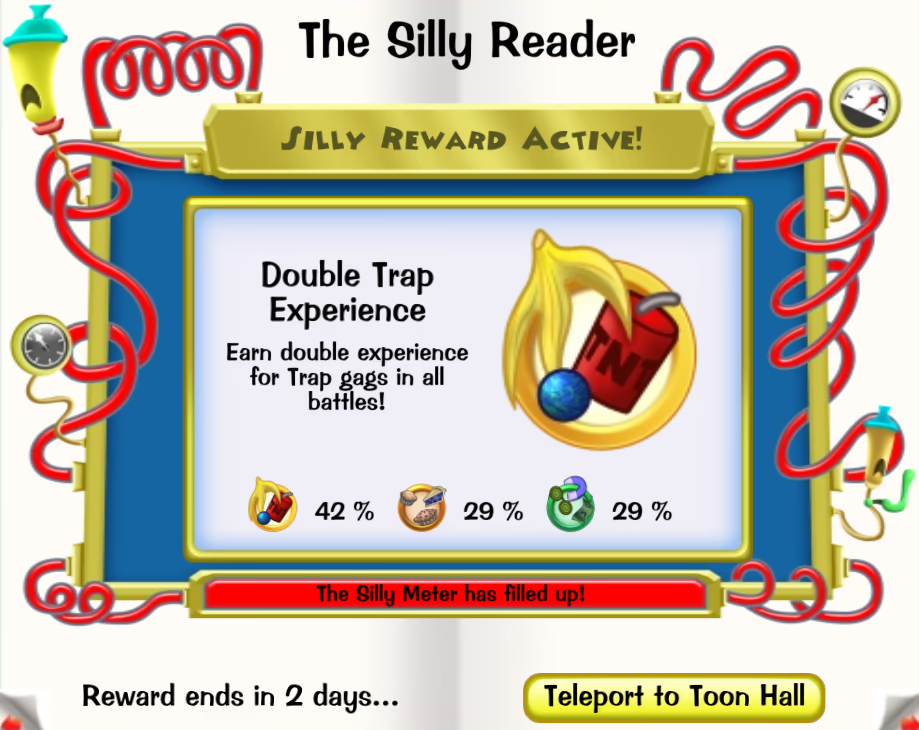
Transcription of the above image
The Silly Reader
Silly Reward Active!
Double Trap Experience: Earn double experience for Trap gags in all battles!
[voting results]:
- 2× Trap XP: 42%.
- 2× Throw XP: 29%.
- 2× Lure XP: 29%.
The Silly Meter has filled up!
Reward ends in 2 days…
Oh hecc ya! This is really gonna help me get to my precious TNT (the level 6 Trap gag).
Alright, alright. I finished LOM’s Big Task™ like half a dozen Cog Buildings ago, so it’s time to finally just turn it in…
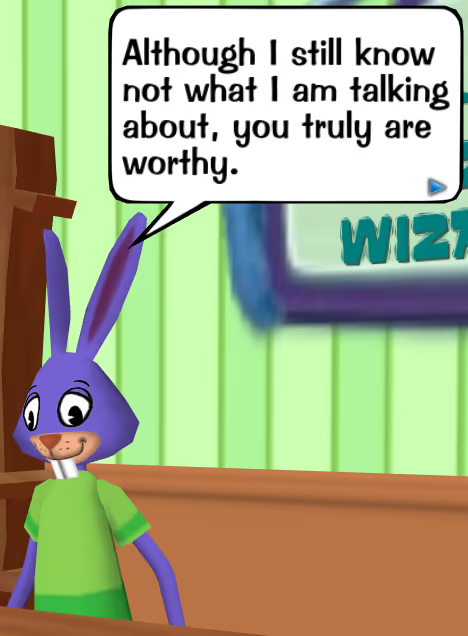
Thancc u, LOM. 🙏🏽
Footnotes for “If you meet the Buddha on the road, throw a pie at him”
-
[↑] I really ought to start using the word group instead of multi-target in a Toontown context, because the distinction is not as fine as in MapleStory, & Toontown uses the former term.
In MapleStory, each ability almost always has limits on how many targets there can be; in particular, the ability has a maximum target count that is some positive integer, where the particular value of 1 implies what we call a single-target ability, & other values imply being multi-target. Moreover, there are usually also limits on how those targets must be positioned relative to the ability’s user — typically circumscribed by an axis-aligned rectangle. In Toontown, however, such limits have no meaning, as all multi-target abilities necessarily target every entity in the battle that can, in principle, be targeted:
- A Toon’s group attack targets all Cogs.
- A Cog’s group attack targets all Toons.
- Group Toon-Ups — including gags, SOS cards, healing remotes, & doodle tricks, but not including Unites[2] — target all Toons, excepting the Toon performing (e.g. a doodle trick is performed by the doodle, not by the Toon who summons that doodle) the Toon-Up, if any.
The distinction between “single-target” & “multi-target”, then, is truly binary in Toontown, unlike the corresponding notions in MapleStory. “Multi-target” abilities in Toontown are better thought of as being untargeted, whereas “single-target” ones are the only ones that are forced to elect their target at all.
This doesn’t mean that multi-target is “incorrect” to use in a Toontown context; it’s fine, & is just understood as synonymous with the more usual term group. So really, this is a nitpick. But I figure, why import a term from another game if Toontown already has its own, especially when the internal semantics differ?
-
[↑] If the exception for Toon-Up Unites seems strange, this is because it’s the only form of Toon-Up usable in battle (in the broad sense that possibly includes non-turn-based battle as well) that isn’t turn-based. TTR has made some attempt to integrate Unites into turn-based mechanics, but the fundamental principles remain the same as in TTO.
The relevant differences in semantics here are twofold:
- Toon-Up Unites have a physical radius (the analogue of MapleStory’s axis-aligned rectangles, in this case) centred on the performer, inside of which Toons are affected, & outside of which they are not.
- Toon-Up Unites target the Toon who performs them, unlike all other battle-available sources of Toon-Up. This can be seen as a consequence of the above.
-
[↑] Adapted from the “Cog Attack Accuracy” section of Toontown Resources.
This is effectively a paraphrase of a paraphrase, with the original source being some of TTO’s boring Python 2 source code. Toontown Resources does a good job of preventing anyone from having to trawl through the source code themself, but often paraphrases overly closely, rather than simply explaining the semantics.
Gag me
You know what that means: I finally have Drop now. It was kind of a dumb idea to get my main track last, but I have it now, so whatever.
However, 2× Trap XP only lasts for 48 hours real-time, so I’ll have very limited opportunity to take advantage of it. So… let’s friccing go!?!

Holy moly. Ordinarily, the XP gained for a given gag track over the course of one street-fight/building/facility/boss-run is capped at a maximum of 300. But with limited-time special XP bonuses (which does not include Cog Invasions), the cap is raised in proportion to the bonus, in this case increasing the cap for Trap from 300 to 600. That’s a lot of XP.
But, whilst I’m waiting for a good Cog Building group, I may as well just get my initial Drop XP grind out of the way, right? That means finding a tier-1 Cog Invasion & heading to TTC…
Welcome to Flower Pot.
Not gonna lie to you, it took seven attempts to get the above footage. I mean, how hard can it be to hit a level 2 Cold Caller with my level 1 Drop track? Pretty hard, actually. Drop really needs to be stunned for — at least, when your Drop track is low-level relative to the Cog’s level. And also you really should stun for it in general. However, I’m out here just solo training up to Anvil (the level 3 Drop gag), so I just gotta succ it up.
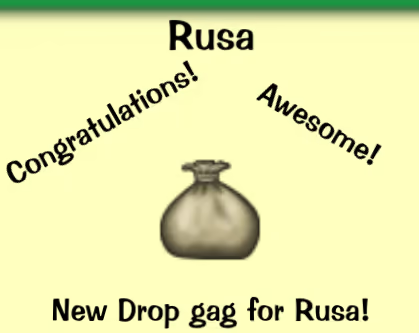
Oh, thank goodness. Sandbag unloct. Hopefully that makes things a little easier…
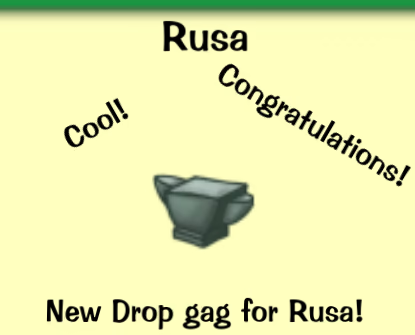
Phewf, okay. Two tier-1 Invasions & two or three non-Invasion street battles later, I’ve got my gosh danged Anvil. The first truly good Drop gag is the Big Weight, but that’s the next one, so I’ll have to unlock it the hard way. Here’s hoping I find some folx willing to tolerate my Anvil training…
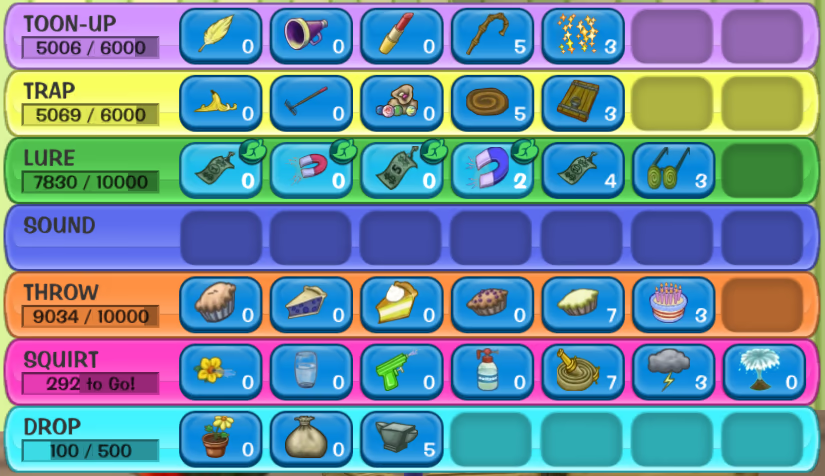
Transcription of the above image
| track | XP | level | organic |
|---|---|---|---|
| Toon-Up | 5006 ⧸ 6000 | 5 | |
| Trap | 5069 ⧸ 6000 | 5 | |
| Lure | 7830 ⧸ 10000 | 6 | level 4 |
| Throw | 9034 ⧸ 10000 | 6 | |
| Squirt | 292 to Go! | 7 | |
| Drop | 100 ⧸ 500 | 3 |
Whew! I’m officially a six-tracker. 😊 Toon in nekst thyme four s’more of Rusa gaggin’ it up!! Cyas! 🧡
Sunday funnies
Funny papers (crossword puzzle not included)
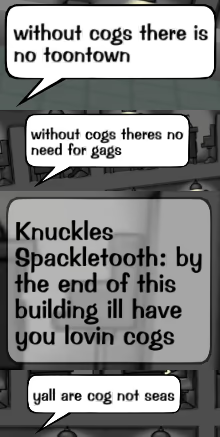
Transcription of the above image
Knuckles Spackletooth: without cogs there is no toontown
without cogs theres no need for gags
by the end of this building ill have you lovin cogs
yall are cog not seas

ℹ️ The following image was carefully extracted from the unyielding clutches of 𝕏itter™® (pronounced /ˈʃɪt.ə(ɹ)/), adapted from a No Context Toontown (@NoContextTTO) post submitted by Romeo (@0x526f6d656f).

Transcription of the above comic strip
- [Alpha Centauri throws a snowball at Xtreme Kitty from across the Brrrgh playground whilst Xtreme Kitty is busy fishing]
- [Xtreme Kitty is struck squarely in the face by the snowball]
- Xtreme Kitty: [looking around] who threw that
- Xtreme Kitty: show yourself coward
